
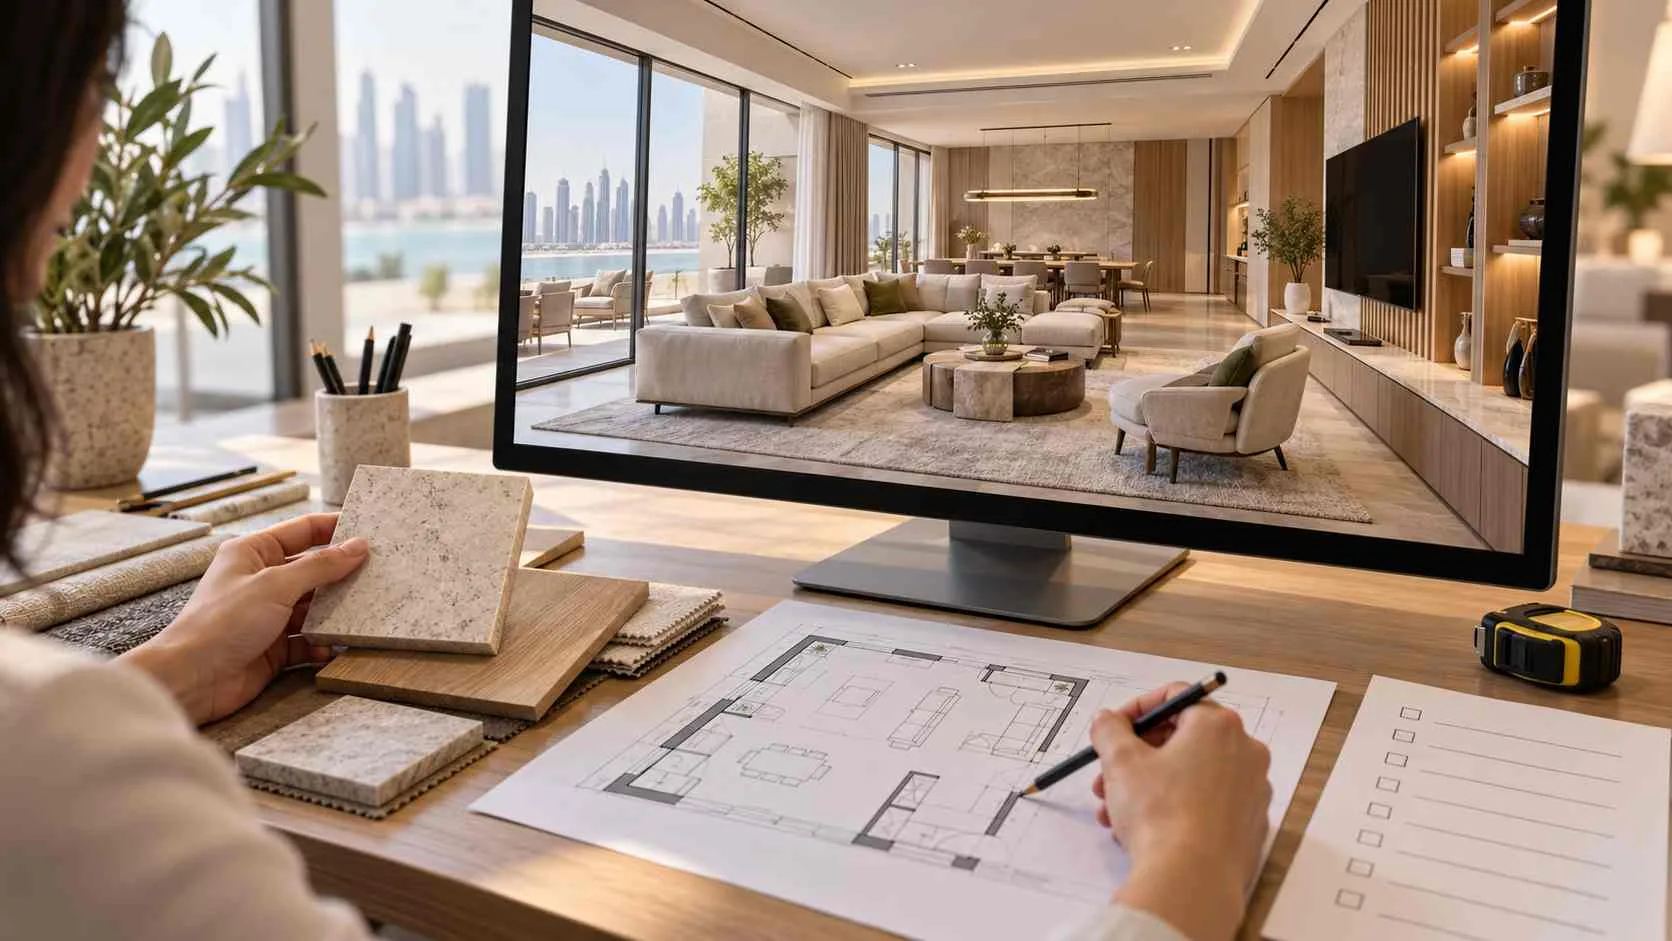
Before approving a 3D interior design, check the measured layout, furniture sizes, finishes, lighting and quoted scope. Ask which decisions your approval will authorise, especially if materials may be ordered afterwards.
A convincing image can make a space feel finished while leaving practical details unclear. The reception desk looks elegant, but will staff have enough room behind it? The wall appears to be marble, but is the quotation for natural stone or a printed panel? These are questions worth resolving while the design can still be revised.
Check the layout against the measured space
Start with the latest measured floor plan. Check that walls, columns, windows and door openings appear in their correct positions. Confirm the usable ceiling height after any proposed ceiling work.
Ask for dimensions of major furniture and the gaps around it. A wide camera angle can make a compact room feel more generous, so judge walking space from measurements.
In a Doha office, for example, compare the proposed desk count with the space needed to pull out chairs and reach storage. If a measurement is still an assumption, ask the designer to identify it before approval.
Test how the room will work
Walk through a normal day in your mind. Follow the route from the entrance to seating, work areas and washrooms. Picture the room occupied, with chairs pulled out and people passing.
Check door swings and drawers. A storage unit may fit against the wall yet become awkward when its doors open beside a table.
For a café, consider customer queues and the staff route to tables. For a home, check privacy and access to frequently used cupboards. Discuss accessibility requirements with the designer; a clear route in an image still needs its dimensions checked.
A render cannot show how noisy a room will feel. For an open office or busy dining area, ask how sound control has been considered and which materials are proposed.
Confirm the actual materials and finishes
Request a material list that identifies the actual products, colours and finishes. Clarify whether wood, stone and upholstery shown in the image are confirmed selections or visual placeholders.
Review physical samples together, preferably in the space and under the proposed lighting. Screen colours can differ from the finished material, and a small sample may hide variation across a larger surface.
Also ask about cleaning and maintenance. A textured wall behind a café counter may need different care from a smooth painted surface.
Working with an interior design company in Qatar should connect these choices to the drawings. At Artisans Interiors, our design services include space planning, 3D visualisation and material selection, allowing these parts of the proposal to be reviewed together.
Review lighting for the intended use
Ask for daytime and evening views where the difference affects your decision. A bright render alone cannot establish whether the room will have suitable light for reading, computer work or preparing food.
Review the proposed light fittings and their positions. Ask how task lighting will work and whether lighting calculations are needed for the intended use. Check likely glare on screens and reflective surfaces.
Confirm the planned light colour as well. Warm lighting can change how walls and fabrics appear. In a room with large windows, discuss blinds or shading rather than assuming the soft daylight in the image will remain constant.
Locate the services the image may omit
Clean presentation images sometimes omit switches, sockets or ceiling equipment. Ask which items have been left out and where they will be installed.
Review air-conditioning vents alongside ceiling features and tall cabinets. Confirm that equipment can be reached for servicing. In a workspace, check socket locations against actual desk positions so cables do not need to cross walkways.
For a restaurant or café, ask the design team to coordinate any ventilation and equipment requirements with the layout. Your visual approval should not leave these practical decisions unresolved.
Examine hidden areas and custom details
Request additional views of areas you cannot judge from the main image. These may include the wall opposite the entrance, cabinet interiors or the space behind a reception counter.
A feature wall also needs more than a front view. Ask how corners, edges and joints will be finished, particularly where it meets a door or ceiling.
Confirm which custom items need detailed drawings or a sample before manufacture. A curved counter may look straightforward in a render while requiring decisions about its structure and surface finish. Ask the designer what remains to be developed and when you will review it.
Match the design to the quotation
Compare the visuals with an itemised quotation. Check whether displayed furniture, decorative lights, curtains and accessories are included, supplied by you or shown only to suggest the style.
Ask about product availability and delivery dates, especially for imported items. If an alternative is proposed, review its size and finish as well as its price.
Resolve significant substitutions before placing orders. Replacing one pendant light may affect its ceiling connection or the lighting effect you approved.
Keep a record of exclusions and outstanding prices. An attractive render should help you choose a design within an agreed budget.
Give precise feedback and record the approval
Send one organised list of comments, marking the area and the change you need. Replace a vague request such as “make the reception better” with “show the reception counter with storage for two staff members.”
Review the revised images against that list. Save the final version with its date and matching drawings, material selections and quotation.
Record what your approval covers. Concept approval, approval to order products and approval to begin construction can involve different information. Ask the team to explain the stage you have reached. For a Qatar project, confirm who will coordinate technical checks and any required building-management or authority approvals before work starts. Record unresolved items separately.
Approve when the important details are clear
You should be able to explain what will be built, how the space will function and which products are included before giving approval. Any remaining choices should have a clear next step and someone responsible for resolving them.
Use the 3D design as a shared reference throughout the project. When measurements, specifications or products change, ask how the change affects the approved design. This keeps the conversation tied to what you expect to receive and gives the team a usable record of your decisions.