Achieving salon-quality nail extensions without stepping outside your home is no longer a dream. With the right Beauty nail supply essentials, proper techniques, and a little practice, you can create flawless, long-lasting nail enhancements on your own schedule. Whether you’re a beginner exploring DIY manicures or a nail enthusiast ready to upgrade your at-home setup, understanding the right tools and products is the foundation of stunning results.
In this comprehensive guide, we’ll break down everything you need to know to build the perfect nail extension kit, apply extensions correctly, and maintain them for professional-looking results.
Why Quality Nail Supplies Matter
One of the biggest mistakes beginners make is underestimating the importance of high-quality nail products. Nail extensions rely heavily on proper adhesion, structural integrity, and finishing techniques. Using substandard acrylic powders, gels, or brushes can lead to lifting, cracking, uneven surfaces, and reduced durability.
Professional-grade supplies ensure:
- Strong adhesion and minimal lifting
- Smooth, even application
- Long-lasting wear
- Reduced nail damage
- Better overall finish
Investing in reliable beauty nail products saves time, money, and frustration in the long run.
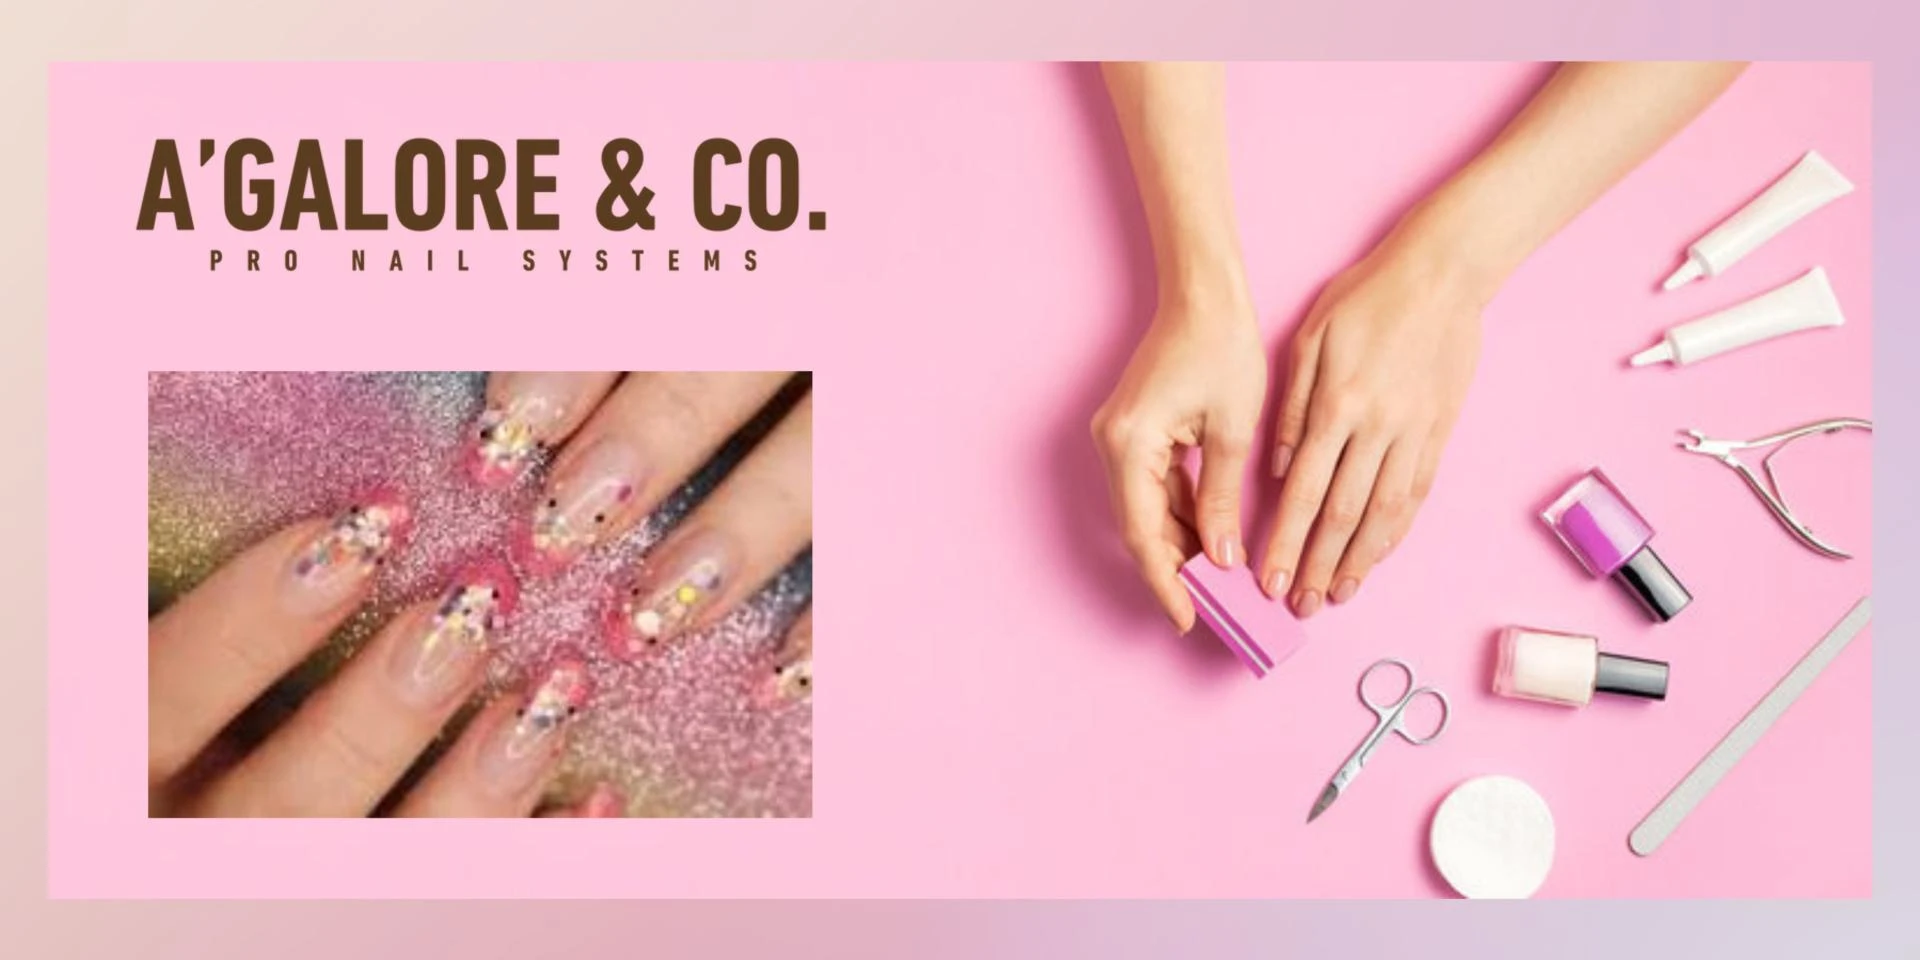
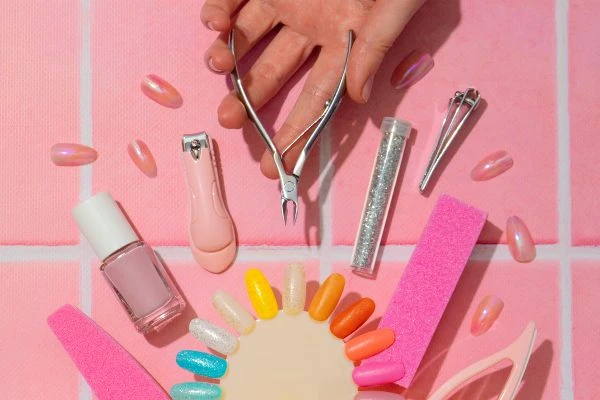
Essential Beauty Nail Supply Items for Extensions
To create flawless nail extensions at home, you need a well-rounded kit. Here’s what every nail extension enthusiast should have:
1. Nail Prep Essentials
Preparation is the backbone of durable nail extensions. Your kit should include:
- Cuticle pusher
- Nail dehydrator
- Nail primer
- Nail file and buffer
- Lint-free wipes
Proper prep removes oils and moisture, ensuring maximum adhesion and reducing the risk of premature lifting.
2. Extension System (Acrylic, Gel, or Polygel)
Choosing the right extension system depends on your skill level and preference:
Acrylic System:
Ideal for strong, durable extensions. Requires acrylic powder and liquid monomer. Best for those comfortable working quickly before the product sets.
Hard or Builder Gel System:
Offers flexibility and a more natural finish. Requires a UV/LED lamp for curing. Perfect for smoother application and easier control.
Polygel System:
A hybrid of acrylic and gel, combining strength with flexibility. Easier to shape and lighter on the nails.
Selecting the right system is a critical step in building your at-home nail routine.
3. Nail Forms or Tips
You can create extensions using:
- Nail forms (for sculpted extensions)
- Pre-shaped nail tips (for added length)
Beginners often find nail tips easier, while experienced users may prefer sculpting with forms for customized shapes.
4. Shaping and Finishing Tools
Precision tools are essential for that professional finish:
- Electric nail drill (optional but helpful)
- Hand files (various grits)
- Buffer blocks
- Dust brush
Proper shaping defines the final look of your extensions—almond, coffin, square, or stiletto.
5. Top Coat and Nail Paint
To complete your look, choose:
- High-gloss or matte top coat
- Gel polish or nail paint
- Cuticle oil for hydration
A quality top coat seals your design, prevents chipping, and enhances shine.
Step-by-Step Guide to Flawless Nail Extensions at Home
Now that your beauty nail supply kit is ready, follow this structured approach:
Step 1: Nail Preparation
Push back cuticles, gently buff the surface, remove dust, apply dehydrator, and finish with primer.
Step 2: Apply Nail Tips or Forms
Secure tips properly or position forms carefully to maintain symmetry and balance.
Step 3: Build the Extension
Apply acrylic, gel, or polygel evenly. Focus on creating an apex (the highest point of the nail) to ensure structural strength.
Step 4: Shape and Refine
Once cured or hardened, file and shape the nail to your desired style. Smooth out uneven areas.
Step 5: Apply Color and Seal
Add your chosen nail paint or gel polish, cure if necessary, and finish with a top coat.
Step 6: Hydrate
Apply cuticle oil to restore moisture and give your manicure a polished, healthy look.
Common Mistakes to Avoid
Even with the best products, technique matters. Avoid these frequent errors:
- Skipping nail prep
- Applying product too thick
- Ignoring the apex structure
- Not curing gel properly
- Using incorrect file grit
Patience and precision are key. Rushing often leads to lifting or cracking.
How to Maintain Your Nail Extensions
Proper aftercare extends the life of your manicure:
- Avoid excessive water exposure
- Wear gloves while cleaning
- Apply cuticle oil daily
- Schedule fills every 2–3 weeks
- Never forcefully remove extensions
Maintenance is just as important as application when it comes to achieving salon-quality results at home.

Final Thoughts
Creating flawless nail extensions at home is completely achievable when you combine proper technique with high-quality products. A well-curated beauty nail kit empowers you to experiment with styles, shapes, and finishes while maintaining durability and elegance. As you refine your skills, upgrading tools and incorporating advanced options like Gel extension tips can further enhance precision and longevity. With the right approach and consistent practice, your at-home manicures can rival professional salon results—saving you time while elevating your personal style.