The 1941-1945 MB/GPW Willys Jeep may seem obsolete in today’s era of hybrid and modern cars, but it still holds immense value for collectors and vintage car lovers.
Its military-grade character, historical value, and unique construction still charm people, which is why some individuals are actively trying to restore this vintage Jeep from the frame up. Even if you’ve managed to get the original Jeep body and all key vintage jeep parts, restoring it won’t be easy.
You’ll have to work through accumulated rust, gradual body wear, and possibly replaced parts. If you’re planning a frame-up restoration, you’ll have to work strategically in stages. To make it easier, we’ve shared a step-by-step restoration process.
Steps to Restore the 1941-1945 MB/GPW Willys Jeep from the Frame Up
Restoring a WWII-era Jeep requires access to vintage jeep parts and the right direction. If you have the Jeep body and vintage jeep parts ready for restoration, follow the steps listed below.
Step 1: Assess the Jeep
Before reaching for a wrench, you should start by exploring the Jeep’s body and components. Never skip it because you can only restore a Jeep if you have a clear understanding of its current condition.
Both Willys MB and Ford GPW were closely related wartime jeeps used during the World War II period, but each carried different markings, components, and production details. This distinction is necessary to identify which Jeep you are exactly working with. We’d suggest recording the key markers, including –
- Visible identification numbers
- Markings
- Manufacturer-specific details, etc.
They’ll help you later during the restoration process. For extra caution, also take photographs of the Jeep before making any changes. Take pictures from all angles and sides, capturing details of the engine, frame, body, wiring, brackets, and other components.
Step 2: Strip the Jeep Down to the Frame
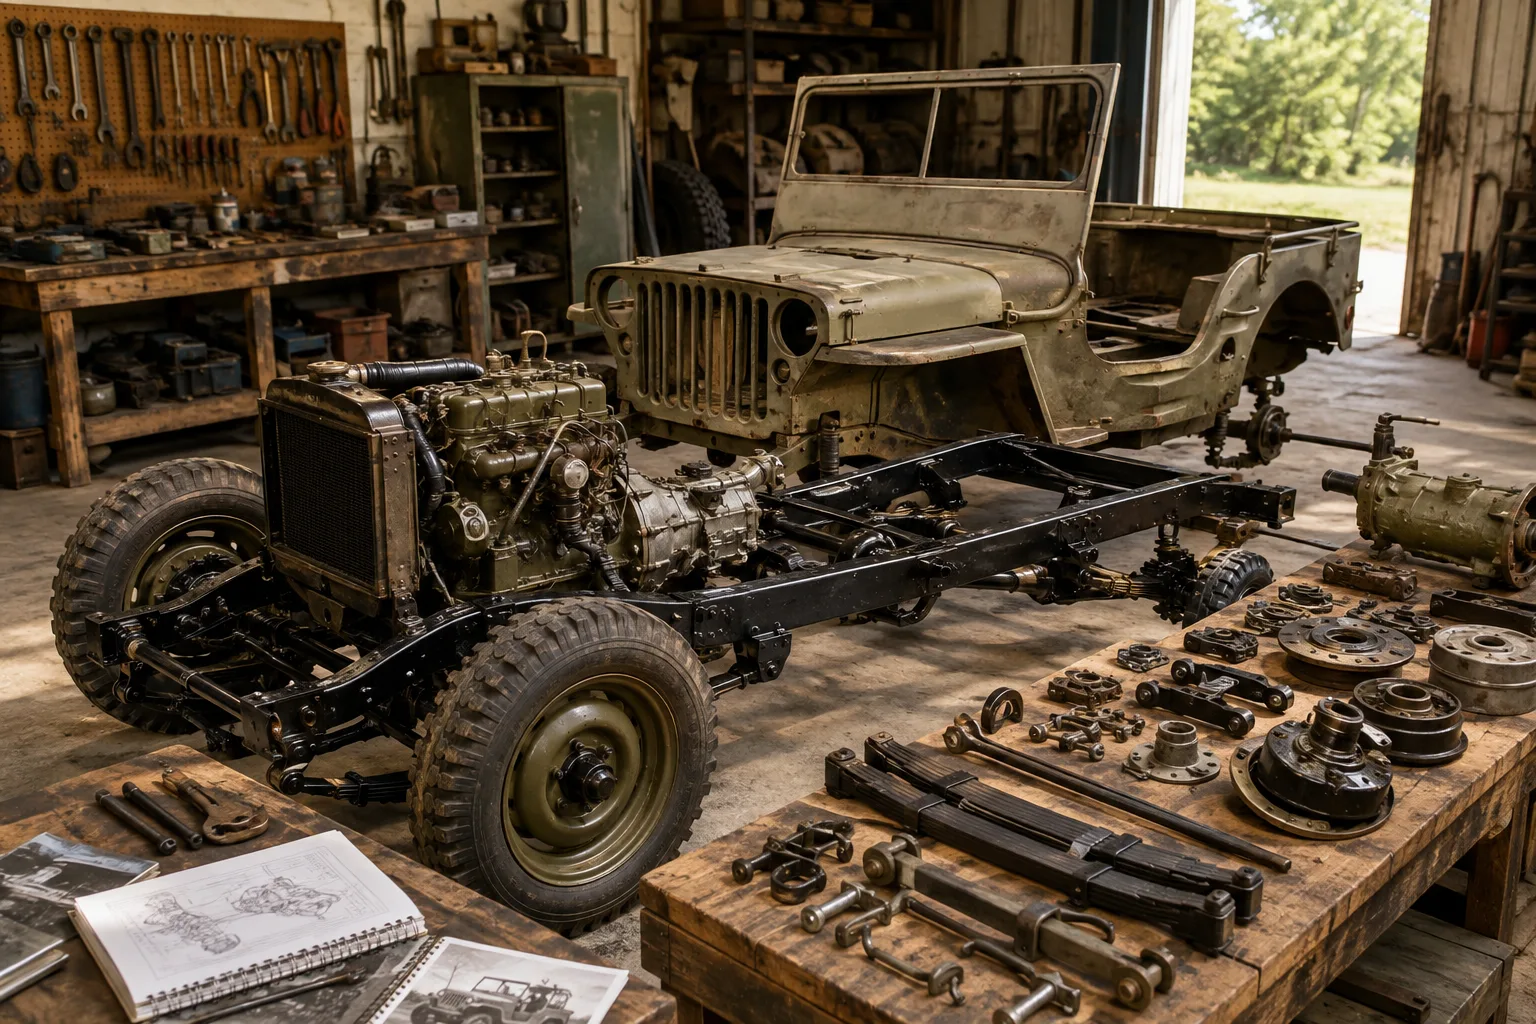
Begin the dismantling process after finishing the first step. Since you’re doing a frame-up restoration, remove major components so you can properly inspect the chassis and individual systems. Proceed to progressively remove the body, engine, transmission, axles, suspension, wiring, and other major assemblies.
We believe the most important part of the entire restoration process is proper organization. Hence, photograph components before removing them, label the wiring & unfamiliar parts, and keep fasteners from different assemblies together.
A bolt that seems unimportant during disassembly can become surprisingly difficult to identify months later. At this stage, you shouldn’t discard damaged-looking original parts either.
Step 3: Make the Frame the Foundation of the Restoration
With the Jeep reduced to its chassis, you can finally see the foundation you’re working with. It’s a crucial stage because a damaged or distorted body frame can undermine everything installed on top of it. Start by removing accumulated dirt, grease, old paint, and loose corrosion so the metal beneath is easier to inspect.
Then inspect the frame for cracks, severe rust, damaged crossmembers, distorted sections, or signs of previous repair. Avoid confusing surface rust with structural damage at this stage. Some corrosion may require cleaning and treatment, but severely weakened or distorted sections are different.
Once the frame is sound, check its mounting points and prepare the metal for its protective finish. This is also where you ensure the frame is properly aligned before attaching the suspension, axles, and body back to the Jeep.
Step 4: Rebuild the Axles, Suspension, and Steering
After the frame, move to restoring the Jeep’s running gear, such as the axles, suspension, and steering. Start with the axles by opening them up for inspection. Look for damaged gear teeth, worn bearings, deteriorated seals, etc.
Clean and reuse serviceable components; replace items that need replacement. Follow the same process for driveshafts and universal joints that carry power between the drivetrain and axles. Once done, move to the suspension and steering components.
Inspect the key components, such as the leaf springs, shackles, bushings, and shock absorbers. Steering components should move properly without excessive looseness, while brake components need to be restored to reliable working condition. Focus on restoring the system, rather than making the parts look new for visual appearance.
Step 5: Rebuild the Engine & Drivetrain
Since the engine has spent decades lying unused, you’ll need to put in extra effort to restore it for smooth operation. Start by removing the necessary external components and assessing the engine’s condition before deciding what it needs.
Although you can dismantle, clean, and assess the engine, seek professional help for operations such as cylinder machining or crankshaft work, as they require specialist machinery. An engine is only one part of the powertrain, so also clean, inspect, and repair/replace components like the clutch, transmission, transfer case, etc.
Step 6: Restore the Body without Losing Its Character
Once the engine & drivetrain have been worked upon, you can shift your focus to restoring the Jeep’s body. This is where you’ll start seeing visible results of the previous steps, and the familiar silhouette will start returning. Begin exposing the metal’s actual condition.
Remove any loose corrosion or old finishes; examine the floors, body panels, fenders, and other sections. If you spot any heavily damaged sections, get them repaired or replaced.
Then check the areas where the Jeep’s body attaches to the frame, including the mounting points. Ensure they’re correctly positioned before you begin the final assembly. It’s best to have all primary vintage jeep parts ready at this stage for a complete repair.
Step 7: Rebuild the Electrical & Supporting Systems
At this point, the Jeep may look almost finished. However, several less visible systems will require your attention at this stage, such as the wiring.
Old insulation usually becomes brittle over time, and connections may have corroded. Hence, start by working through the wiring methodically rather than reconnecting everything based on appearance alone. Do the same with fuel and cooling systems.
Step 8: Start Putting the Jeep Back Together
Reassembly is where all your work will start coming together. At this stage, reinstall major components in their respective places. Also, check the connections, mounts, and controls to ensure everything is operating as intended.
Refill the relevant systems with the correct lubricants and fluids, and inspect for leaks before you start the engine. Once the reassembly is finished, give the Jeep a test start. It will help you identify if the restoration is correct or if additional fixes are needed. Observe and make changes based on the test performance until the Jeep is ready for driving on the main roads.
Conclusion
A 1941-1945 Willys MB or Ford GPW can look deceptively simple, but restoring them is a massive task. Although these decades-old jeeps don’t have any complex dashboard, modern electronics, or sophisticated engine, they’ve survived decades of rust, wear, and modifications.
Hence, if you’re a collector or vintage car lover who wants to restore this Jeep from the frame up, you’ll have to address the vehicle systematically. We’ve shared key step-by-step instructions in this blog to give your restoration work structure and direction. Hence, follow the steps and seek professional help wherever you feel unsure.