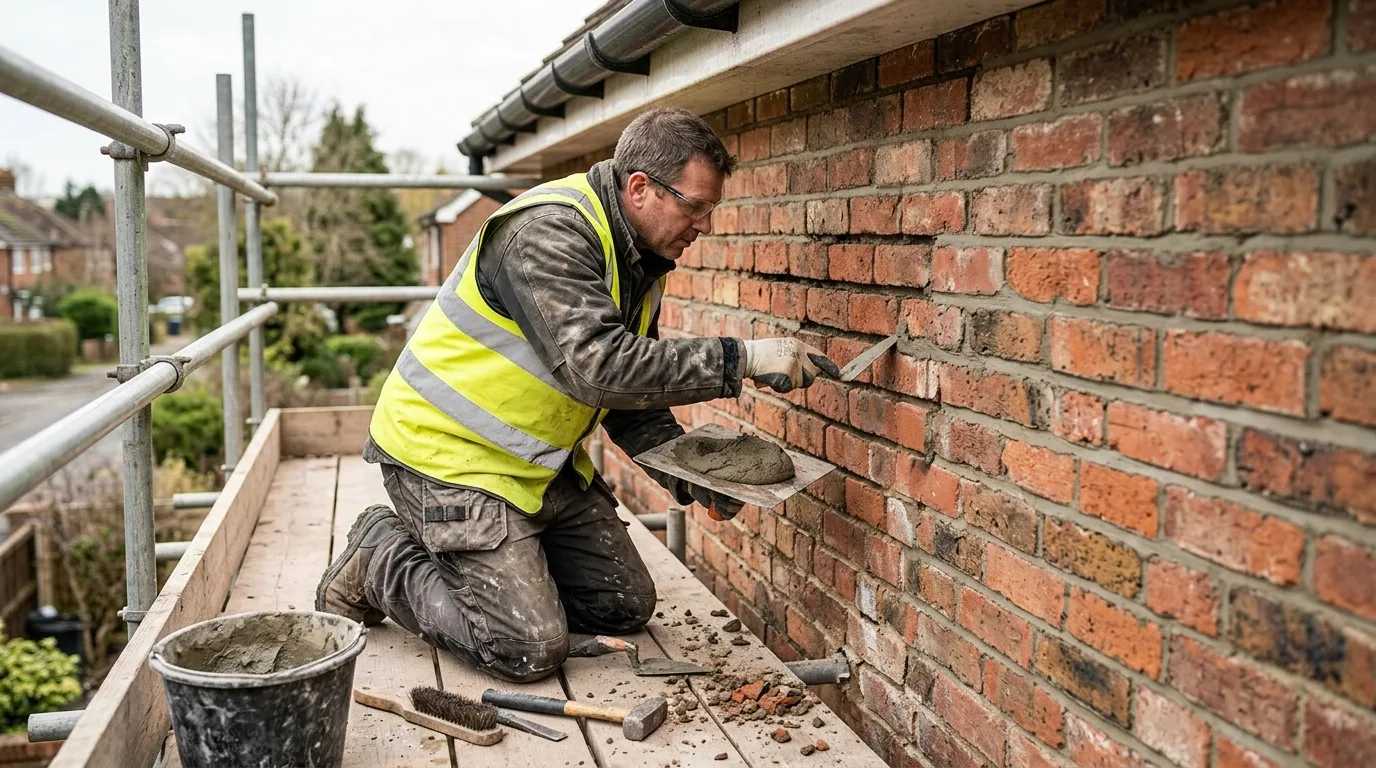
Walk around most British homes and you will spot brickwork with mortar that has gone crumbly, sandy or has simply fallen out. It looks like a small cosmetic issue, but the mortar between the bricks is what keeps rain out and holds the wall together. Repointing is the repair that renews it. This guide explains what repointing is, how to tell when a wall needs it, and how the job is done properly, step by step.
What Is Repointing and Why Does It Matter?
Repointing means removing the worn outer layer of mortar from the joints between bricks and filling them with fresh mortar. The visible face of the joint is called the pointing, which is where the name comes from. Mortar is softer than brick on purpose. It takes the strain of weather, frost and movement so the bricks do not have to, which also means it wears out first.
When joints fail, water gets into the wall. Over a few winters that moisture can cause frost damage, loose bricks, staining inside the house and, in the worst cases, damp problems. Repointing at the right time protects the whole wall for a fraction of what the damage would cost to put right.
Signs Your Brickwork Needs Repointing
Repointing is not needed at the first small crack. Look for these signs instead:
- Mortar that is crumbling, powdery or washing out of the joints
- Gaps where a key or screwdriver can be pushed into the joint
- Joints that have receded well behind the face of the bricks
- Bricks that feel loose or have started to flake and crack
- Damp patches, peeling paint or a musty smell on the inside of an outside wall
- Moss, weeds or plants growing from the joints
How Much Does Repointing Cost?
Price depends on the size of the wall, how high the scaffolding has to go, the condition of the old mortar and the type of mortar used. Because it is slow, skilled work, labour is the biggest part of any quote. For budget planning, this guide on how much repointing costs in the UK breaks down typical prices by property type and per square metre.
How to Repoint Brickwork Step by Step
1. Check the weather and the wall
Pick a dry spell with mild temperatures, roughly between 5°C and 25°C. Frost can ruin fresh mortar and very hot sun makes it dry too fast. Inspect the whole wall first and mark only the joints that are really failing. Sound mortar in good condition should be left alone.
2. Rake out the old mortar
Remove the loose mortar to a depth of about 15 to 20 mm, or at least the width of the joint. A mortar rake or a hammer and plugging chisel gives the most control. Angle grinders are quick but they often chew the brick edges, so a careful hand is better, especially on older brick.
3. Brush out and dampen the joints
Brush all dust and debris out of the joints, then lightly wet the brickwork with a spray bottle. Dry bricks pull water out of new mortar too quickly, which makes it weak. The surface should be damp, not dripping.
4. Mix mortar that suits the bricks
This step matters more than any other. The new mortar should be the same strength as the original, or slightly weaker, never harder than the brick. Older homes built with soft bricks usually need a lime-based mix, while many modern brick walls suit a sand and cement mix with a plasticiser. Taking a sample of the old mortar to a builders’ merchant helps match the colour and sand type. A mix that is too strong traps moisture and can cause the bricks themselves to crack.
5. Fill the joints
Load mortar on to a hawk and press it into the joints with a pointing trowel. Do the vertical joints (perpends) first, then the horizontal ones (bed joints). Pack the mortar in firmly so no air gaps are left, and work in small sections.
6. Shape the finish
Once the mortar is firm to the thumb, usually after 30 to 60 minutes, shape the joints with a jointing tool. Common finishes include flush, weather-struck and recessed. Match the style already on the house so the repair blends in. Brush off any loose crumbs gently with a soft brush.
7. Cure it slowly
Keep the new mortar from drying out in strong sun or wind, and protect it from rain and frost for the first few days. Light misting and a hessian cover help it cure evenly and reach full strength.
Common Repointing Mistakes to Avoid
- Using cement that is stronger than the bricks
- Raking too shallow, so the new mortar has nothing to grip
- Smearing mortar across the brick faces
- Repointing in frost or heavy rain
- Choosing a mortar colour that does not match
Exposed Areas Like Chimneys Wear Out Faster
Brickwork that takes the harshest weather, such as chimney stacks, gable ends and parapets, usually needs attention first. Chimney stacks sit high above the roof with wind and rain hitting them from every side, so their mortar breaks down faster than the rest of the house. A step-by-step guide to the chimney stack repointing process covers the extra safety and access points involved when the work is done at height.
When Failed Pointing Leads to Damp
If water has been getting through worn mortar for a while, damp marks may already show inside. Fixing the pointing stops new water coming in, but wet walls often need further treatment to dry out and stay dry. A specialist damp proofing service can find the cause and treat the affected walls once the brickwork is sound again.
DIY or Hire a Professional?
A small area at ground level, such as a short garden wall, is a reasonable DIY project for anyone with patience and the right tools. Whole house elevations, anything needing scaffolding and any older or listed property are better left to experienced tradespeople. Poor repointing is hard to undo and can damage the bricks permanently. A good contractor will assess the wall, match the mortar and finish, and leave the property watertight.
Final Thoughts
Repointing is one of the best-value repairs you can make to a brick home. Catch failing mortar early, match the new mix to the old, and the walls will stay dry, strong and good-looking for decades.
Frequently Asked Questions
How long does repointing last?
Well-done repointing typically lasts 20 to 30 years or more, depending on the mortar used and how exposed the wall is.
How long does it take to repoint a house?
A small terraced house may take a few days, while a larger detached property can take a week or two. Weather and access both affect the timing.
Can I repoint in winter?
It is best avoided. Mortar needs temperatures above about 5°C to cure properly, and frost in the first few days can ruin the work.