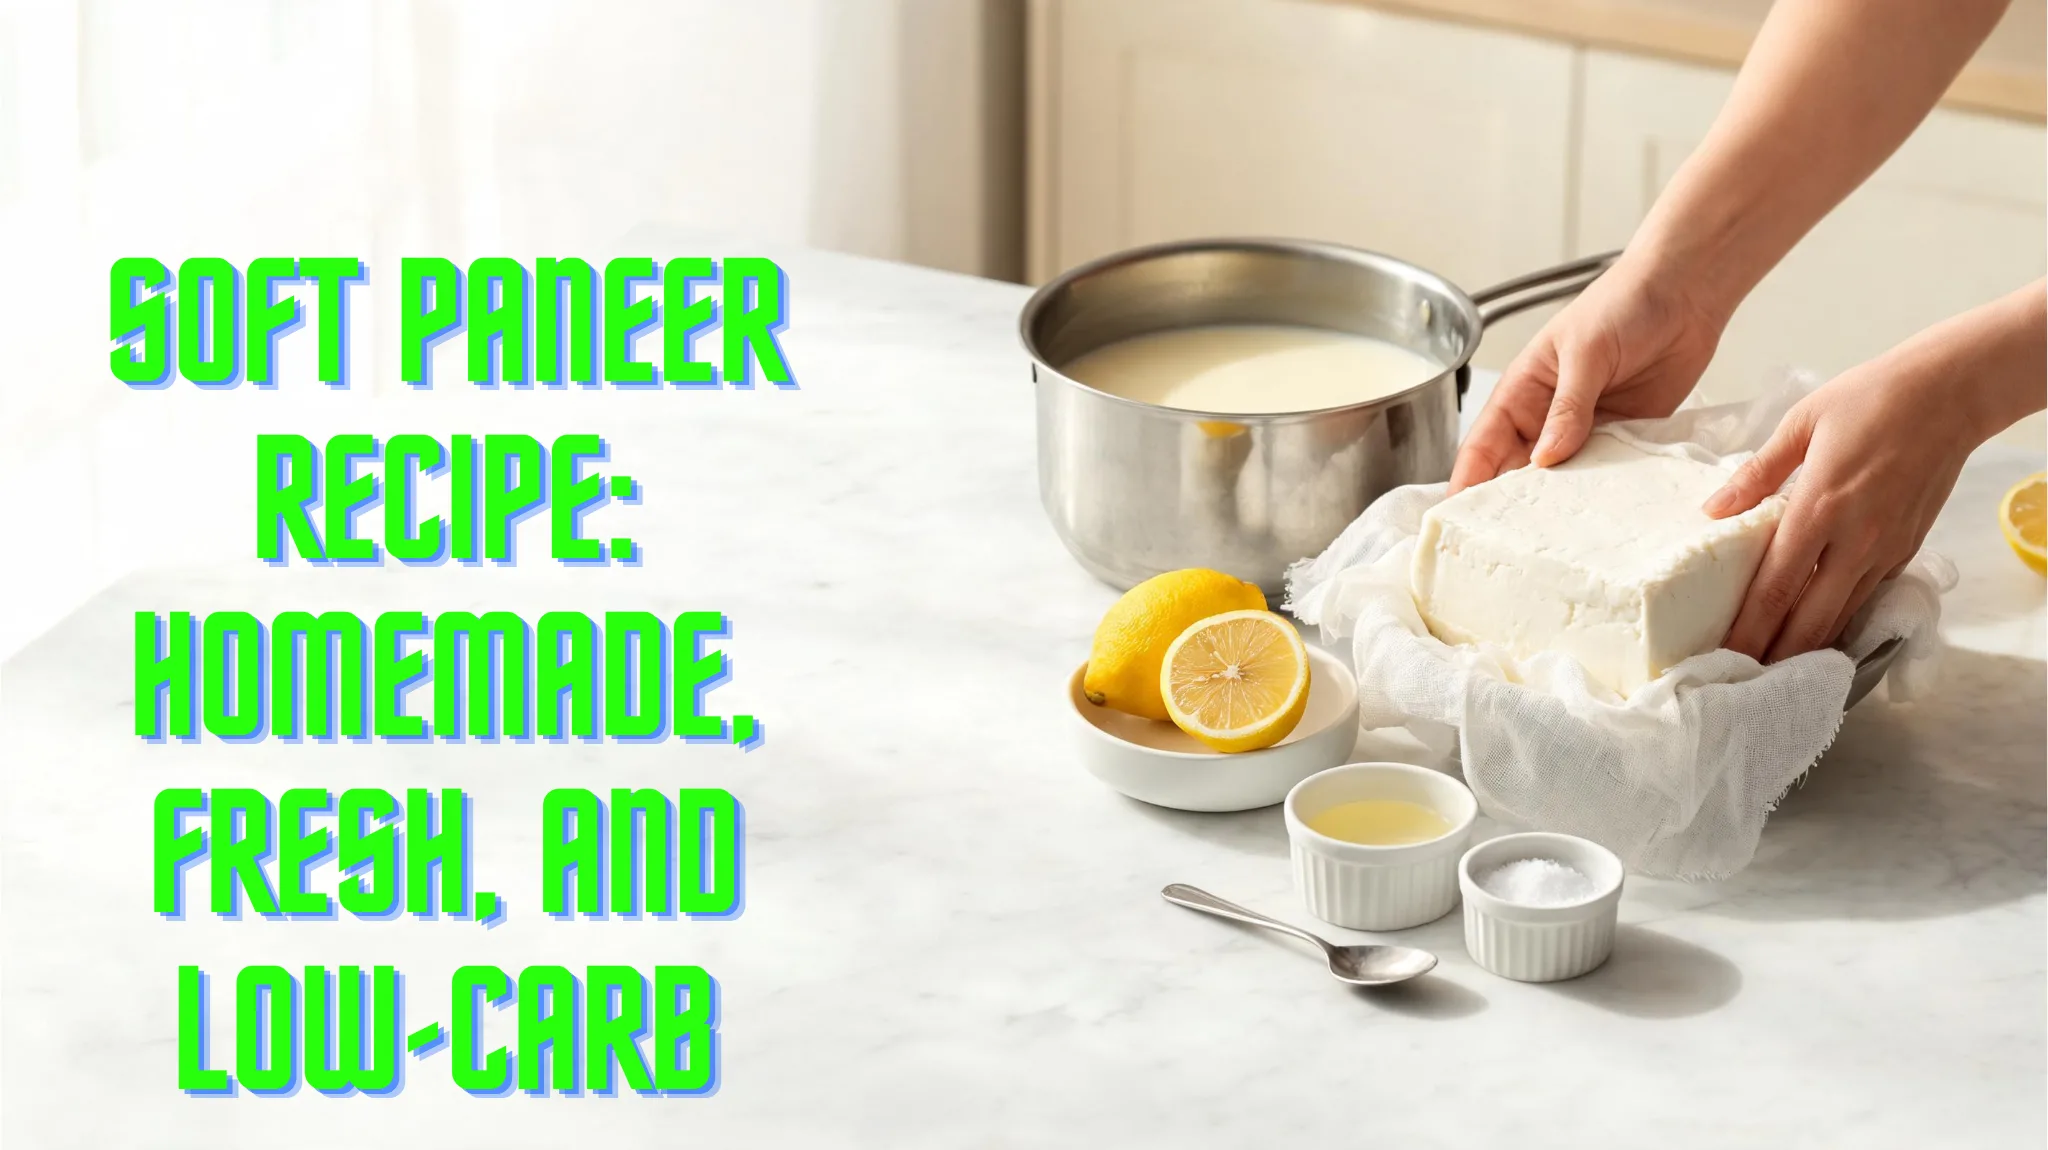
Paneer is one of the easiest and most useful ingredients you can make at home. It is fresh, high in protein, naturally low in carbs, and perfect for Indian recipes like paneer bhurji, palak paneer, tikka, and salads. When made properly, homemade paneer turns out soft, creamy, and far better than many store-bought versions.
Why Make Paneer at Home?
Homemade paneer gives you complete control over the texture, freshness, and ingredients. You can make it soft for curries, firm for cubes, or crumbled for fillings and snacks. It is also a great choice for low-carb eating because paneer is naturally very low in carbohydrates and fits well into keto-style meals.
Another advantage is that homemade paneer is free from preservatives and can be made in just a few simple steps. If you choose toned milk or low-fat milk, you can make a lighter version without losing the fresh homemade taste.
Ingredients You Need
To make soft low-carb paneer at home, you only need a few basic ingredients:
- 1.5 to 2 liters milk.
- 2 to 4 tablespoons lemon juice or vinegar.
- 1 muslin cloth or clean cotton cloth.
- 1 strainer or colander.
- 1 heavy plate, pan, or bowl for pressing.
Some versions use low-fat milk or toned milk for a lighter paneer, while richer versions use whole milk for a creamier texture. A few recipes also use citric acid instead of lemon juice or vinegar.
Step-by-Step Method
1. Boil the milk
Pour the milk into a heavy-bottomed pan and bring it to a gentle boil over medium heat. Stir occasionally so the milk does not stick to the bottom or burn.
2. Curdle the milk
Once the milk starts boiling, turn off the heat and slowly add lemon juice or vinegar, a little at a time. Stir gently until the milk separates into white curds and greenish whey.
3. Strain the curds
Place a muslin cloth over a strainer and pour in the curdled milk. Let the whey drain out completely. This leaves you with fresh chenna, which is the base for paneer.
4. Rinse lightly
Rinse the curds with cold water to remove the sour taste of lemon or vinegar. This step also helps improve the flavor and keeps the paneer tasting clean and mild.[youtube]
5. Press into shape
Gather the cloth, squeeze out extra water, and place the paneer under a heavy plate or pan. Pressing for 15 minutes to 2 hours helps it set into a block, depending on whether you want it soft or firm.
6. Chill and cut
For neat cubes, chill the paneer after pressing and then cut it into pieces. If you want very soft paneer, you can use it right away after draining and lightly pressing.[youtube][carbmanager]
How to Keep It Soft
Soft paneer depends on three things: gentle heating, not adding too much acid, and avoiding over-pressing. If you press it too hard or too long, it becomes dry and crumbly. Using fresh milk and removing the whey at the right moment also helps preserve a tender texture.
If you want a richer and softer result, some recipes use malai or cream with the milk. If you want a lighter version, low-fat milk or toned milk still gives good results, though the paneer may be slightly less rich.
Why It Works for Low-Carb Diets
Paneer is a strong option for low-carb and keto-style eating because it is rich in protein and low in carbohydrates. One keto-style paneer recipe lists about 3 g net carbs per 100 g, which makes it easy to fit into a carb-conscious meal plan.[youtube]
It also pairs well with vegetables, spices, and creamy gravies without adding many extra carbs. That makes it useful for lunch, dinner, or even high-protein snacks.
Best Ways to Use Homemade Paneer
Homemade paneer is very versatile. You can use it in:
- Paneer tikka.
- Paneer bhurji.
- Palak paneer.
- Paneer stir-fry.
- Stuffed wraps or lettuce bowls.
- Spiced grilled paneer snacks.
It also works well for meal prep because it keeps its shape after chilling and can be stored in the fridge for a few days. Some recipes recommend storing paneer in water in an airtight container to keep it fresh.
Common Mistakes to Avoid
Do not boil the milk too aggressively, because that can affect the texture. Add the coagulant slowly instead of dumping it in all at once. If the paneer tastes sour, you probably used too much lemon juice or vinegar, so rinse it more carefully next time.
Also avoid pressing it too long if you want a soft texture. For a softer paneer, less pressure and a shorter setting time work better.
Simple Recipe Card
Homemade Soft Low-Carb Paneer
Ingredients
- 1.5 to 2 liters milk
- 2 to 4 tablespoons lemon juice or vinegar
- Muslin cloth
- Water for rinsing
Method
- Boil the milk gently.
- Turn off the heat.
- Add lemon juice or vinegar slowly until the milk curdles.
- Strain through muslin cloth.
- Rinse with cold water.
- Press lightly for 15 minutes to 2 hours.
- Chill and cut into cubes.
Storage Tips
Keep homemade paneer in an airtight container in the refrigerator. If you want it to stay softer, store it in a little water and use it within a few days. Paneer made at home does not contain preservatives, so fresh storage is important.
Final Thoughts
Making homemade soft, low-carb paneer is simple, budget-friendly, and healthier than many packaged options. With just milk and a coagulant, you can create fresh paneer that works beautifully in both everyday Indian meals and low-carb recipes.
FAQ:
Q. Is homemade paneer really low-carb?
A. Yes. Paneer is naturally very low in carbohydrates and high in protein, which makes it a good fit for low-carb and keto-style eating.
Q. Which milk makes paneer soft?
A. Full-cream milk gives richer, softer paneer, while toned or low-fat milk gives a lighter version with a slightly firmer texture.
Q. Can I make paneer without lemon juice?
A. Yes. Vinegar or citric acid can also be used to curdle the milk. Some recipes even use curds or other mild acids, but lemon juice and vinegar are the most common methods.
Q. Why did my paneer turn hard?
A. Paneer usually turns hard when it is over-pressed, boiled too aggressively, or curdled with too much acid. Gentle heating and light pressing help keep it soft.
Q. How do I make paneer extra soft?
A. Add the acid slowly, stop as soon as the milk separates, rinse the curds with cold water, and press them only for a short time. Some newer tips also suggest diluting lemon juice with water before adding it.
Q. Can I store homemade paneer?
A. Yes. Keep it in an airtight container in the refrigerator, and for better softness, store it in a little water.
Q. How long should I press paneer?
A. For a softer paneer, press it briefly. For firm cubes, press it longer, usually up to 1–2 hours depending on how dense you want it
Q. What can I make with homemade paneer?
A. You can use it in paneer bhurji, palak paneer, tikka, salads, stuffed wraps, and low-carb curries.