Tankless water heaters have become popular with homeowners & businesses that want to improve energy efficiency & have an endless supply of hot water. Tankless water heaters heat the water when it is demanded, instead of constantly heating a tankful of water, like a traditional water heater, which saves the homeowner money on energy costs and takes up less space. If you are considering a tankless water heater installation, read this guide carefully, & hopefully, it will eliminate some of the hassle of the installation process & provide great value.
Why go tankless?
Before jumping right into the installation process, we should take a step back & read the reasons tankless hot water systems are appealing. Tankless hot water heaters use energy only when hot water is needed; as a result, homes that use 41 gallons or less of water per day can reduce their energy use by 24%–34%. Here are a few additional benefits:
· Difficulty Getting Endless Hot Water - Great for large families or commercial businesses.
· Saves Space - Wall-mounted & compact.
· Longer Lifespan - expected lifespan is typically 20 or more years with reasonable maintenance.
· Lower Utility Bills - Saving money on monthly utilities & no standby heat loss are a plus.
Things to Consider Before Installation
The installation of a tankless water heater should be a straightforward process; however, the new unit is not always a direct exchange for the existing water heater. Several factors must be considered:
1. Fuel Type: A tankless water heater can run on hot water from electric or natural gas, or propane. Select a model that integrates well with your existing home utility setup.
2. Flow Rate: Review how much hot water your household uses at peak times. You can use this information to determine a suitable capacity (gallons per minute, GPM).
3. Venting Requirements: Gas units require special venting so that combustion gases do not enter your home. Electric units do not.
4. Electrical Load: Electric tankless water heaters also often call for a larger load (more amperage) on the electrical panel.
5. Professional vs. DIY: Even those experienced at DIY home projects should avoid gas and electrical units in most situations & make sure to choose a licensed professional for proper safety and code compliance.
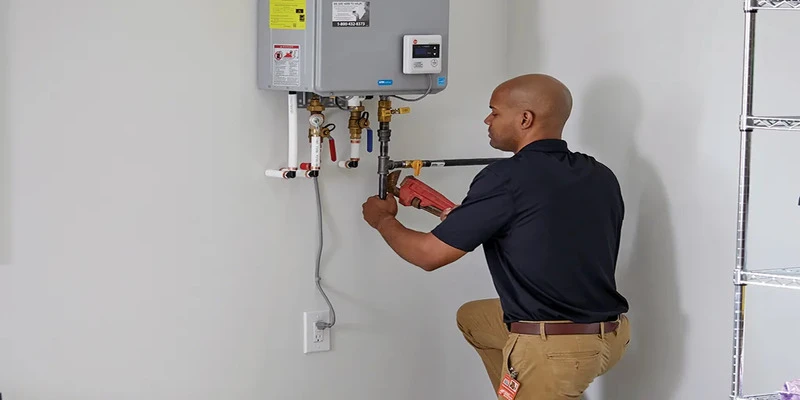
Step-by-Step Installation Process
The installation of a tankless water heater consists of the following steps:
1. Turn Off Utilities: Shut off water and power to the existing water heater.
2. Remove Old Unit: Drain and disconnect the conventional tank unit and allow the area for your new system.
3. Install the Tankless Unit: Using the manufacturer's type bracket system, install it to a wall with the available water lines and electrical or gas supply lines nearby.
4. Connect Water Lines: Either flexible stainless-steel pipe or copper pipe can be used. Ensure that isolation valves are provided for future maintenance.
5. Venting (if gas): Follow the local codes and manufacturer instructions for venting to the outside.
6. Wire Electrical (if electric): Install all required breakers & electrical wiring based on the required amperage.
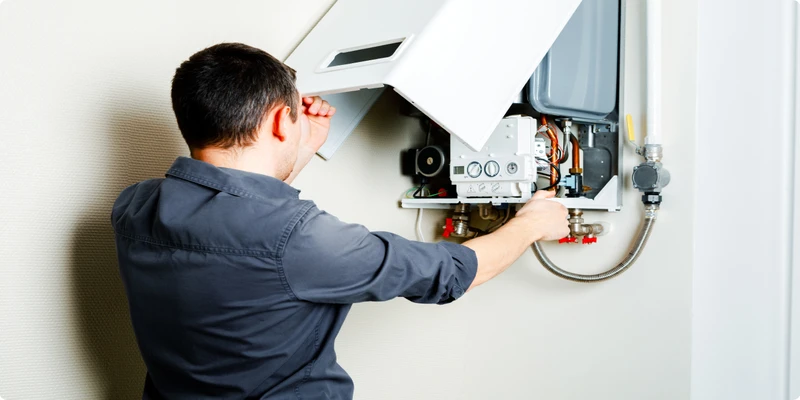
7. Check for Leaks: Check all plumbing connections & gas connections are leak-tight.
8. Power on and Test: Turn on the utilities, turn on the hot water taps, & ensure the unit starts and keeps the desired temperature.
Suggestions after Installation
· Descale the system every year to ensure mineral buildup does not occur, especially in an area with hard water.
· Maintain good flow through air filters and inlets.
· Regularly flush the system to preserve longevity and efficiency.
Conclusions
A tankless hot water heater is a great option if you are considering energy savings & space. A tankless system typically has a higher installation cost than a traditional system, but the gains can be advantageous for the long haul. It does not matter if you are moving into a renovated home or a new property; if you know the full process of installation, it can aid in making decisions & enjoying worry-free hot water for years to come.