Mobile app development has evolved rapidly over the past decade, with developers constantly searching for frameworks that allow them to build high-quality apps efficiently across multiple platforms. One of the most popular solutions today is Flutter, an open-source UI toolkit developed by Google. Flutter enables developers to create natively compiled applications for mobile, web, and desktop using a single codebase. This article will guide you through the basics of getting started with Flutter for mobile app development, including installation, key concepts, and building your first app.
What is Flutter?
Flutter is a cross-platform framework that uses the Dart programming language to build applications with a rich and expressive user interface. Unlike many other frameworks that rely on native components, Flutter uses its own rendering engine to draw widgets directly on the screen. This approach provides consistent performance and appearance across different platforms such as Android and iOS.
One of Flutter’s biggest advantages is its “hot reload” feature. This allows developers to instantly see the results of code changes without restarting the application, significantly speeding up the development process. Flutter also offers a vast library of pre-built widgets, enabling developers to design visually appealing apps with minimal effort.
Why Choose Flutter?
There are several reasons why Flutter has gained popularity among developers and organizations:
- Single Codebase
- With Flutter, you can write one codebase and deploy it to multiple platforms, saving both time and resources.
- Fast Development
- Hot reload enables rapid experimentation, bug fixing, and feature implementation.
- High Performance
- Flutter apps are compiled directly into native ARM code, ensuring smooth performance comparable to native apps.
- Beautiful UI
- Flutter provides customizable widgets that follow modern design principles, including Material Design and Cupertino styles.
- Strong Community Support
- A large and active developer community contributes plugins, tutorials, and tools to enhance the Flutter ecosystem.
Installing Flutter
Before building your first app, you need to install Flutter on your system. The installation process typically involves the following steps:
- Download the Flutter SDK
- Visit the official Flutter website and download the SDK suitable for your operating system (Windows, macOS, or Linux).
- Extract and Configure Path
- Extract the downloaded file and add the Flutter
bindirectory to your system’s PATH environment variable. - Run Flutter Doctor
- Open a terminal or command prompt and run:
flutter doctor
- This command checks your environment and lists any dependencies you still need to install, such as Android Studio or Xcode.
- Install an IDE
- Popular IDEs for Flutter development include:
- Android Studio
- Visual Studio Code
- IntelliJ IDEA
- Install the Flutter and Dart plugins within your chosen IDE for a better development experience.
Understanding Flutter Architecture
Flutter’s architecture is based on widgets. Everything you see in a Flutter app—buttons, text, images, layouts—is a widget. Widgets are organized in a hierarchical structure called the widget tree.
There are two main types of widgets:
- Stateless Widgets: These widgets do not change once created. They are used for static content.
- Stateful Widgets: These widgets can change dynamically during runtime based on user interaction or data updates.
Flutter also uses layers to manage rendering:
- Framework Layer: Handles widgets, gestures, animations, and layouts.
- Engine Layer: Written in C++, responsible for rendering using Skia graphics engine.
- Embedder Layer: Connects Flutter with platform-specific code for Android, iOS, and other systems.
Understanding these layers helps developers optimize performance and troubleshoot issues effectively.
Creating Your First Flutter App
Once Flutter is installed, creating a new project is straightforward. You can use the following command:
flutter create my_first_app
Navigate into the project folder:
cd my_first_app
Then run the app:
flutter run
Flutter provides a default counter app template that demonstrates basic functionality such as state management and UI updates.
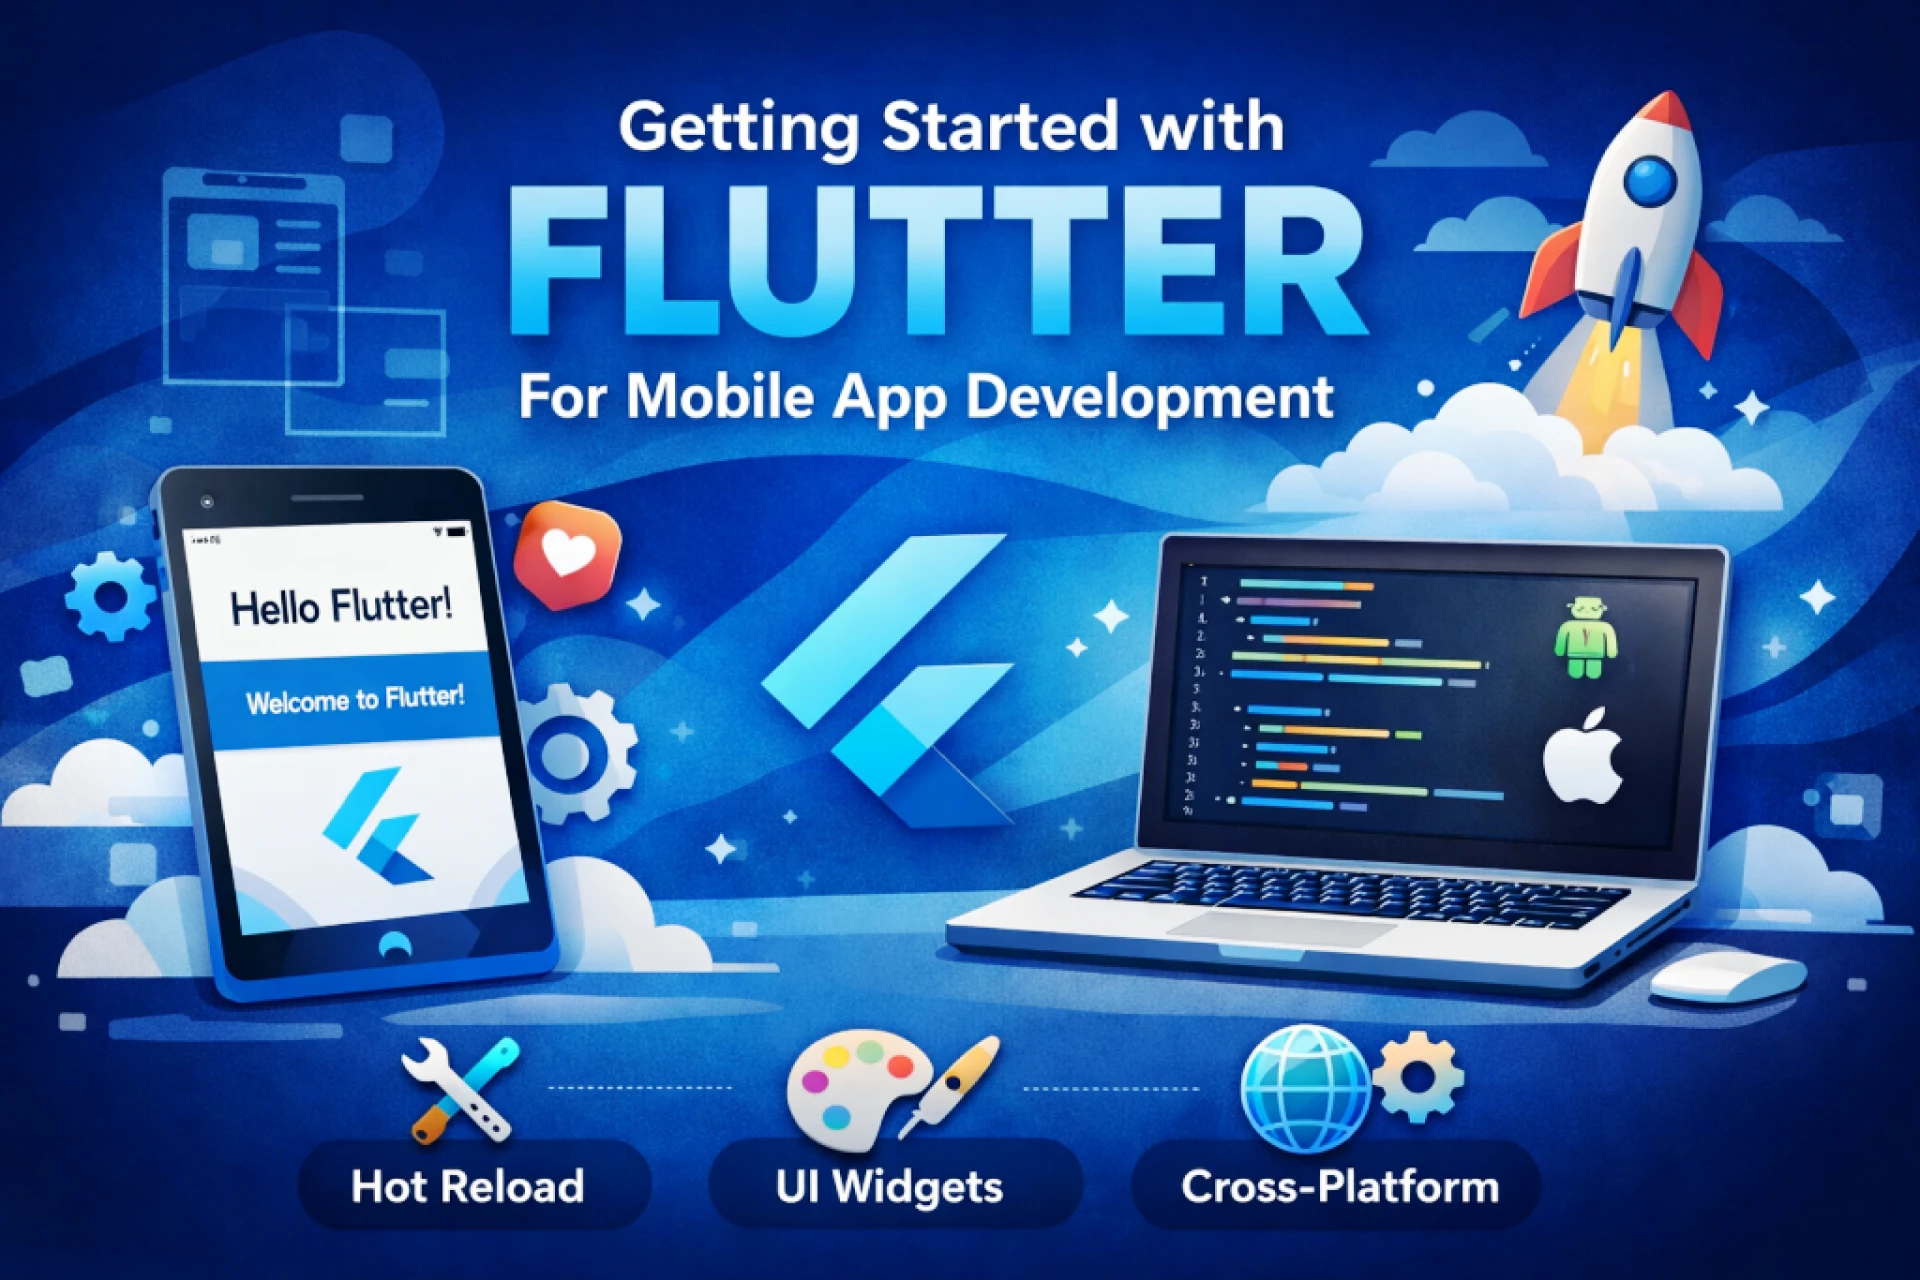
Example: Simple Hello World App
Here is a minimal Flutter app example:
import 'package:flutter/material.dart';

void main() {
  runApp(MyApp());
}

class MyApp extends StatelessWidget {
  @override
  Widget build(BuildContext context) {
    return MaterialApp(
      title: 'Hello Flutter',
      home: Scaffold(
        appBar: AppBar(
          title: Text('Hello Flutter'),
        ),
        body: Center(
          child: Text(
            'Welcome to Flutter!',
            style: TextStyle(fontSize: 24),
          ),
        ),
      ),
    );
  }
}
This code creates a basic application with an app bar and centered text. Although simple, it demonstrates the structure of a Flutter app, including the main() function, widgets, and layout.
Key Concepts to Learn Next
After building your first app, you should explore the following Flutter concepts:
1. Layout and Widgets
Learn how to use layout widgets such as Row, Column, Container, and Stack to design responsive user interfaces.
2. Navigation and Routing
Navigation allows users to move between screens. Flutter provides Navigator and routes for managing app navigation efficiently.
3. State Management
State management is crucial for handling dynamic data. Popular approaches include:
- Provider
- Riverpod
- Bloc
- GetX
Choosing the right state management solution depends on your project complexity.
4. Networking and APIs
Most modern apps require backend communication. Flutter supports HTTP requests using packages like http and dio to fetch and send data.
5. Packages and Plugins
Flutter has a rich ecosystem of packages available on pub.dev, covering functionalities like authentication, maps, payments, and animations.
Testing and Debugging
Flutter includes built-in tools for testing and debugging:
- Unit Testing for business logic
- Widget Testing for UI components
- Integration Testing for full app workflows
The Flutter DevTools suite provides performance analysis, memory inspection, and debugging features, helping developers maintain high-quality apps.
Deploying Flutter Apps
Once your app is ready, you can deploy it to app stores:
- Android: Publish via the Google Play Store.
- iOS: Publish via the Apple App Store.
Flutter provides detailed documentation for building release versions, signing apps, and preparing store listings.
Advantages and Limitations
Advantages
- Faster development cycle
- Cross-platform support
- Strong UI capabilities
- Growing ecosystem
Limitations
- Larger app size compared to native apps
- Limited third-party libraries compared to older frameworks
- Dart language learning curve for beginners
Conclusion
Flutter has become one of the leading frameworks for mobile app development due to its performance, flexibility, and developer productivity features. By learning Flutter, developers can create beautiful, high-performance applications for multiple platforms using a single codebase. Whether you are a beginner or an experienced developer, Flutter offers a powerful toolkit to turn your app ideas into reality.
Getting started may seem challenging at first, but with consistent practice and exploration of advanced concepts like state management and animations, you can quickly become proficient. As the ecosystem continues to grow, Flutter is likely to remain a major player in the future of app development.