Old tile can make your home look dated, but tearing it out doesn’t have to take days of hard labor. With the right approach, you can remove tile quickly and prepare your floor for a fresh new look—without wasting time or money. The secret isn’t brute force, but using smart techniques and the proper tools.
This guide will walk you through the fastest way to remove tile while keeping your subfloor intact and ready for a makeover.
Why Speed Matters in Tile Removal
Dragging out the removal process only adds stress, mess, and fatigue. A quick, efficient removal not only saves time but also means:
- Less dust spreads throughout your home.
- Faster transition to new flooring installation.
- Lower tool rental costs.
- Less physical strain on you.
Contractors know these time-saving tricks, but you can use them too.
Tools That Make Tile Removal Faster
Trying to remove tile with just a hammer and chisel will take forever. Instead, use tools designed for speed:
- Rotary hammer with a chisel bit – the ultimate tile-removal machine.
- Floor scraper – pops up tile in large sections.
- Grinder with a thinset removal blade – clears mortar fast.
- Shop vac with HEPA filter – sucks up dust as you go.
- Protective gear – gloves, goggles, and a respirator to keep you safe while working quickly.
Renting a rotary hammer or floor scraper costs $50–$100 per day, but it cuts hours (even days) off the project.
Quick Preparation Before You Start
Preparation may feel like a slowdown, but it actually speeds up the entire process. Do this first:
- Clear the room completely – furniture, appliances, and rugs out of the way.
- Seal off nearby rooms – use plastic sheeting to contain dust.
- Protect vents and outlets – prevent fine debris from spreading.
- Set up a disposal plan – have buckets, bags, or a dumpster ready to go.
Step-by-Step: The Fastest Tile Removal Method
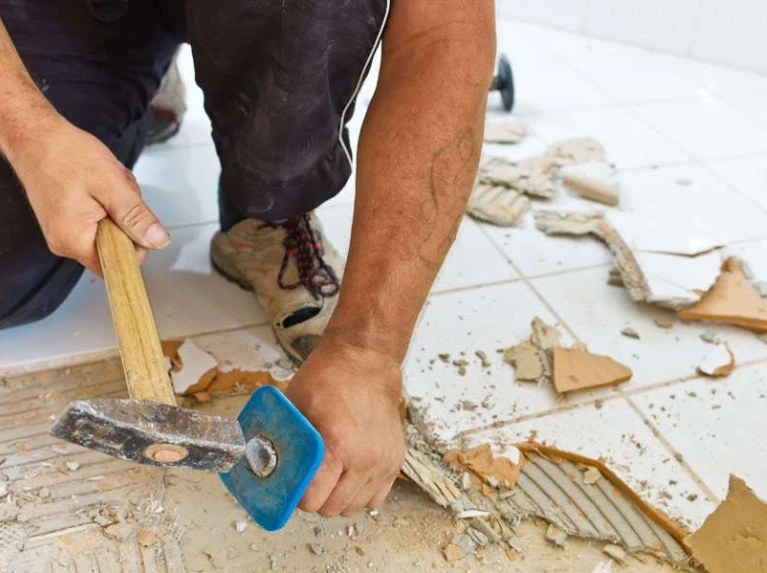
1. Start at a Weak Spot
Find a loose tile, corner, or edge. Use a hammer and chisel to lift the first piece.
2. Let Power Tools Do the Work
Switch to a rotary hammer or floor scraper. Keep a steady angle under the tiles and let the tool’s vibration lift them in sections.
3. Remove Mortar Quickly
Use a grinder or chisel bit to scrape off thinset. Don’t waste time chipping by hand—power tools make the surface smooth in minutes.
4. Clear Debris as You Go
Shovel or vacuum broken tiles into buckets instead of letting them pile up. A clean workspace keeps you moving fast.
5. Inspect the Subfloor Immediately
Once the tile and mortar are gone, check for cracks, rot, or uneven spots. Patch or sand them right away so the floor is ready for its new makeover.
How Long Does It Take?
- Small bathroom (50–100 sq. ft.): 2–4 hours with power tools.
- Average kitchen (200–300 sq. ft.): 1 day.
- Large space (500+ sq. ft.): 1–2 days depending on subfloor condition.
Without power tools, those timelines can triple—one reason contractors always use them.
Cost Savings of Fast DIY Removal
Hiring a contractor for tile removal costs $3–$7 per square foot. That’s $1,500–$3,500 for a 500 sq. ft. space.
DIY with rentals:
- Tools: $50–$100/day
- Safety gear: $50–$100
- Disposal: $50–$200
- Total: $200–$500
That’s up to 80% in savings—and the faster you work, the less you spend on rentals.
Pro Tips for Maximum Speed
- Work in teams – one removes tile, one clears debris.
- Mist tiles lightly with water – reduces dust and makes them pop up easier.
- Take breaks smartly – short rests keep you working longer at a steady pace.
- Keep tools sharp – dull bits slow you down.
Conclusion
The fastest way to remove tile is all about preparation, power tools, and smart cleanup. With the right method, you can strip an entire floor in hours instead of days, all while keeping costs low and your subfloor in great condition. For expert guidance or professional backup, check out Tile Setters Vancouver.
If you’re planning a home makeover, don’t let old tile slow you down. Use these tips, work efficiently, and you’ll have your floor ready for its fresh new look in no time.