Launching your first website can feel overwhelming, especially when you’re hunting for affordable hosting and a domain name. Luckily, many web hosting providers now offer free domain registration with their hosting plans—sometimes with discounts of up to 90%.
Whether you’re building a personal blog, business website, or online store, getting a free domain with your hosting can save you both money and hassle. For example, new users can often get extra savings using a hostinger coupon code for first time user, making it easier than ever to launch your website. In this guide, we’ll walk you step by step through registering your free domain and choosing the right hosting provider for your needs.
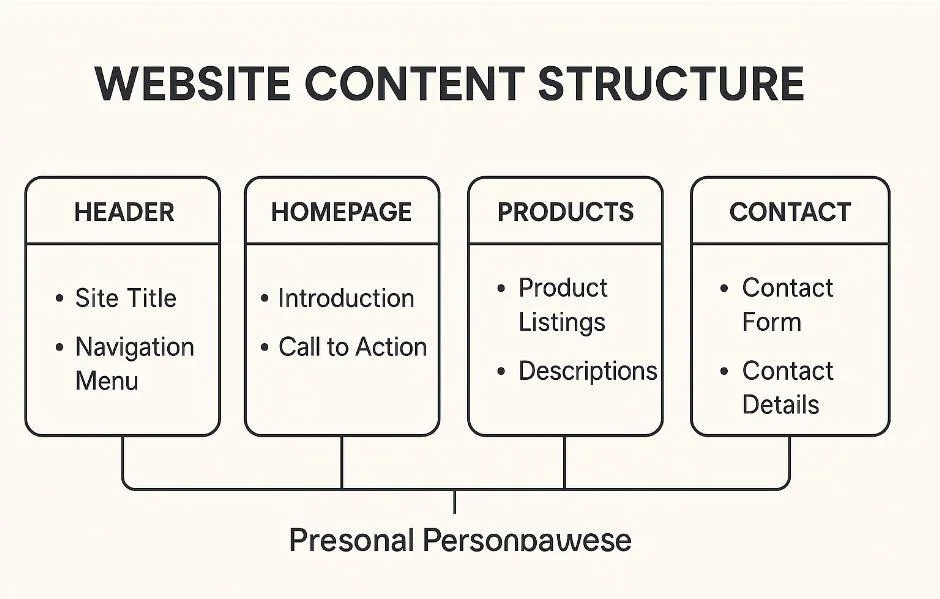
Why You Should Choose Web Hosting with a Free Domain
Choosing web hosting that comes with a free domain offers several key advantages:
- Cost Savings – Registering a domain separately can cost $10–$20 per year. A hosting plan that includes a free domain eliminates this extra cost.
- Simplified Setup – Having your domain and hosting under one account streamlines management, making it easier to connect your website and email.
- Bonus Features – Many hosting plans include free SSL certificates, website builders, and professional email addresses alongside the domain.
Step 1 – Choose the Best Hosting Provider for Your Needs
Not all hosting providers are created equal. When looking for web hosting with a free domain, consider these popular options:
ProviderPlanFree Domain DurationDiscountFeaturesPros/ConsBluehostBasic1 yearUp to 70%WordPress-ready, SSL, 24/7 supportPros: Reliable, beginner-friendly; Cons: Renewal price higherHostingerPremium Shared1 yearUp to 90%Ultra-fast, free SSL, free emailPros: Cheapest deals; Cons: Limited support on low-tier plansSiteGroundStartUp1 yearUp to 60%Managed WordPress, SSL, daily backupsPros: High performance; Cons: More expensiveGoDaddyEconomy1 yearUp to 65%Easy domain management, SSLPros: Big brand; Cons: Upsells
Tips:
- Beginners usually benefit most from shared hosting with a free domain.
- Small businesses or e-commerce sites may want VPS or WordPress hosting for better speed and control.
Step 2 – Select Your Hosting Plan
Once you choose a provider, pick the hosting plan that fits your website goals:
- Shared Hosting – Best for personal blogs or small websites. Low cost, limited resources.
- VPS Hosting – Offers more resources and control. Ideal for growing businesses or medium-traffic sites.
- Dedicated Hosting – High performance for large sites. More expensive but powerful.
- WordPress Hosting – Optimized for WordPress sites with easy setup.
Tip: Make sure the plan explicitly includes a free domain registration, as some plans may not.
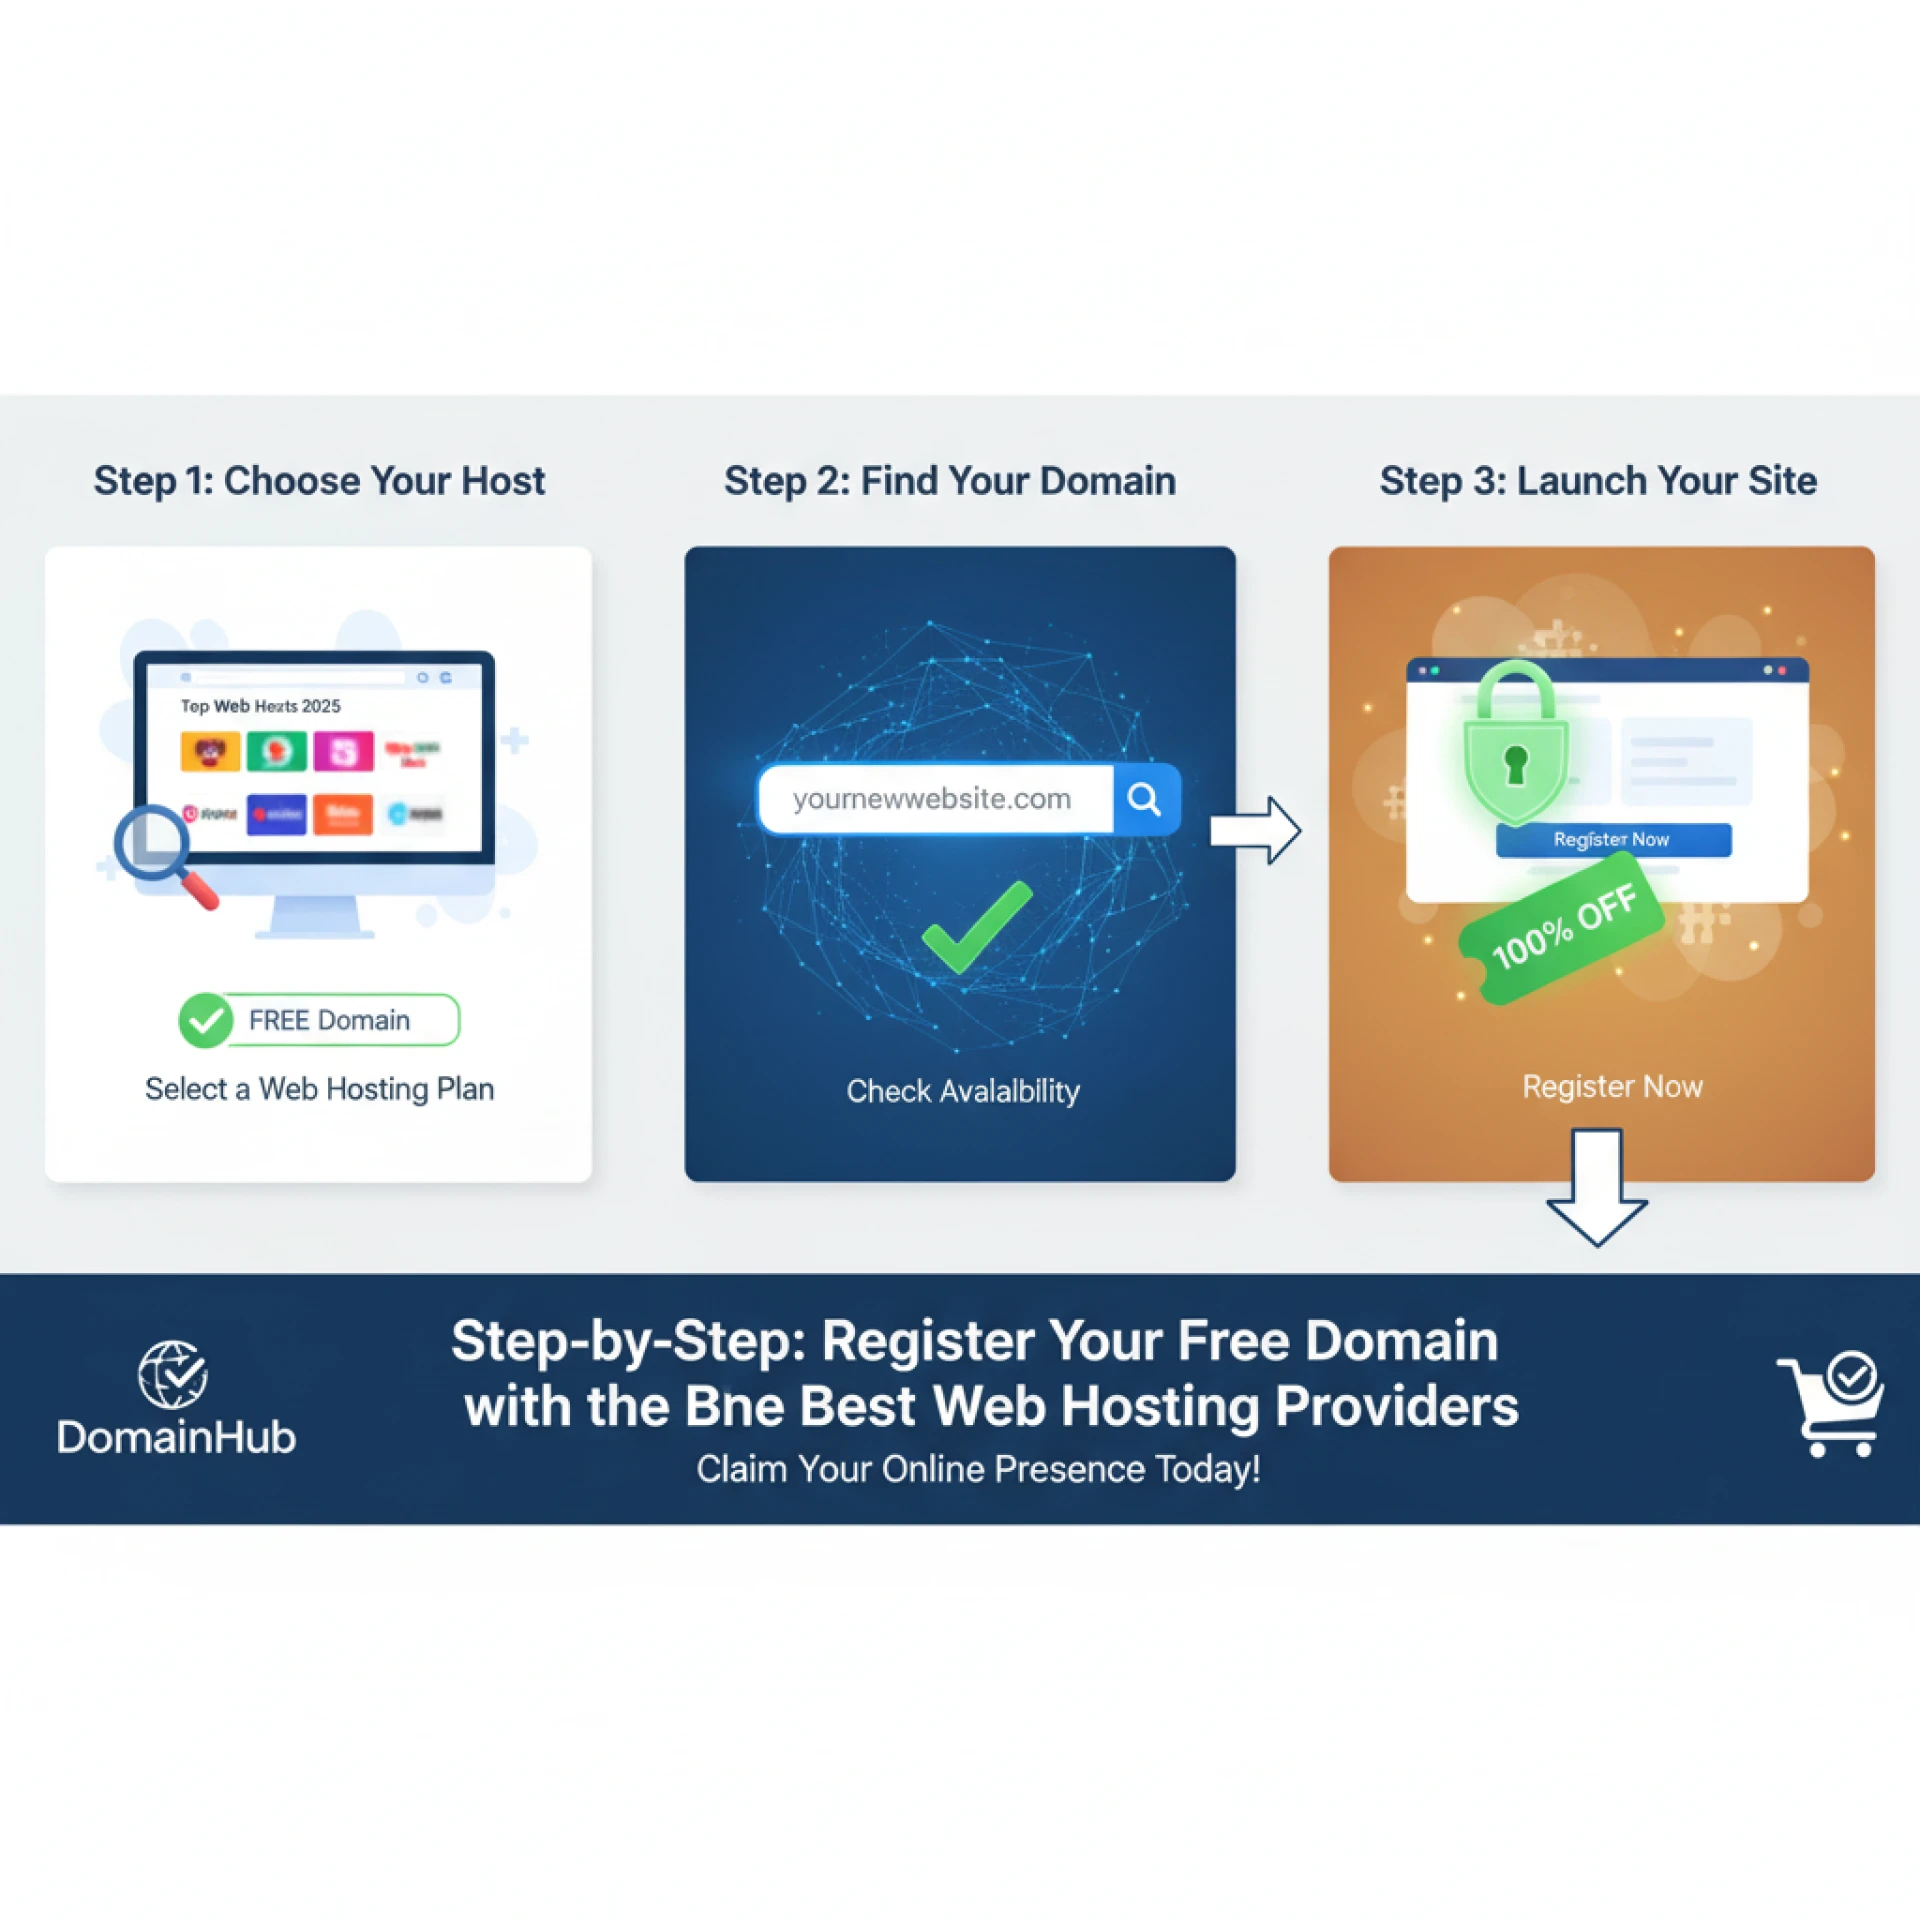
Step 3 – Register Your Free Domain
Now comes the exciting part: claiming your free domain! Follow these steps:
- Check Domain Availability – Think of a unique and memorable name. Tools like Bluehost or Hostinger let you search instantly.
- Choose Your Domain Extension – .com, .net, .org are the most common. Newer extensions (.tech, .online) may cost extra.
- Add the Domain to Your Cart – The free domain is usually automatically applied when purchasing the hosting plan.
- Avoid Hidden Fees – Watch out for auto-renewal or privacy protection charges, which may be optional.
Tips for choosing a domain:
- Keep it short and easy to remember.
- Avoid numbers or hyphens.
- Match your brand or website niche.
Step 4 – Complete Hosting Setup and Launch Your Website
After registering your domain, it’s time to get your website live:
- Connect Domain to Hosting – Usually automatic, but some providers may require DNS setup.
- Install a CMS – WordPress is popular and beginner-friendly. Other options include Joomla or Drupal.
- Activate SSL – Protects your website and improves SEO. Most hosting providers include free SSL.
- Create Email Accounts – Many hosting plans include professional emails linked to your domain.
- Launch Your Website – Publish your first pages and content.
Tips for Maximizing Your Free Domain Hosting Deal
- Look for long-term discounts or promo codes for even bigger savings.
- Consider domain privacy protection to keep your personal details safe.
- Evaluate support and uptime guarantees—cheaper plans may lack responsive support.
- Use the free domain strategically—pick a name that can grow with your business.
Comparison: Top Web Hosting Providers Offering Free Domain
Here’s a quick overview for easy decision-making:
Hosting ProviderPlanFree DomainDiscountIdeal ForBluehostBasic1 YearUp to 70%Beginners, bloggersHostingerPremium Shared1 YearUp to 90%Small businesses, startupsSiteGroundStartUp1 YearUp to 60%WordPress users, high performanceGoDaddyEconomy1 YearUp to 65%Easy domain management, beginners
FAQ Section
Can I get a free domain with any hosting provider?
No. Only certain plans include a free domain. Always check the provider’s terms before purchasing.
How long is the free domain valid?
Typically, free domains are valid for 1 year. After that, you’ll pay the standard renewal fee.
Which domain extensions are included?
Common extensions like .com, .net, and .org are usually included. Premium TLDs may cost extra.
Can I transfer my free domain later?
Yes, most providers allow domain transfers after the initial registration period.
Are there hidden fees with free domain hosting?
Watch for auto-renewal, privacy protection, or add-on services. Most plans clearly list fees during checkout.
Conclusion
Getting a free domain with your web hosting is one of the easiest ways to save money and launch your website quickly. By choosing the right hosting provider and plan, you can enjoy features like SSL certificates, email accounts, and website builders without breaking the bank. Whether you’re a beginner blogger or a small business owner, following this step-by-step guide ensures a smooth, hassle-free experience.
Call to Action: Don’t wait—claim your free domain hosting deal today and start building your website in minutes!