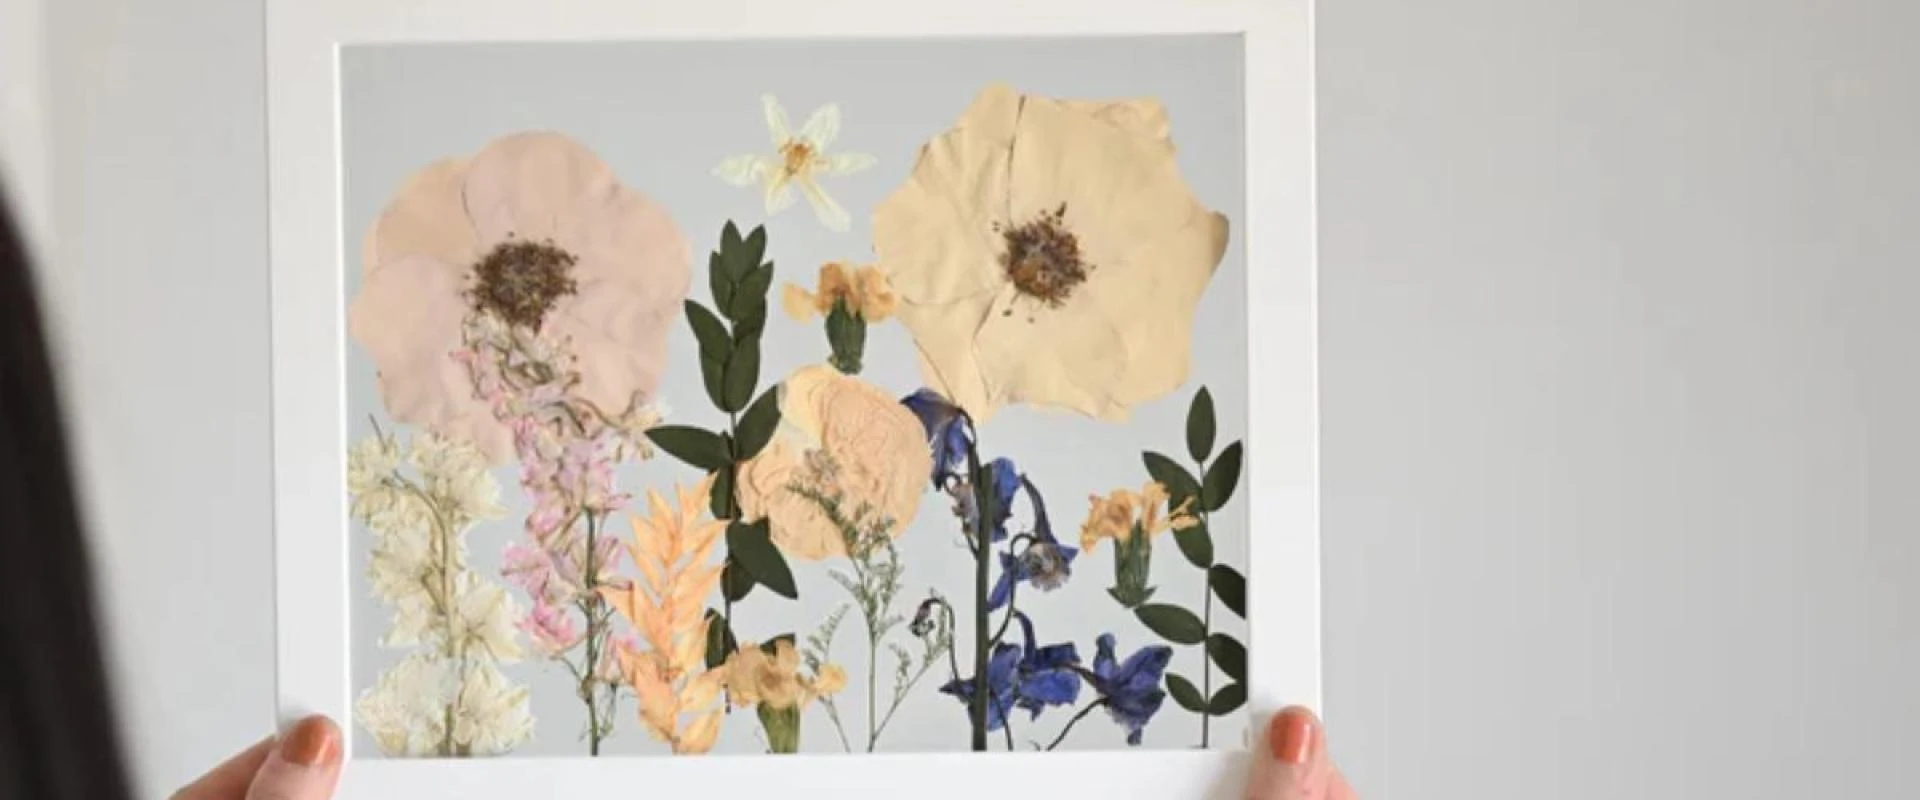
Did you ever think about preserving the most meaningful stems of your life? For instance, flowers from a wedding, anniversary, or birthday? There’s something timeless about holding onto those petals long after the moment has passed. Pressing flowers is one of the simplest and most rewarding ways to preserve that beauty. It perfectly turns delicate blooms into lasting art, sentimental keepsakes, or even unique décor pieces.
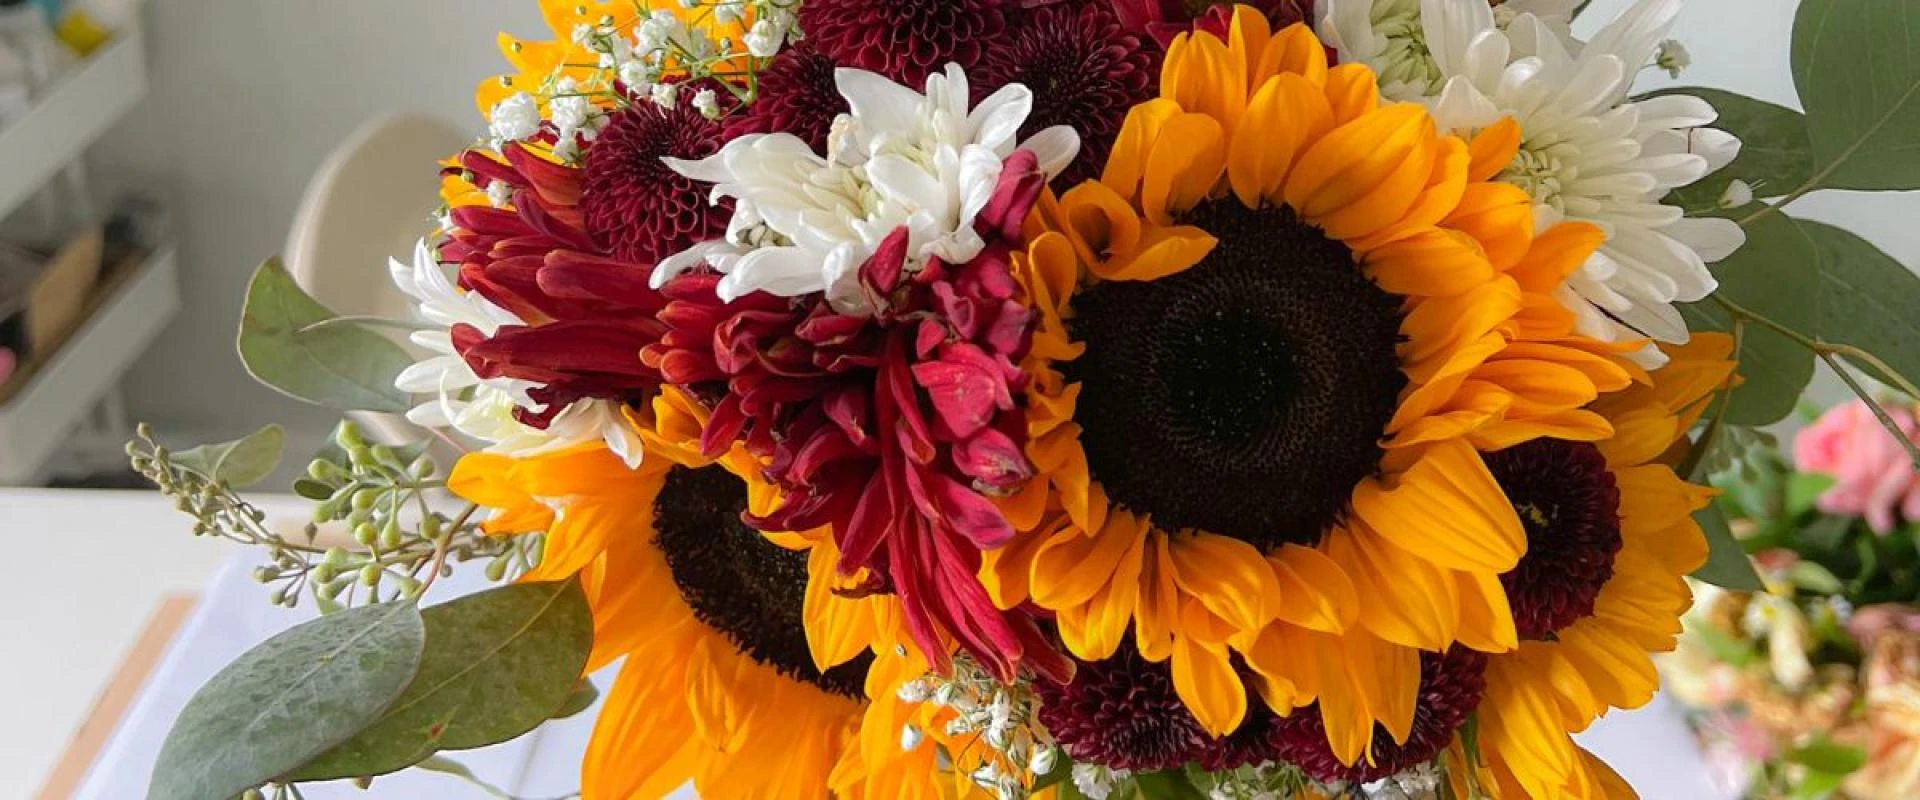
This traditional method requires only a few supplies yet delivers beautiful results, whether you’re saving flowers from a special occasion, a seasonal garden harvest, or a spontaneous bouquet. Being patient is key when pressing flowers. When you're done, the petals will be perfectly flattened and ready to be framed, scrapbooked, or turned into handmade gifts. Even better, you don't need any special tools. All you need is a soft touch and the right way to do things. Here are the most important things you need to know to get beautiful, long-lasting pressed flowers if you want to save flowers at home.
The Nature of Your Flower
Not all flower preservation methods are the same. This is because delicate petals, thick stems, and varying moisture levels all play a great role in how well a bloom can be preserved. For example, think about pansies and daisies; they dry out beautifully. On the other hand, blooms like hydrangeas and roses need extra care because their thick layers can turn brown if you don’t handle them right.
Think about the flower’s structure before pressing. Thin and pliable petals dry faster and retain color better, whereas fleshy or waxy blooms may need blotting or pre-drying to prevent mold. It's also important to know when to gather. Because they don't have as much water, flowers picked in the middle of the day often press more cleanly than flowers picked in the morning dew.
It's important to work with a flower's natural characteristics rather than forcing a one-size-fits-all method. It should be about maintaining flower’s natural shape and texture, not against it. Every bloom is a little different, so you might need to tweak how you prep it, how long you let it dry, or how much pressure you use. These small adjustments can make a big difference—and they’re what help your pressed flowers keep their beauty, not just their shape.
Press the Flowers in a Book
Pressing your flowers in a book is the simplest way to press them. However, doing it the right way takes some know-how. Here’s what you need to keep in mind:
Choose the right book: You must use a heavy hardcover book that wouldn’t affect you even if getting slightly damaged. Also, phone books or old dictionaries work perfectly.
Prepare the flowers: The flowers you choose should not have moisture from rain or dew. Flowers with thin petals (like violets or daisies) press the best. Avoid thick flowers (like roses) unless you separate the petals first.
Lay them properly: Place the flowers between the sheets of parchment paper or coffee filters inside the book. Also, make sure they do not touch each other.
Add weight: Close the book and stack more heavy books on top, as the more pressure that is applied to the flower, the better the results will be.
Wait: Patience is the key to getting expected results. Leave the flower for 2-4 weeks. After waiting, check if the petals still feel soft.
Change the blotting paper every few days for the first week to prevent moisture buildup and mold. This method won't give you instant results, but it's the most reliable way to get perfectly flat, vibrant pressed flowers.
Homemade Wooden Press
Creating your own wooden flower press is a fantastic way to achieve professional-looking pressed flowers right at home. Unlike using books, a wooden press distributes pressure evenly and keeps your blooms perfectly flat without risking damaged pages. Here’s how to make one yourself:
Given below are the Supplies You’ll Need:
- Two 12 × 12-inch pieces of plywood or MDF
- Cardboard sheets (cut to size)
- Two sheets of blotting or parchment paper
- Four bolts with matching wingnuts
- Drill and measuring tape
Step 1: Prepare the Boards
Create a hole about an inch from the edge of each corner of both wooden boards. Coordinate the holes so that the nuts can easily go through both parts.
Step 2: Layer the Press
Cut a cardboard to fit inside the boards, leaving space around the drilled holes. Start with a cardboard layer, then a sheet of blotting paper. Place your flowers carefully on top, cover them with another sheet of blotting paper, and sandwich everything between cardboard pieces.
Step 3: Assemble and Press
Stack the layers between the two wooden boards. Insert the bolts through the holes, secure them with wingnuts, and tighten to create firm, even pressure. Leave the flowers to dry for 2–4 weeks, adjusting the pressure occasionally if needed.
You can decorate or paint your wooden press for a personal touch—it makes for both a practical and beautiful keepsake.
Using the Microwave Option
If you love beautifully pressed flowers but don’t want to wait weeks for results, the microwave method is just the perfect answer for you! It’s quick, efficient, and preserves vibrant colors. This means it's an ideal method for last-minute surprises or impatient crafters.
Here's What You’ll Need:
- Microwave-safe flower press (like the Microfleur)
- Fresh flowers or leaves
- Tweezers (helpful for delicate petals)
Step 1: Arrange Your Flowers
Place your flowers face down on the fabric cover of the press, making sure they don't touch. Put flowers that are alike together to dry more evenly.
Step 2: Microwave in Short Bursts
Start with an initial 30-second zap, then check for dryness. If needed, continue microwaving in 10-second intervals until the petals feel crisp and papery.
Let the press cool between bursts to prevent scorching—some thicker flowers (like succulents) may need extra care!
Step 3: Remove with Care
Gently peel your flowers off the liner—tweezers can help if petals stick. If any scorch marks appear, don’t worry! Replacement liners are always an option.
No flower press? Try microwaving blooms between parchment paper inside a heavy book (just make sure it’s metal-free—unless you enjoy kitchen fireworks!).
Conclusion
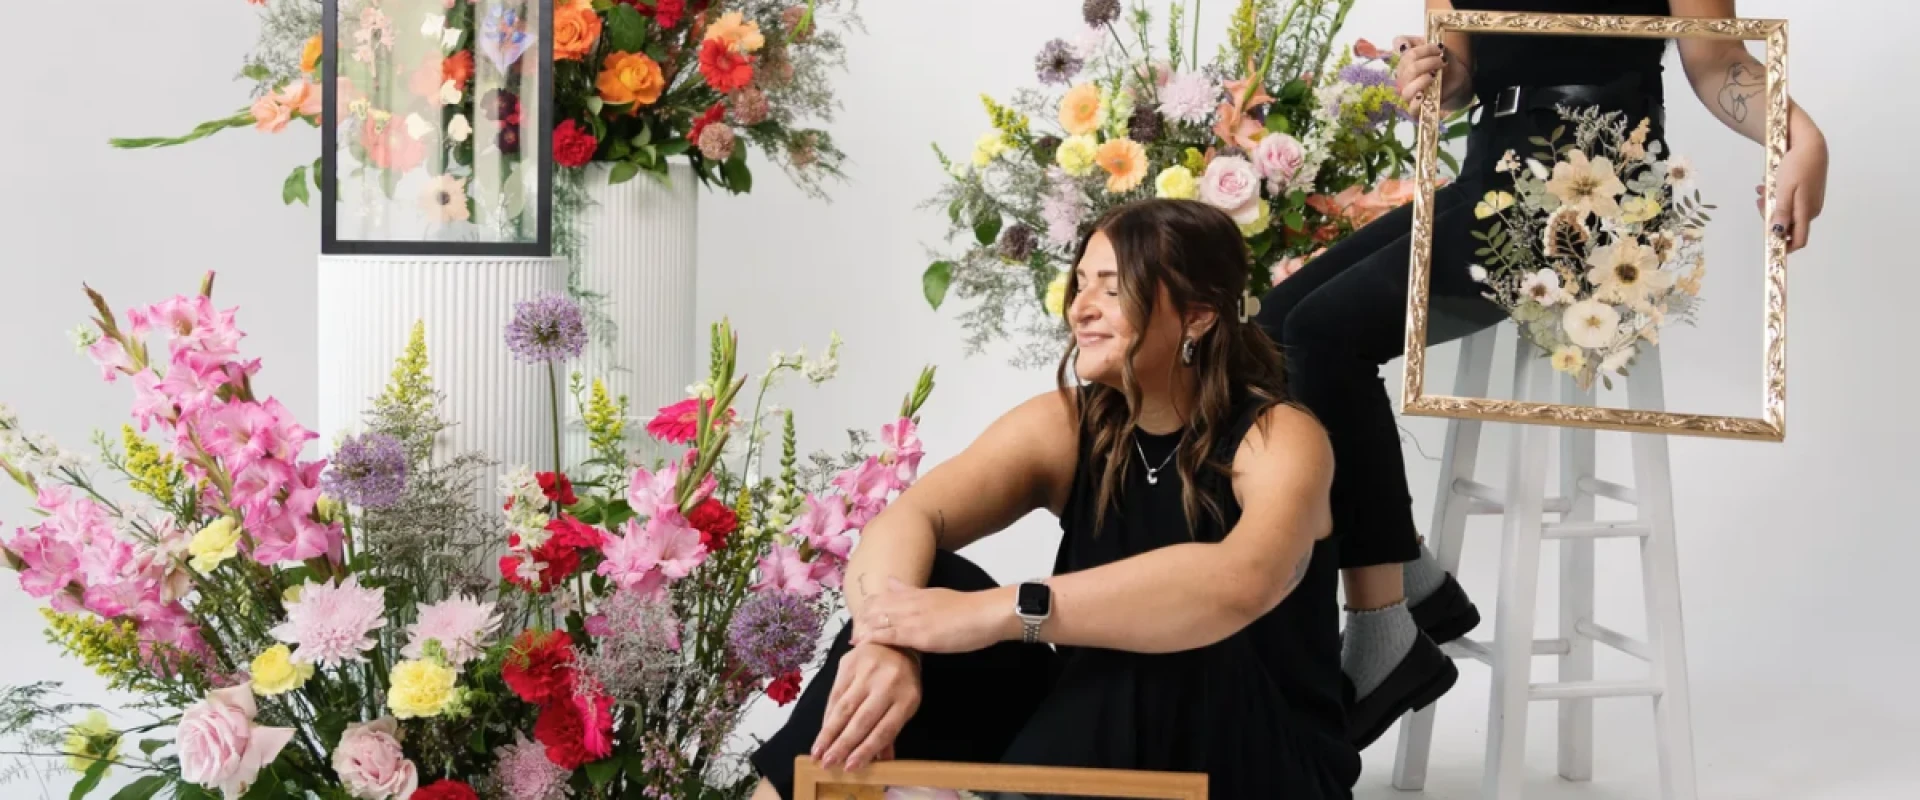
At The Olive Branch Studios, we believe in turning fleeting beauty into lasting treasures. Our handcrafted pressed frame bridal bouquets, resin jewelry, and custom keepsakes are designed to celebrate your most cherished memories—wedding bouquets, anniversary roses, or even a simple wildflower from a special day.
Ready to transform your blooms into heirlooms? Visit today for pressed flower art in Wyandotte, MI, and let’s create something beautiful together. Your flowers deserve to be remembered forever.