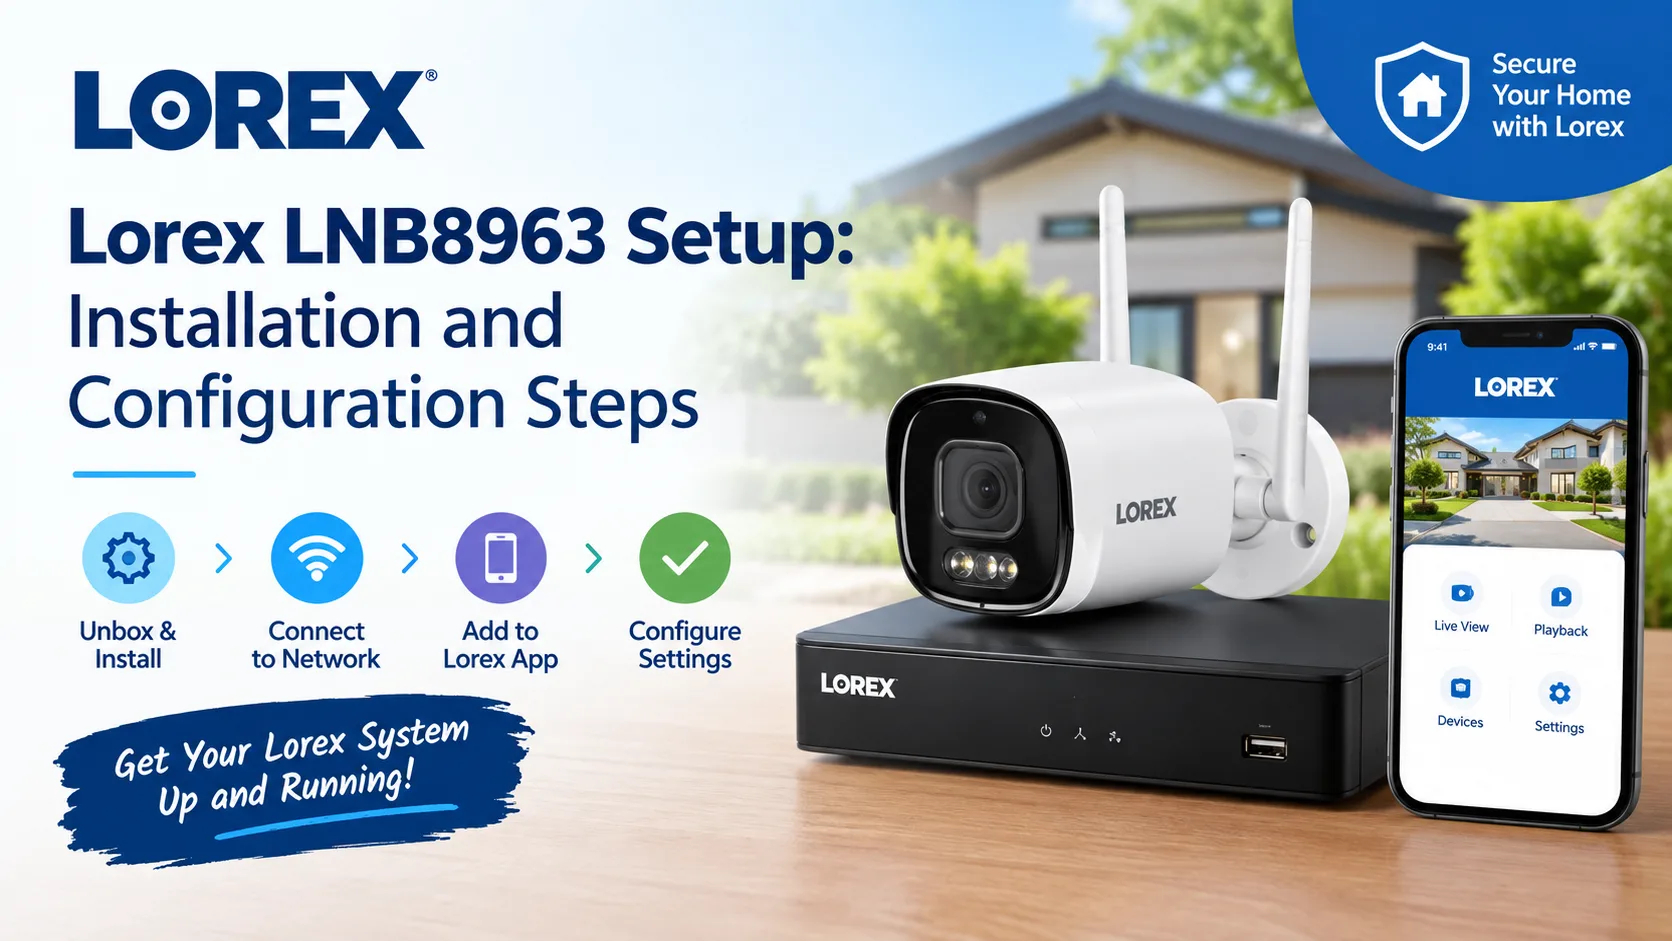
The Lorex LNB8963 Setup is mainly about mounting the camera, connecting it through PoE Ethernet, adding it to a compatible NVR and adjusting the camera settings.
For remote viewing, finish the NVR network setup and use your Lorex account/app. Always check compatibility before connecting the camera.
The Lorex LNB8963 is a 4K motorized varifocal IP bullet camera. It is designed for wired IP security systems and can provide high-resolution video with a motorized zoom lens.
Setting it up may look difficult at first. But the basic process is simple.
You need the camera, a compatible NVR, an Ethernet cable, mounting hardware and a suitable installation location. This guide explains the Lorex Camera Setup process in simple steps. It also covers Lorex login, camera configuration, remote viewing and common problems.
Tip: Lorex lists the LNB8963B as the model in this series. Its official product page also provides the LNB8963/LNB8973 Quick Start Guide.
When should you complete the Lorex LNB8963 setup?
Do the setup before permanently fixing the camera in place. This makes testing easier. You can check the video feed, cable, PoE connection and lens view first.
What and why do you need for setup?
What you needWhy you need itLNB8963 cameraMain security cameraCompatible NVRRecords and manages videoEthernet cableCarries network data and can provide PoEPoE NVR or switchPowers the camera over EthernetMonitor and mouseHelps configure the NVRLorex accountUseful for app and remote accessStrong mounting surfaceKeeps the camera stable
Always check the Lorex camera compatibility list before connecting the camera to an NVR. Lorex notes that not every camera and recorder combination is compatible.
How do you install the Lorex LNB8963 camera?
Start by choosing the camera location. Pick a place with a clear view of the area you want to monitor. Avoid pointing the lens directly at strong lights or the sun.
Then follow these steps:
- Hold the camera mount against the wall or ceiling.
- Mark the screw holes.
- Drill the required holes.
- Use suitable anchors if you are mounting on drywall or another weak surface.
- Secure the camera with the supplied screws.
- Run the Ethernet cable toward the NVR or PoE switch.
- Leave enough cable slack for small adjustments.
- Make sure the cable connection is protected from moisture.
- Do not permanently tighten everything until you test the video.
For outdoor installation, protect cable connections from water and dirt. A poor cable connection can cause intermittent video.
How do you connect the LNB8963 to a PoE NVR?
This is usually the easiest Lorex Camera Setup method.
- Connect one end of the Ethernet cable to the LNB8963.
- Connect the other end to a compatible PoE port on the NVR.
The PoE connection can carry both power and network data through the Ethernet cable. Lorex recommends direct-to-NVR PoE connection for supported cameras.
- Give the camera some time to start.
- Then open the NVR's live view.
If the camera is supported, it may appear automatically. Some Lorex NVRs also let you search the local network and add IP cameras manually.
How do you configure the Lorex LNB8963 after installation?
Once you see the camera feed, adjust the important settings. Start with the camera name. Give it a useful name such as Front Door, Garage or Back Yard.
Next, check:
- Video resolution
- Recording settings
- Motion detection
- Recording schedule
- Night vision
- Image brightness
- Contrast
- Camera angle
- Zoom and focus
The exact menu names can differ between NVR models. Use the manual for your specific recorder if an option is missing. The LNB8963 has a motorized varifocal lens, so use the available zoom and focus controls to get the view you need.
How do you complete Lorex login and remote viewing?
- For remote access, first make sure the NVR is connected to the internet.
- Then install the current Lorex app supported by your recorder.
- Open the app and complete your Lorex login.
Add your recorder using the setup method shown for your NVR. Many current Lorex systems use a QR code or Device ID during app setup.
- Use a strong password for your Lorex account and your camera/NVR.
If remote viewing does not work, check the NVR's internet connection first. Your camera can work locally even when remote access has a problem.
What can you do if the LNB8963 has no picture?
Try these fixes:
ProblemWhat to checkNo videoCheck the Ethernet cable and PoE portCamera offlineRestart the camera and NVRCamera not detectedCheck NVR compatibilityPoor imageClean the lens and adjust image settingsDark pictureCheck brightness and lightingNight view problemCheck surrounding light and lensRemote view failsCheck NVR internet connectionUnstable videoTest with another Ethernet cable
Lorex recommends waiting for the camera to power up before troubleshooting. It also suggests checking the cable run and trying another Ethernet cable if needed. If the camera is connected through a network switch instead of PoE, make sure the camera also receives suitable power. Lorex documentation notes that a compatible 12V DC adapter may be required in non-PoE setups.
How can you improve LNB8963 video quality?
Start with the camera position. Avoid placing the camera behind glass. Avoid direct sunlight. Keep the lens clean. For a clear image, point the camera toward the area you actually want to monitor.
If the image looks soft, clean the lens with a soft, clean cloth. Lorex gives lens cleaning and cable checks as basic steps for unclear images. Also check the NVR's output resolution if you expect to see the full 4K image. A suitable 4K display may be needed to view 4K output correctly.
Frequently Asked Questions
Is the Lorex LNB8963 a PoE camera?
Yes. The LNB8963 is an IP security camera designed for wired network systems. With a compatible PoE NVR or PoE switch, one Ethernet connection can handle the camera's network connection and power. Always confirm your NVR's compatibility before installation.
How do I add LNB8963 to a Lorex NVR?
Connect the camera to a compatible PoE port and wait for it to start. Depending on your NVR, the camera may appear automatically. Some systems let you search the LAN and manually add an IP camera from the camera settings menu.
Do I need a Lorex account for the LNB8963?
You can use the camera locally through a compatible NVR without treating the Lorex account as the camera's basic power connection. For remote access through supported Lorex apps and services, you will generally need the appropriate account and network setup.
Why is my Lorex LNB8963 camera offline?
Check the Ethernet cable first. Then check the PoE port and NVR compatibility. Restart the NVR and camera. If the camera is connected through a network switch, confirm that it has proper power. Testing another Ethernet cable can also help isolate the problem.
Where can I find the LNB8963 manual?
Lorex provides the LNB8963/LNB8973 Quick Start Guide on its official product and manuals pages. You can search Lorex support using the camera model number to find product guides, specifications, compatibility information and troubleshooting resources.
Final thoughts
The Lorex LNB8963 Setup is easier when you follow the process in order. First, check compatibility. Then mount the camera, connect Ethernet, power it through PoE and test the live view. After that, configure recording, zoom, focus, motion settings and remote access.
If something goes wrong, start with the simple checks. Cable, PoE port, NVR compatibility, power and network connection are the best places to begin. For model-specific instructions, use the official Lorex support resources and the LNB8963 Quick Start Guide.