Commercial bus seating projects rarely fail because someone chose the “wrong” colour or trim.
They fail because the specification didn’t match how the fleet actually operates: dwell times, cleaning routines, passenger mix, vandalism risk, and the realities of installation windows.
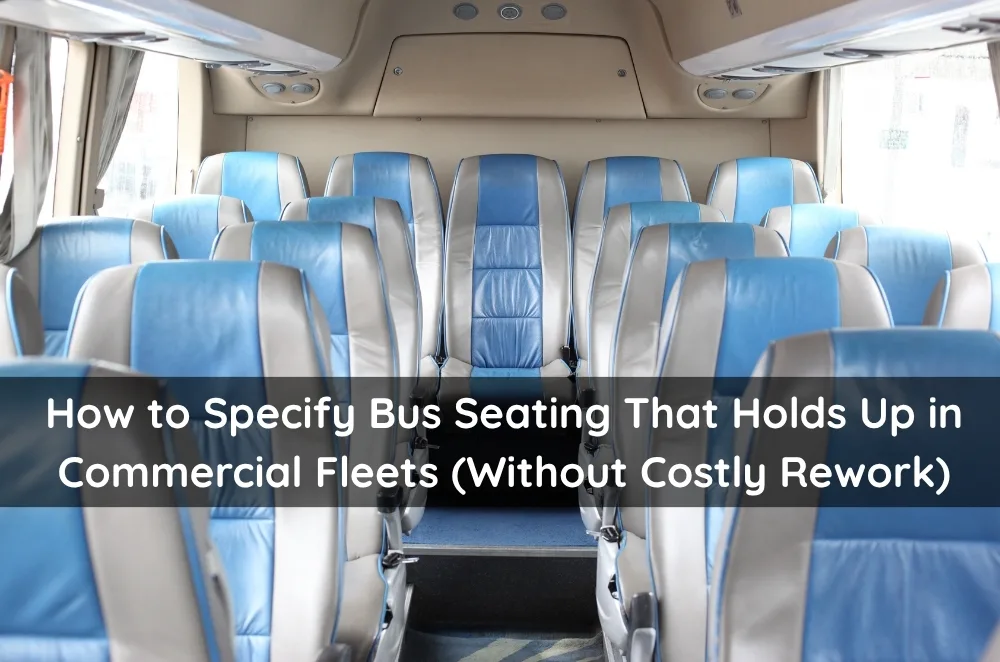
If you’re planning fleet bus seating for commercial use, the goal isn’t just “new seats”; it’s fewer service interruptions and a fit-out that stays consistent across vehicles.
When the spec is right, seating becomes a reliability asset; when it’s vague, it becomes a downtime multiplier.
What “commercial-grade” really means for fleet seating
“Commercial-grade” isn’t a vibe; it’s a set of decisions that trade aesthetics for durability, maintainability, and predictable performance over years of service.
Start by defining the operating environment in plain language: route type (school, urban, charter), passenger turnover, seasonal peaks, typical trip length, and whether the vehicle lives indoors or outdoors.
Then translate that environment into constraints that matter for seating: cleanability, abrasion resistance, fastener durability, modularity, weight, and compatibility with restraints and accessibility requirements.
A useful mental model is to treat seating as a system, not a product: frames, foams, covers, belts, fixings, floor interface, and the installation method all interact.
If any one part is mis-specified, the whole system can create squeaks, loosening, accelerated wear, or compliance headaches at inspection time.
The hidden constraints that derail seating projects
The biggest constraint is time, not money: seating works get squeezed into narrow windows between roster demands, which means the plan must be installation-friendly and predictable.
The second is variation: even within the same fleet, sub-models and build years can differ just enough to make “standardisation” harder than it looks.
The third is downstream servicing: if a damaged squab requires a specialist visit, the cost isn’t the part; it’s the vehicle out of service and the operational shuffle.
A fourth constraint is documentation: procurement wants apples-to-apples comparisons, maintenance wants parts and fixings clarity, and installers want clear tolerances and mounting assumptions.
Finally, there’s stakeholder alignment: operations wants fast turnaround, safety/compliance wants the right integrations, finance wants lifecycle value, and passengers just want comfort that doesn’t feel like a downgrade.
Decision factors when choosing a seating approach or supplier
A good decision process starts with “what must be true” rather than “what looks good.”
1) Fit-for-purpose layout and passenger profile
Clarify seat spacing expectations, standing zones (if relevant), priority seating needs, luggage and pram interactions, and how often the vehicle is likely to run at crush loads.
2) Cleanability and turnaround reality
Specify materials and finishes that match the actual cleaning tools and chemicals used, plus realistic wipe-down frequency, because the wrong surface can look tired fast even if it’s technically “durable.”
3) Serviceability and parts strategy
Ask how common wear items are replaced (covers, cushions, armrests, belt components if applicable) and what “field replacement” looks like in practice: tools required, time per seat, and whether technicians can do it during a regular maintenance shift.
4) Installation constraints and repeatability
A seating solution that’s great on paper can be painful if it requires overly precise alignment, hard-to-access fixings, or bespoke modifications that don’t scale across multiple buses.
5) Weight and total cost of ownership
Weight matters for fuel, wear, and sometimes passenger capacity decisions, but it should be considered alongside longevity and downtime risk rather than treated as a single-score winner.
6) Documentation quality
The most “operator-friendly” options come with clear drawings, options lists, and a spec structure that procurement, compliance, installers, and maintenance can all read without translation.
A practical test: if the spec can’t be explained in five minutes to the depot team, it’s probably not clear enough to purchase against.
Common mistakes that cost fleets time and money
Most seating mistakes aren’t obvious until months later, which is why prevention beats “fix it in the next refit.”
Mistake 1: Writing a spec that describes appearance, not performance
“Hard-wearing vinyl” is not a spec; define cleanability needs, wear expectations, and what “acceptable condition” looks like after a typical year in service.
Mistake 2: Ignoring the maintenance workflow
If technicians can’t access fasteners easily, or if parts aren’t modular, minor damage becomes a depot headache that spreads across the roster.
Mistake 3: Assuming one bus equals the whole fleet
Pilot vehicles are useful, but they must represent the toughest service conditions, not the easiest route, or the trial will mislead.
Mistake 4: Over-customising early
Too many bespoke choices can make stocking spares and training technicians harder, especially when different depots inherit different seating “standards.”
Mistake 5: Forgetting passenger behaviour
School runs, late-night routes, and event shuttles stress seats in different ways; a spec that ignores that reality can quietly increase vandalism and damage rates.
Mistake 6: Treating installation as an afterthought
If the installation plan relies on heroic effort, it won’t survive a busy quarter, and the fleet ends up with staggered configurations that complicate everything.
A simple first-actions plan for the next 7–14 days
This is a lightweight plan that creates clarity before anyone commits to a large order.
Day 1–2: Capture the operating reality
List route types, passenger mix, cleaning method/chemicals, and the top three reasons seats currently need attention.
Day 3–4: Define non-negotiables
Write down constraints like serviceability expectations, required documentation, installation windows, and any accessibility or restraint integrations that are essential.
Day 5–7: Map the fleet variations
Identify which vehicles truly match, which are close, and which are outliers, so “standardisation” has a real boundary.
Day 8–10: Draft a one-page spec sheet
Keep it plain-English: layout intent, materials expectations, parts/service approach, and installation assumptions.
Day 11–14: Run a depot reality check
Have one installer or senior technician review it and mark what will be hard to fit, hard to service, or hard to keep consistent across depots.
Operator Experience Moment
In fleet projects, the most expensive surprises are usually the quiet ones: a minor rattle that turns into repeated call-outs, or a trim choice that doesn’t like the cleaning chemical used every night.
A disciplined spec review with the depot team often catches these issues early, because they’ll immediately spot what won’t survive real turnaround pressure.
That early friction is helpful; it’s cheaper than discovering the problem after the bus is back on the road.
Local SMB Mini-Walkthrough (Sydney, NSW)
A mid-size operator plans a staged refit across a mixed-age fleet used for school services and weekend charters.
The depot lead notes that nightly cleaning is fast and chemical-heavy, so material choice and seam design become priority decisions.
Procurement narrows options to configurations that can be repeated across most vehicles, with a clear plan for outliers.
An installer reviews mounting assumptions to avoid mid-job fabrication that would blow out the schedule.
The business agrees on a small, representative pilot across the harshest-duty routes before scaling.
Spare parts and replacement workflow are defined so repairs can be handled during routine maintenance shifts.
Practical Opinions
If the fleet can’t service it quickly, it’s not a “premium” solution in operational terms.
Standardise the spec wherever possible, then document the exceptions rather than pretending they don’t exist.
Choose documentation and repeatability over clever customisation most of the time.
Keeping passenger experience in view without over-specifying
Comfort matters, but “comfortable” isn’t just softness; it’s stable support, consistent spacing, and a ride experience that doesn’t deteriorate into squeaks, looseness, or lumpy foams over time.
It’s also worth considering the passenger experience of cleanliness: surfaces that visibly hold grime or show scuffing can trigger complaints even when the seat is structurally fine.
A practical approach is to define the comfort baseline (firmness, profile, perceived space) and then choose materials and construction methods that preserve that baseline under real operating conditions.
Making the spec easy to procure and easy to deliver
A procurement-friendly spec reduces debate and speeds decisions because it clarifies what is mandatory, what is optional, and what is preference.
Use a simple structure: (1) vehicle types covered, (2) layout intent, (3) materials and cleaning assumptions, (4) parts and service expectations, (5) installation constraints, and (6) documentation deliverables.
When everyone can read the same spec without interpretation, projects move faster, comparisons become fairer, and the risk of “we thought you meant…” drops sharply.
Key Takeaways
- Define seating requirements from operating reality first: cleaning, serviceability, installation windows, and passenger behaviour.
- Standardise across the fleet where possible, and document exceptions early to avoid rework.
- Treat seating as a system (mounting, materials, parts strategy, documentation), not a single purchase item.
- Run a 7–14 day pre-commit plan to pressure-test assumptions before scaling.
Common questions we get from Aussie business owners
Q1) How do you balance comfort and durability without overpaying?
Usually, the best balance comes from setting a clear comfort baseline (support, spacing, feel) and then choosing materials and construction that keep that baseline stable under real cleaning and usage.
Next step: write a one-page “comfort + durability” definition and have the depot team validate it against actual routes.
In Sydney and broader NSW, mixed-use fleets (school plus charter) often need a spec that tolerates both high turnover and long seated trips.
Q2) Is it better to standardise seats across the whole fleet or tailor by route?
It depends on how many genuine vehicle and route variations exist and whether the business can manage different spare parts and training needs.
Next step: map your fleet into “same,” “close,” and “outlier” groups and standardise within those bands.
In most cases for NSW operators with multiple depots or subcontracted maintenance, fewer variants make servicing and stocking far easier.
Q3) What should be documented before requesting quotes?
In most cases, the minimum useful documentation is layout intent, cleaning assumptions, serviceability expectations, installation constraints, and what deliverables are required (drawings/options lists).
Next step: draft that as a one-page spec sheet and ask one installer to mark anything that will slow fitment.
For Australian fleets, having clear documentation upfront also helps keep procurement comparisons fair and reduces surprises during compliance reviews.
Q4) How do you run a pilot without losing time?
Usually, a pilot works best when it’s small, representative of the harshest-duty conditions, and measured with practical criteria like noise, loosening, cleanability, and repair time.
Next step: pick one or two vehicles on the toughest routes and define a simple check-in schedule at 2, 6, and 12 weeks.
In NSW, aligning the pilot with school term peaks or major event seasons can reveal issues that a quiet period would miss.