A single mod can improve a game. Fifty poorly managed mods can stop it from launching.
That is the contradiction at the center of PC modding. Community-created maps, assets, scenarios, interfaces, and gameplay changes can extend a title for years, but every additional file also introduces another dependency, update risk, or compatibility question.
The solution is not to avoid mods. It is to treat a mod collection like a small software project: document it, back it up, test changes carefully, and respect the people who created the content.
This guide explains how to build a more reliable Steam Workshop workflow without turning mod management into a second job.
Why Mod Collections Become Difficult to Manage
Steam Workshop makes discovering community content convenient. Players can browse items, check descriptions, read comments, and add new content to supported games.
The difficulty usually begins later.
A creator may update an item. A game patch may change the file structure. Two mods may alter the same system. A required dependency may be removed. An old save may expect content that is no longer installed.
None of these problems is unusual. They are a natural consequence of combining software created by different people at different times.
The larger your collection becomes, the more important organization becomes.
Start With the Original Workshop Page
Before adding any item, read its Workshop page carefully.
Do not judge a mod only by its title, screenshots, or subscriber count. The description often contains information that determines whether the item will work correctly.
Look for:
- Supported game versions
- Required expansions or downloadable content
- Dependencies and frameworks
- Known conflicts
- Installation instructions
- Load-order recommendations
- Update history
- Creator permissions
- Recent user comments
The comment section can be especially useful after a major game update. Other players may already have identified crashes, missing textures, broken scripts, or temporary fixes.
The original page should remain your main reference even when you keep a local copy of an item.
Build a Mod List Before You Build a Mod Problem
It is easy to subscribe to interesting items and assume you will remember what each one does. That approach works until the collection contains dozens of similarly named files.
Create a simple inventory before the list becomes difficult to understand.
A spreadsheet or text document can include:
FieldPurposeMod nameIdentifies the itemWorkshop IDHelps locate the original pageCategorySeparates maps, assets, scripts, interfaces, and gameplay changesRequired dependenciesPrevents missing-file problemsGame versionRecords known compatibilityInstallation dateHelps trace when an issue beganLast tested dateShows whether the item still worksNotesStores load-order rules or conflictsThis may seem excessive for a small collection, but it becomes valuable the first time a game stops launching after several items were updated at once.
Add Mods in Small Batches
Installing twenty mods simultaneously makes troubleshooting unnecessarily difficult.
A safer method is to add one item or a small group of related items, launch the game, and test a controlled scenario.
For example:
- Back up your save files.
- Add one gameplay mod.
- Launch the game.
- Load a test save rather than your main save.
- Check menus, controls, loading times, and error logs.
- Play long enough to trigger the modified feature.
- Record whether the test passed.
Only add the next batch after the current setup appears stable.
This approach takes longer at the beginning but saves time later because it narrows the list of possible causes when something goes wrong.
Keep Dependencies Together
Many modern mods do not work independently. They may require shared libraries, script extenders, asset packs, configuration frameworks, or other Workshop items.
Removing or disabling a dependency can affect every mod that relies on it.
Group related items together in your records. A useful structure might look like this:
- Core framework
- Interface extension
- Gameplay module
- Additional content pack
- Map collection
- Texture dependency
- Prop dependency
- Vehicle pack
- Sound library
- Animation package
When troubleshooting, check the base dependency before blaming every dependent item separately.
Also remember that load order can matter. Some games provide a built-in mod manager, while others rely on community tools or manual configuration. Follow instructions written specifically for the game you are modifying.
Back Up More Than the Mod Files
A reliable backup should include everything required to reproduce the working setup.
Consider saving:
- Game saves
- Configuration files
- Mod lists
- Workshop item IDs
- Custom load orders
- Locally edited files
- Screenshots of important settings
- Notes about the game version
- Copies of permitted public items when appropriate
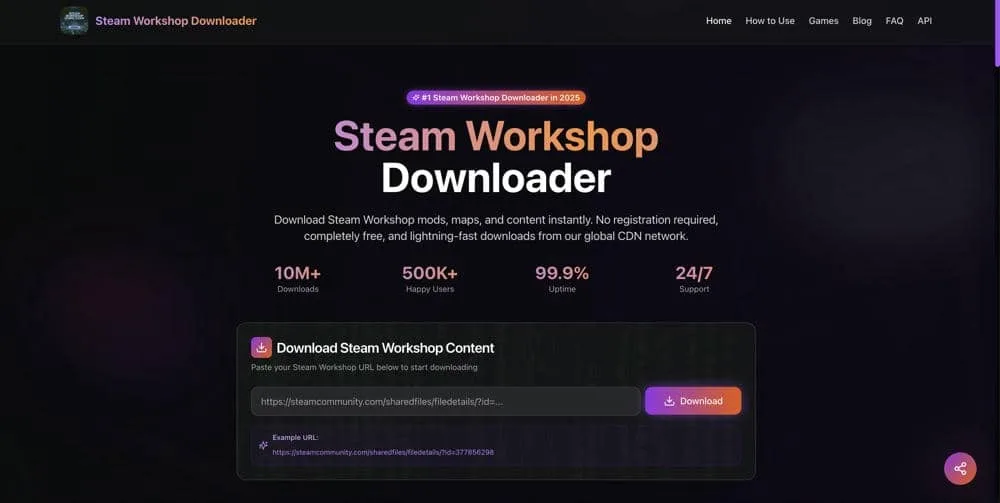
A browser-based steam workshop downloader can be useful when you need to process a public Workshop URL for legitimate purposes such as personal backup, offline preparation, or manual organization. However, downloading a file does not automatically grant permission to redistribute, modify, reupload, or commercially use it.
Always check the creator’s stated permissions, the game’s rules, Steam’s terms, and applicable copyright laws.
Treat Game Updates as Maintenance Events
A major game update can change scripts, file paths, APIs, physics, user interfaces, or save data.
Even a well-maintained mod collection may become unstable immediately after a patch.
Before launching an important save following an update:
- Read the game’s patch notes.
- Check whether major dependencies have been updated.
- Review recent comments on essential Workshop items.
- Back up the save directory.
- Disable nonessential mods.
- Test with a separate save.
- Reintroduce items gradually.
Automatic updates are convenient, but they also mean your working setup may change without a manual installation step. Keeping a record of the last stable configuration makes recovery easier.
Understand the Difference Between a Broken Mod and a Conflict
A mod that fails on its own is broken or incompatible. A mod that works alone but fails when combined with another item is involved in a conflict.
This distinction changes how you troubleshoot.
Signs of an individual compatibility problem
- The game crashes with only that mod enabled.
- The mod targets an older game version.
- Required files are missing.
- The creator reports that the item is temporarily unsupported.
- The error log repeatedly identifies the same file.
Signs of a conflict
- Each mod works separately.
- The problem appears only when both are active.
- Two items modify the same interface, mechanic, database, or map region.
- Changing the load order changes the result.
- Disabling either item resolves the issue.
The fastest diagnostic method is often a binary search. Disable half of the active mods and test again. If the issue remains, the cause is probably in the enabled half. Repeat until the problematic item or combination is identified.
This method is much faster than disabling one item at a time in a collection containing hundreds of entries.
Protect Your Main Save
Some mods only change appearance. Others permanently alter saved data.
Removing a cosmetic texture is usually less risky than removing a mod that adds new factions, buildings, resources, skills, or scripted events.
Before installing or removing a major gameplay modification:
- Create a manual save.
- Copy the save folder to another location.
- Read the uninstall instructions.
- Check whether the creator warns against removal during an active playthrough.
- Avoid overwriting your last known working save.
A backup made after corruption is not a backup. It is only another copy of the damaged state.
Use a Separate Test Profile
Players who frequently experiment with mods should consider maintaining two environments:
Stable profile
This is the setup used for long campaigns, important saves, multiplayer sessions, or regular play. Changes should be infrequent and carefully tested.
Test profile
This environment is used for new maps, experimental scripts, large content packs, and unverified updates. Crashes here are inconvenient rather than disastrous.
Some games support profiles directly. In other cases, separate configuration folders, launch parameters, or mod-manager profiles can provide similar isolation.
The principle is simple: do not test unknown changes inside the environment you most want to protect.
Be Careful With Multiplayer Mods
A mod that works in a single-player game may cause problems in multiplayer.
Servers may require:
- An exact mod version
- A specific load order
- Matching configuration files
- Approved content only
- Anti-cheat compatibility
- Server-side installation
- Client-side dependencies
Never assume that downloading the same set of files is enough. Follow the server administrator’s instructions and use the official distribution method when one is required.
Unapproved changes can lead to connection errors, mismatched files, kicks, or bans on servers with strict rules.
Respect Mod Creators
Modding communities depend on creators who spend time designing, coding, testing, documenting, and supporting their work.
Downloading an item for personal use is not the same as owning it.
Do not:
- Reupload another creator’s work without permission
- Remove attribution
- Sell files you did not create
- Place someone else’s work behind a paywall
- Publish edited versions without checking the license
- Ignore a creator’s removal request
- Assume that publicly accessible means public domain
When an item improves your experience, consider leaving constructive feedback, reporting bugs clearly, sharing logs when requested, and supporting the creator through approved channels.
Healthy modding communities depend on both technical care and social respect.
A Practical Pre-Launch Checklist
Before opening a heavily modified game, ask:
- Is the game version correct?
- Are essential frameworks enabled?
- Are dependencies installed?
- Is the load order correct?
- Have important saves been backed up?
- Were several mods updated recently?
- Does the current setup work in a test save?
- Are multiplayer files consistent with the server?
- Have creator instructions been followed?
This checklist takes less than a minute and can prevent hours of troubleshooting.
Final Takeaway
The best mod collection is not the one with the greatest number of items. It is the one you can understand, reproduce, test, and repair.
Keep records. Install changes gradually. Back up saves before major updates. Separate experimental content from stable playthroughs. Check dependencies and creator instructions. Use third-party tools only for content you are entitled to access, and never confuse downloading with permission to redistribute.
Mods can give a familiar game an entirely new life. A disciplined workflow helps ensure that the experience remains creative rather than chaotic.
Suggested Excerpt
Steam Workshop mods can transform a game, but large collections introduce compatibility, dependency, update, and save-file risks. This practical guide explains how to organize, test, back up, and troubleshoot mods responsibly.
Suggested Category
Gaming
Suggested Tags
Steam Workshop, PC Gaming, Game Mods, Mod Management, Gaming Guides
Suggested Cover Image
A desktop gaming setup showing a mod manager, organized folders, dependency lines, and a game library interface. Use an original or properly licensed image and include the required attribution.
Disclosure
This article mentions a web tool associated with the author. Readers should use third-party downloading tools only for lawful purposes and in accordance with creator permissions, platform terms, game rules, and local laws.