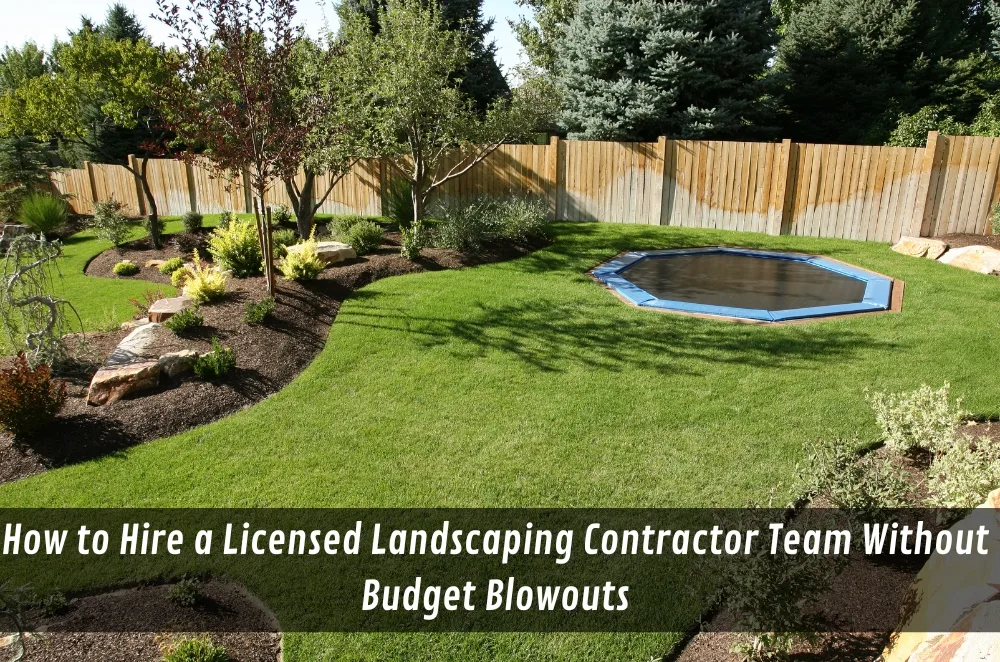
Outdoor upgrades look simple on paper: a bit of levelling, a path, some turf, maybe a retaining wall and fresh planting. Then the quotes come back wildly different, timelines drift, and the “small job” grows legs.
That’s usually when people realise they don’t just need “a landscaper”—they need a licensed landscaping contractor team that can define scope, manage site realities, and deliver compliant work without constant variations.
This guide walks through what “licensed” should mean in practice, what to ask before anyone starts digging, and how to set up a smooth, low-drama project—especially in Sydney where access, drainage, and neighbour constraints can turn a good plan into a tricky one.
What “licensed” should mean for outdoor works (and when it matters)
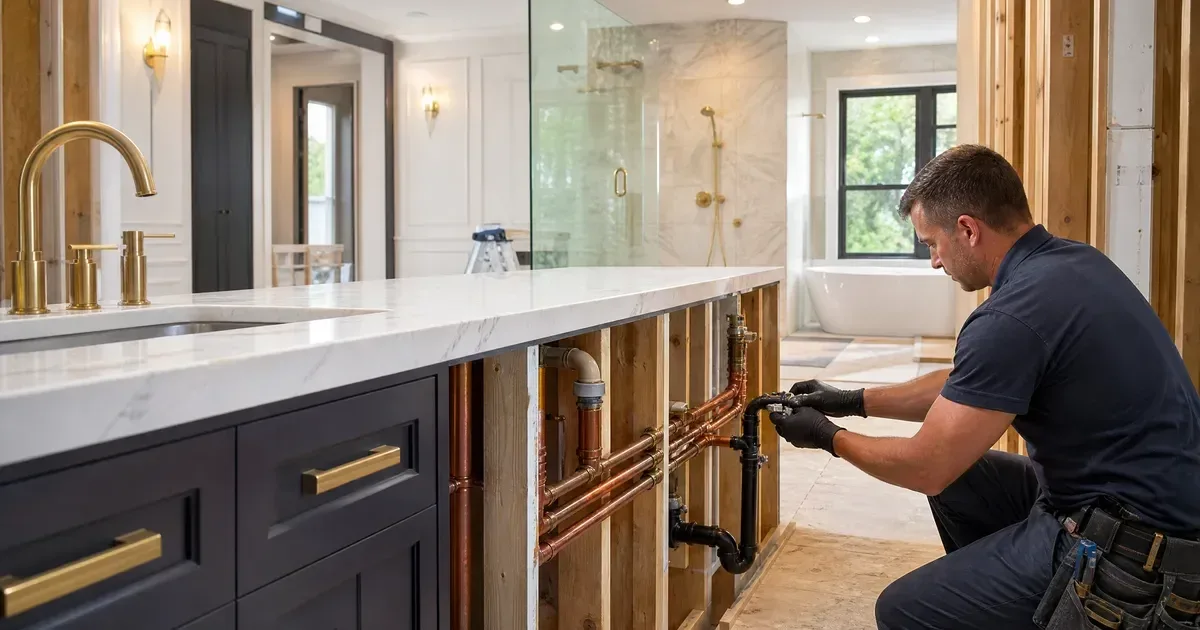
Licensing isn’t a vibe; it’s about whether the contractor is legally permitted to perform certain types of work, and whether the work requires a licensed trade or builder involvement.
A basic garden tidy or planting job often doesn’t trigger licensing concerns. But once you move into structural elements, drainage changes, retaining walls, hardscaping, or anything that affects safety, compliance and responsibility start to matter.
In practical terms, “licensed” matters most when:
- The work is structural (retaining, steps, walls, significant paving bases)
- Water needs to be redirected (surface drainage, pits, subsoil drainage, falls)
- Heavy equipment and excavation are involved
- The site is constrained (tight access, steep blocks, boundary lines close by)
- You’re coordinating multiple trades (electrical for lighting, irrigation, plumbing)
If someone downplays these risks or refuses to explain what sits inside their scope versus a subcontracted trade, treat it as an early warning sign.
The scope trap: why most outdoor projects run over
Budget blowouts usually start with a sentence like, “We’ll figure that out on the day.”
Outdoor work has hidden variables: what’s under the surface, where the water actually goes in a storm, how deep the existing base is, whether access allows machinery, and how much spoil removal is required.
The fastest way to stop scope creep is to convert the idea into a written scope with measurable finish levels. That means specifying what “done” looks like rather than describing the vibe.
A strong scope typically includes:
- A simple site plan (even a marked-up photo is better than nothing)
- Demolition and removal details (what’s being removed, where it goes)
- Earthworks assumptions (cut/fill, levels, base materials)
- Drainage intent (falls away from structures, where runoff is directed)
- Materials and finishes (paver type, edging, turf type, planting density)
- Access constraints (gates, stairs, working hours, noise constraints)
- What’s excluded (council approvals, engineering, unexpected rock, tree removal)
If it helps to organise a clear brief before speaking to anyone, the All Green Gardening & Landscaping project checklist is a practical starting point for listing access constraints, finish levels, and what’s in or out of scope.
Decision factors that separate reliable teams from risky ones
A “licensed landscaping contractor team” can mean different things depending on the project. Rather than getting stuck on labels, use decision factors that predict outcomes.
1) Clarity over charisma
The best teams don’t sell you a dream; they define the work. Look for a quote that reads like a plan, not a paragraph.
If the quote is light on detail, the variation list later will be heavy.
2) Site assessment habits
Ask what they need to confirm before finalising price: levels, drainage paths, access, soil conditions, and any constraints from neighbours or strata.
A rushed site visit often becomes a rushed build.
3) Sequencing and coordination
Outdoor projects fail when tasks happen in the wrong order: base prep after paving is set, drainage ignored until puddles appear, planting done before heavy traffic finishes.
A good team can explain the sequence in plain language:
- Demo → levels → drainage → base prep → hardscape → planting/turf → cleanup
4) Assumptions and allowances
If rock removal, spoil disposal, or drainage changes are “TBC,” that’s fine—if it’s explicitly listed as an allowance with boundaries.
The problem isn’t uncertainty; it’s uncertainty that’s hidden.
5) Warranty and aftercare realism
Outdoor finishes settle. Turf needs establishment. Pavers can shift if bases aren’t right. A reliable contractor will explain what’s normal, what’s not, and what maintenance is expected from you in the first month.
Be wary of anyone implying the site will look perfect forever without upkeep.
Common mistakes that cost time, money, or rework
Mistake 1: Comparing quotes that describe different jobs.
If one quote includes base replacement and drainage checks and another doesn’t, the cheaper price isn’t a bargain—it’s a different scope.
Mistake 2: Leaving drainage as an afterthought.
Sydney storms don’t care about your new paving. If falls and runoff aren’t addressed early, you can end up redoing sections to fix pooling or water tracking toward structures.
Mistake 3: Not confirming access constraints upfront.
A narrow side path, steps, or limited street parking changes labour time, equipment options, and disposal costs.
Mistake 4: Underestimating demolition and disposal.
Old concrete, soil, roots, and rubble add up quickly. The skip size and number of runs matter.
Mistake 5: Choosing materials before understanding base requirements.
That “simple” large-format paver might need more base prep than expected. Materials and base design are linked.
Mistake 6: Starting without a finish-level conversation.
“Make it flat” isn’t a level spec. Good teams talk about heights relative to thresholds, fences, drains, and neighbouring properties.
Mistake 7: Ignoring neighbour/strata reality.
Noise windows, shared access, boundary walls, and common property rules can change both timing and method.
Operator Experience Moment
On outdoor jobs, the biggest turning point is almost always the moment someone walks the site and says, “Where does the water go in a storm?” It sounds basic, but it forces the plan to become real. When that question is skipped, the project tends to drift into patch fixes and late-stage compromises.
The teams that run smoother builds aren’t the ones with the flashiest ideas; they’re the ones who make the invisible constraints visible early.
A simple 7–14 day plan to get from idea to signed scope
Days 1–2: Define outcomes and constraints
Write down what success looks like in one sentence (e.g., “A level, low-maintenance courtyard with safe access and no puddling”). Then list constraints: access, working hours, pets, kids, drainage pain points, privacy needs.
Days 3–5: Build a one-page scope draft
Use photos and markups. Note what stays, what goes, and any must-keep plants or structures. Decide on two or three “non-negotiables” and a couple of “nice-to-haves.”
Days 6–8: Shortlist and site visits
Ask for a site visit where the contractor explains:
- sequencing,
- drainage intent,
- base prep approach,
- what might cause variations.
If the visit feels vague, move on.
Days 9–11: Quote comparison (apples with apples)
Lay quotes side-by-side and highlight differences in:
- demolition and disposal,
- base depth/materials,
- drainage inclusions,
- material specifications,
- exclusions and allowances.
Days 12–14: Lock scope, then lock timing
Before you accept, request any missing detail in writing. Confirm start windows, access plan, and what you need to do before day one (clearing furniture, pet management, gate access, parking).
Local SMB mini-walkthrough (Sydney example)
A small business in Sydney wants to refresh a street-facing outdoor area and staff break space.
They start by mapping foot traffic, bins, deliveries, and slip risks after rain.
They choose finishes that handle high wear and can be cleaned quickly without specialised products.
They plan drainage and falls first, then choose surfaces that won’t become slick in wet weather.
They schedule noisy demo outside peak customer hours and confirm access for spoil removal.
They keep planting simple: hardy, low-drop varieties that won’t clog drains or create constant mess.
Practical Opinions
Clarity in scope beats a “cheap” quote every time.
If drainage is uncertain, treat it as a first-class requirement, not a later fix.
Choose the team that explains sequencing and exclusions without getting defensive.
Key Takeaways
- “Licensed” matters most when work becomes structural, changes drainage, or involves excavation and coordination.
- Prevent blowouts by turning the idea into a measurable scope with clear inclusions and exclusions.
- Compare quotes by scope detail, assumptions, and sequencing—not just the bottom line.
- Drainage and access constraints are the two most common hidden cost drivers.
- A simple 7–14 day planning window can save weeks of rework and variations.
Common questions we get from Aussie business owners
How can a business tell if a landscaping scope is “complete enough” to quote accurately?
In most cases, a quote is solid when it clearly lists demolition/disposal, base prep assumptions, drainage intent, materials, and exclusions in plain language. A practical next step is to create a one-page scope summary with marked-up photos and ask contractors to confirm what’s included and excluded in writing. For Sydney sites, note access limits (laneways, stairs, parking rules) because they change labour and disposal logistics.
Do we need approvals for outdoor works at a small commercial site?
It depends on the type of work, the property arrangement, and whether you’re changing structures or drainage paths. The next step is to identify what’s on title or common property (especially for strata) and ask the building manager or strata manager what approvals are required before booking work. In NSW, businesses often run into delays when common property boundaries or shared drainage are involved.
Why do quotes vary so much for what looks like the same job?
Usually, the variance comes from what’s assumed under the surface: base depth, spoil removal, and drainage handling. The next step is to request a line-by-line clarification of base prep, disposal volume, and what triggers a variation, then compare on those items before comparing totals. In Sydney, tight access and disposal runs can swing costs significantly even when the finished area is the same size.
What should we do if we’re trying to stage the project to reduce disruption?
In most cases, staging works best when you separate messy foundation tasks (demo, levels, drainage, base prep) from finishing tasks (paving/planting/turf) and lock a sequence that minimises re-entry. The next step is to agree on a staged plan with clear handover points and a temporary safety/access plan between stages. For Sydney SMEs, consider customer footpath flow, delivery windows, and wet-weather contingencies so the site stays safe and usable.