Scaling Mount Kilimanjaro is a bucket-list dream for adventurers worldwide. While the Machame and Marangu routes often steal the spotlight, the kilimanjaro shira route map reveals a hidden gem for those seeking a more remote, scenic, and physically engaging journey. As a premier western approach, the Shira Route offers a unique perspective of the mountain, beginning high on the Shira Plateau and traversing some of the most diverse ecosystems on Earth.
At Kilitrips Tanzania, we believe that understanding your path is the first step toward reaching Uhuru Peak. This guide breaks down the Shira Route, its unique elevation profile, and why it remains a top choice for experienced trekkers.
The Layout of the Shira Route
The Shira Route is nearly identical to the famous Lemosho Route in its later stages, but its beginning is distinct. While Lemosho starts in the lush rainforest at Londorossi Gate, the Shira Route bypasses the forest via a 4WD vehicle, dropping climbers directly at the Shira Gate at an altitude of approximately 3,600 meters (11,800 feet).
From this high starting point, the trail strikes east across the vast Shira Plateau—one of the largest high-altitude calderas in the world. The route eventually merges with the Machame and Lemosho trails at Shira 2 Camp, following the "Southern Circuit" toward the summit.
7-Day Shira Route Itinerary & Map Highlights
Day 1: Shira Gate to Shira 1 Camp
- Elevation: 3,600m to 3,500m
- Distance: 4 km
- Hiking Time: 1–2 hours Your journey begins with a drive to the Shira Gate. Unlike other routes that start low, you are immediately thrust into the moorland zone. The hike to Shira 1 Camp is relatively short and serves as your first introduction to the thin mountain air.
Day 2: Shira 1 Camp to Shira 2 Camp
- Elevation: 3,500m to 3,850m
- Distance: 7 km
- Hiking Time: 4–5 hours This day is a scenic trek across the plateau. You will witness the "Shira Cathedral," a massive buttress of rock surrounded by steep spires. This segment is relatively flat but vital for finding your hiking rhythm.
Day 3: Shira 2 Camp to Lava Tower to Barranco Camp
- Elevation: 3,850m to 4,600m (Lava Tower) then down to 3,950m
- Distance: 10 km
- Hiking Time: 6–7 hours This is a "climb high, sleep low" day. You will ascend to the Lava Tower, a 300-foot volcanic plug. Eating lunch at this altitude helps your body adjust before you descend into the beautiful Barranco Valley, famous for its prehistoric-looking Giant Senecio plants.
Day 4: Barranco Camp to Karanga Camp
- Elevation: 3,950m to 4,200m
- Distance: 6 km
- Hiking Time: 4–5 hours The day starts with the "Great Barranco Wall." While it looks intimidating, it is a fun, non-technical scramble. Once at the top, you are rewarded with stunning views of the Heim Glacier before heading into the Karanga Valley.
Day 5: Karanga Camp to Barafu Camp
- Elevation: 4,200m to 4,680m
- Distance: 4 km
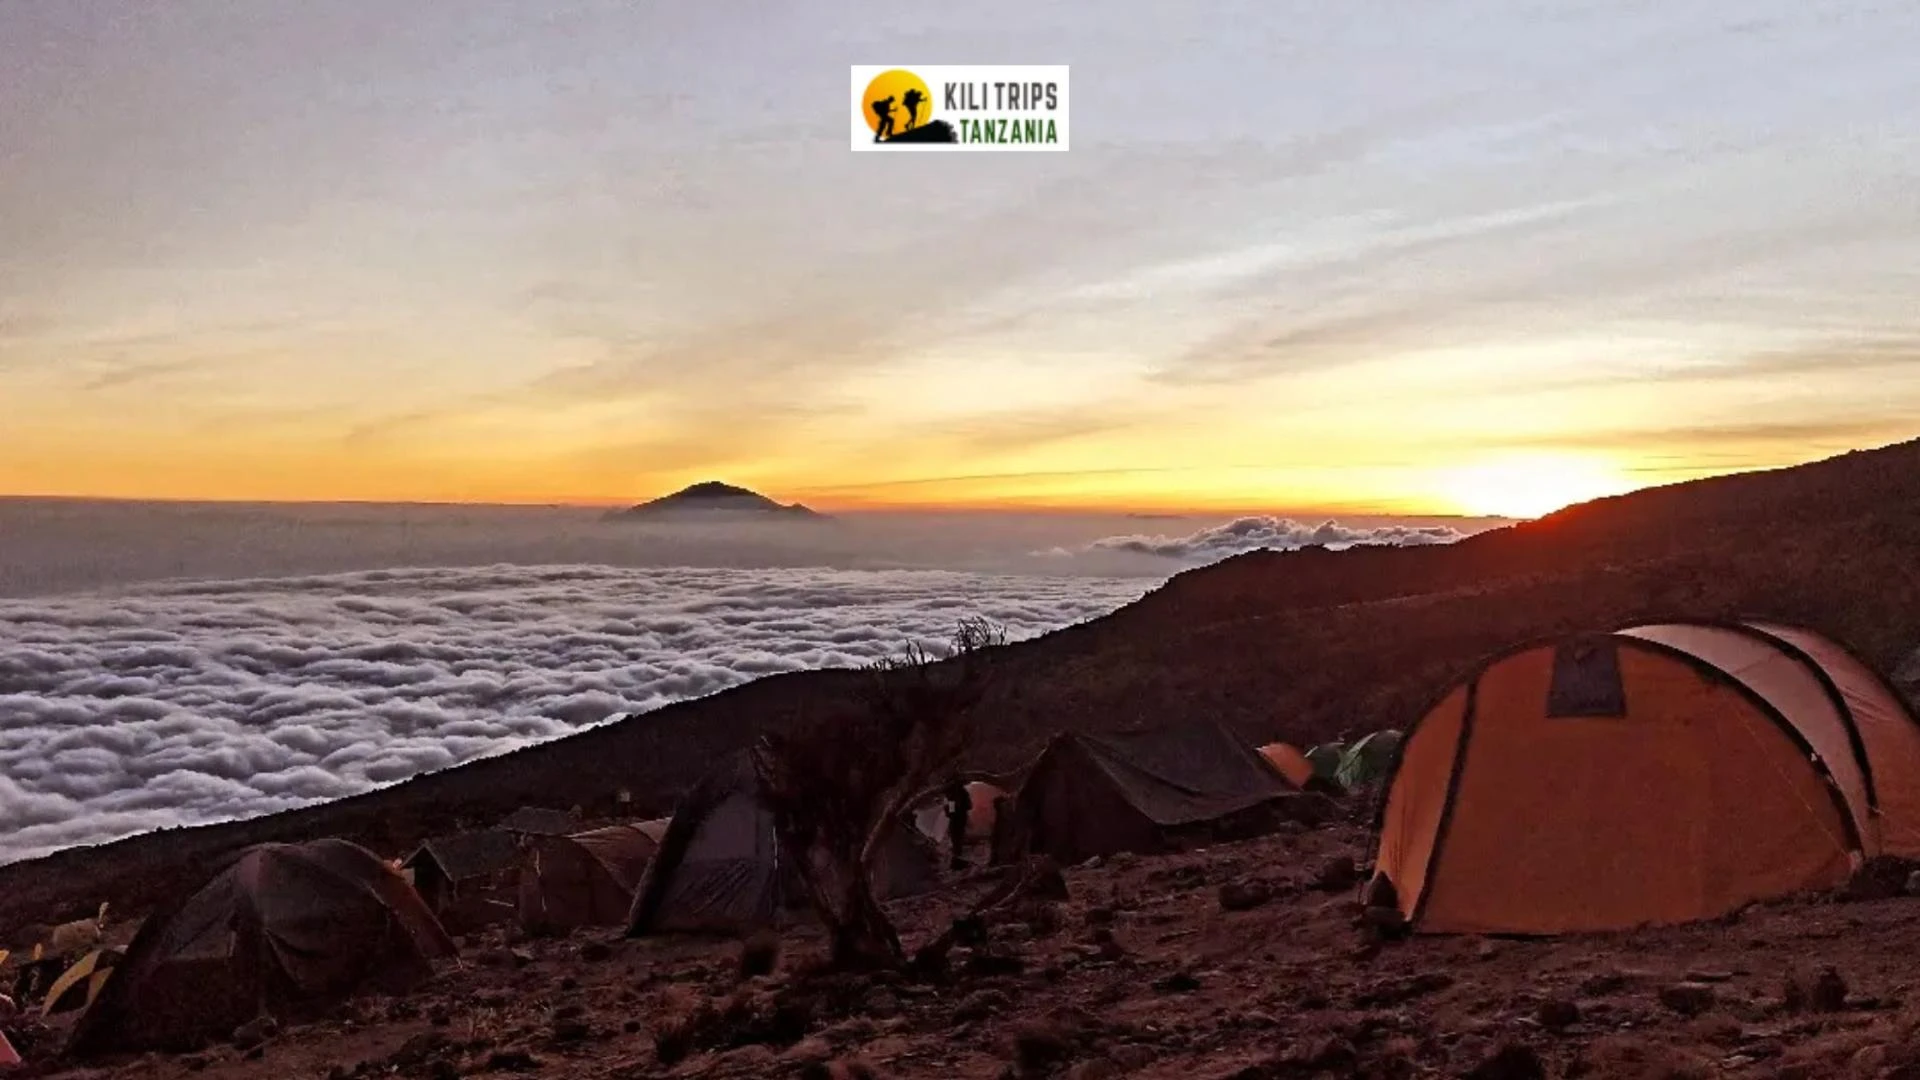
- Hiking Time: 3–4 hours The landscape turns into an alpine desert. You will trek upward to Barafu Camp (the Swahili word for "ice"). This is your base camp for the summit. You’ll have an early dinner and try to sleep, as the final push begins at midnight.
Day 6: Summit Day – Uhuru Peak and Mweka Camp
- Elevation: 4,680m to 5,895m (Summit) then down to 3,100m
- Distance: 17 km
- Hiking Time: 10–14 hours Around midnight, you begin the steep ascent over scree and ice. You will reach Stella Point on the crater rim just in time for a breathtaking sunrise, then continue for one final hour to Uhuru Peak, the roof of Africa. After celebrating, you begin a long descent to Mweka Camp.
Day 7: Mweka Camp to Mweka Gate
- Elevation: 3,100m to 1,640m
- Distance: 10 km
- Hiking Time: 3–4 hours Your final day is a gentle descent through the rainforest. At the gate, you will receive your official gold certificate from the National Park authorities.
Why Choose the Shira Route?
1. Fewer Crowds
The Shira Route is one of the least-traveled paths on the mountain. If you value solitude and want to experience the wilderness without the "traffic jams" found on the Machame or Marangu routes, this is the path for you.
2. Spectacular Scenery
By starting on the western side, you get a full traverse of the Shira Plateau. The views of Kibo Peak from the west are arguably the most photogenic on the entire mountain.
3. High Starting Point
While the high start can be a challenge for those not used to altitude, it allows you to skip the lower forest zones if you have already spent time acclimatizing (for example, by climbing Mount Meru first).
Success Factors for the Shira Route
The kilimanjaro shira route map shows a rapid initial gain in altitude. To ensure a successful summit with Kilitrips Tanzania, we recommend:
- Pre-Acclimatization: Spend a few days in Arusha or climb Mt. Meru before starting Shira.
- The 7-Day or 8-Day Option: Do not rush. An extra day at Shira 2 or Karanga Camp significantly increases your success rate.
- Hydration: Drink 3–4 liters of water daily to help your blood carry oxygen more efficiently.
Whether you are an experienced hiker or a determined first-timer, the Shira Route offers a rugged, authentic, and deeply rewarding way to conquer the world’s highest free-standing mountain. Karibu Kilimanjaro!