There is something undeniably satisfying about transforming a blank, ordinary wall into a feature that looks custom-built and thoughtfully designed. Decorative wall frames, also known as picture frame molding or box paneling, have long been a hallmark of sophisticated interiors, adding depth, symmetry, and a touch of old-world charm to any room. In the past, achieving this look required expert carpentry skills, precise measurements, and the ability to cut perfect angles. Today, the DIY wall molding kit has changed everything. These clever systems are designed specifically for homeowners who want to create custom wall frames without the complexity of traditional woodworking. They provide all the essential components and guidance needed to turn a vision into reality, proving that architectural elegance is well within reach of the ambitious weekend warrior.
Understanding the Anatomy of a Wall Frame Kit
Before diving into installation, it helps to understand what actually comes inside a DIY wall molding kit and how these pieces work together to form those beautiful frames. A typical kit is composed of several key elements, all designed to simplify the process. The main components are the lengths of molding itself, which are often made from lightweight yet durable materials like polyurethane or high-density polystyrene. These materials are resistant to moisture, won't warp over time, and take paint beautifully. Beyond the straight pieces, the kit includes pre-formed corner blocks or connector pieces. These are the secret weapons of the system, as they eliminate the need for mitered corners. Instead of cutting two pieces at 45-degree angles and hoping they meet perfectly, you simply butt the straight molding into these decorative blocks. This design philosophy transforms a complex geometric puzzle into a straightforward assembly process.
The Art of Planning Your Wall Layout
The single most important step in creating beautiful decorative wall frames happens before any adhesive is applied or any piece is cut. Planning the layout is where your project truly comes to life. Start by measuring your wall carefully and deciding on the arrangement of your frames. The goal is to create a balanced, symmetrical composition that complements the proportions of the room. A common approach is to create a series of rectangles that are evenly spaced, both horizontally and vertically. Consider the existing elements on the wall, such as windows, doors, and electrical outlets, and work them into your design rather than fighting against them. Many DIYers find it helpful to use painter's tape on the wall to mock up the frame positions before committing. This allows you to step back, assess the visual flow, and make adjustments easily. Taking the time to get this stage right ensures that your finished project will look intentional and professionally designed.
Tools and Materials You Will Need
One of the greatest appeals of a DIY wall molding kit is that it requires a relatively modest collection of tools, most of which you probably already own. The essentials include a tape measure for accurate sizing, a level to ensure everything is perfectly straight, and a pencil for marking your layout on the wall. For cutting the molding pieces to length, a fine-tooth saw is necessary. A simple miter box can help you achieve clean, straight cuts, though a power miter saw will make quick work of the job if you have access to one. Beyond the cutting and measuring tools, you will need a strong construction adhesive suitable for your wall type and the molding material. Painter's tape is invaluable for holding pieces in place while the adhesive cures. Finally, gather supplies for the finishing stage: sandpaper for smoothing any rough edges, paintable caulk for filling gaps, and paint or primer to unify your new molding with the wall. With these items assembled, you are ready to begin the transformation.
Step-by-Step Installation Process
With your layout planned and your tools gathered, the installation process can begin in earnest. Start by transferring your design onto the wall using a level and pencil. Draw light guidelines indicating where the edges of each frame and corner block will sit. This visual roadmap is your safeguard against errors. Next, cut your molding pieces to the required lengths based on your measurements. Remember the old adage: measure twice, cut once. Once your pieces are cut, apply construction adhesive to the back of each piece according to the manufacturer's instructions. Press the molding firmly onto the wall along your pencil guides, holding it in place for a few moments to ensure a good bond. Use painter's tape to secure the pieces temporarily, especially longer lengths that might sag before the adhesive sets. Allow the adhesive to cure fully, typically 24 hours, before removing the tape. The final step is the finishing work. Apply a thin bead of caulk to any seams or gaps where pieces meet, smooth it with a damp finger, and sand any rough spots. A coat of primer followed by your chosen paint color will make the frames look as though they have been part of the wall since the house was built.
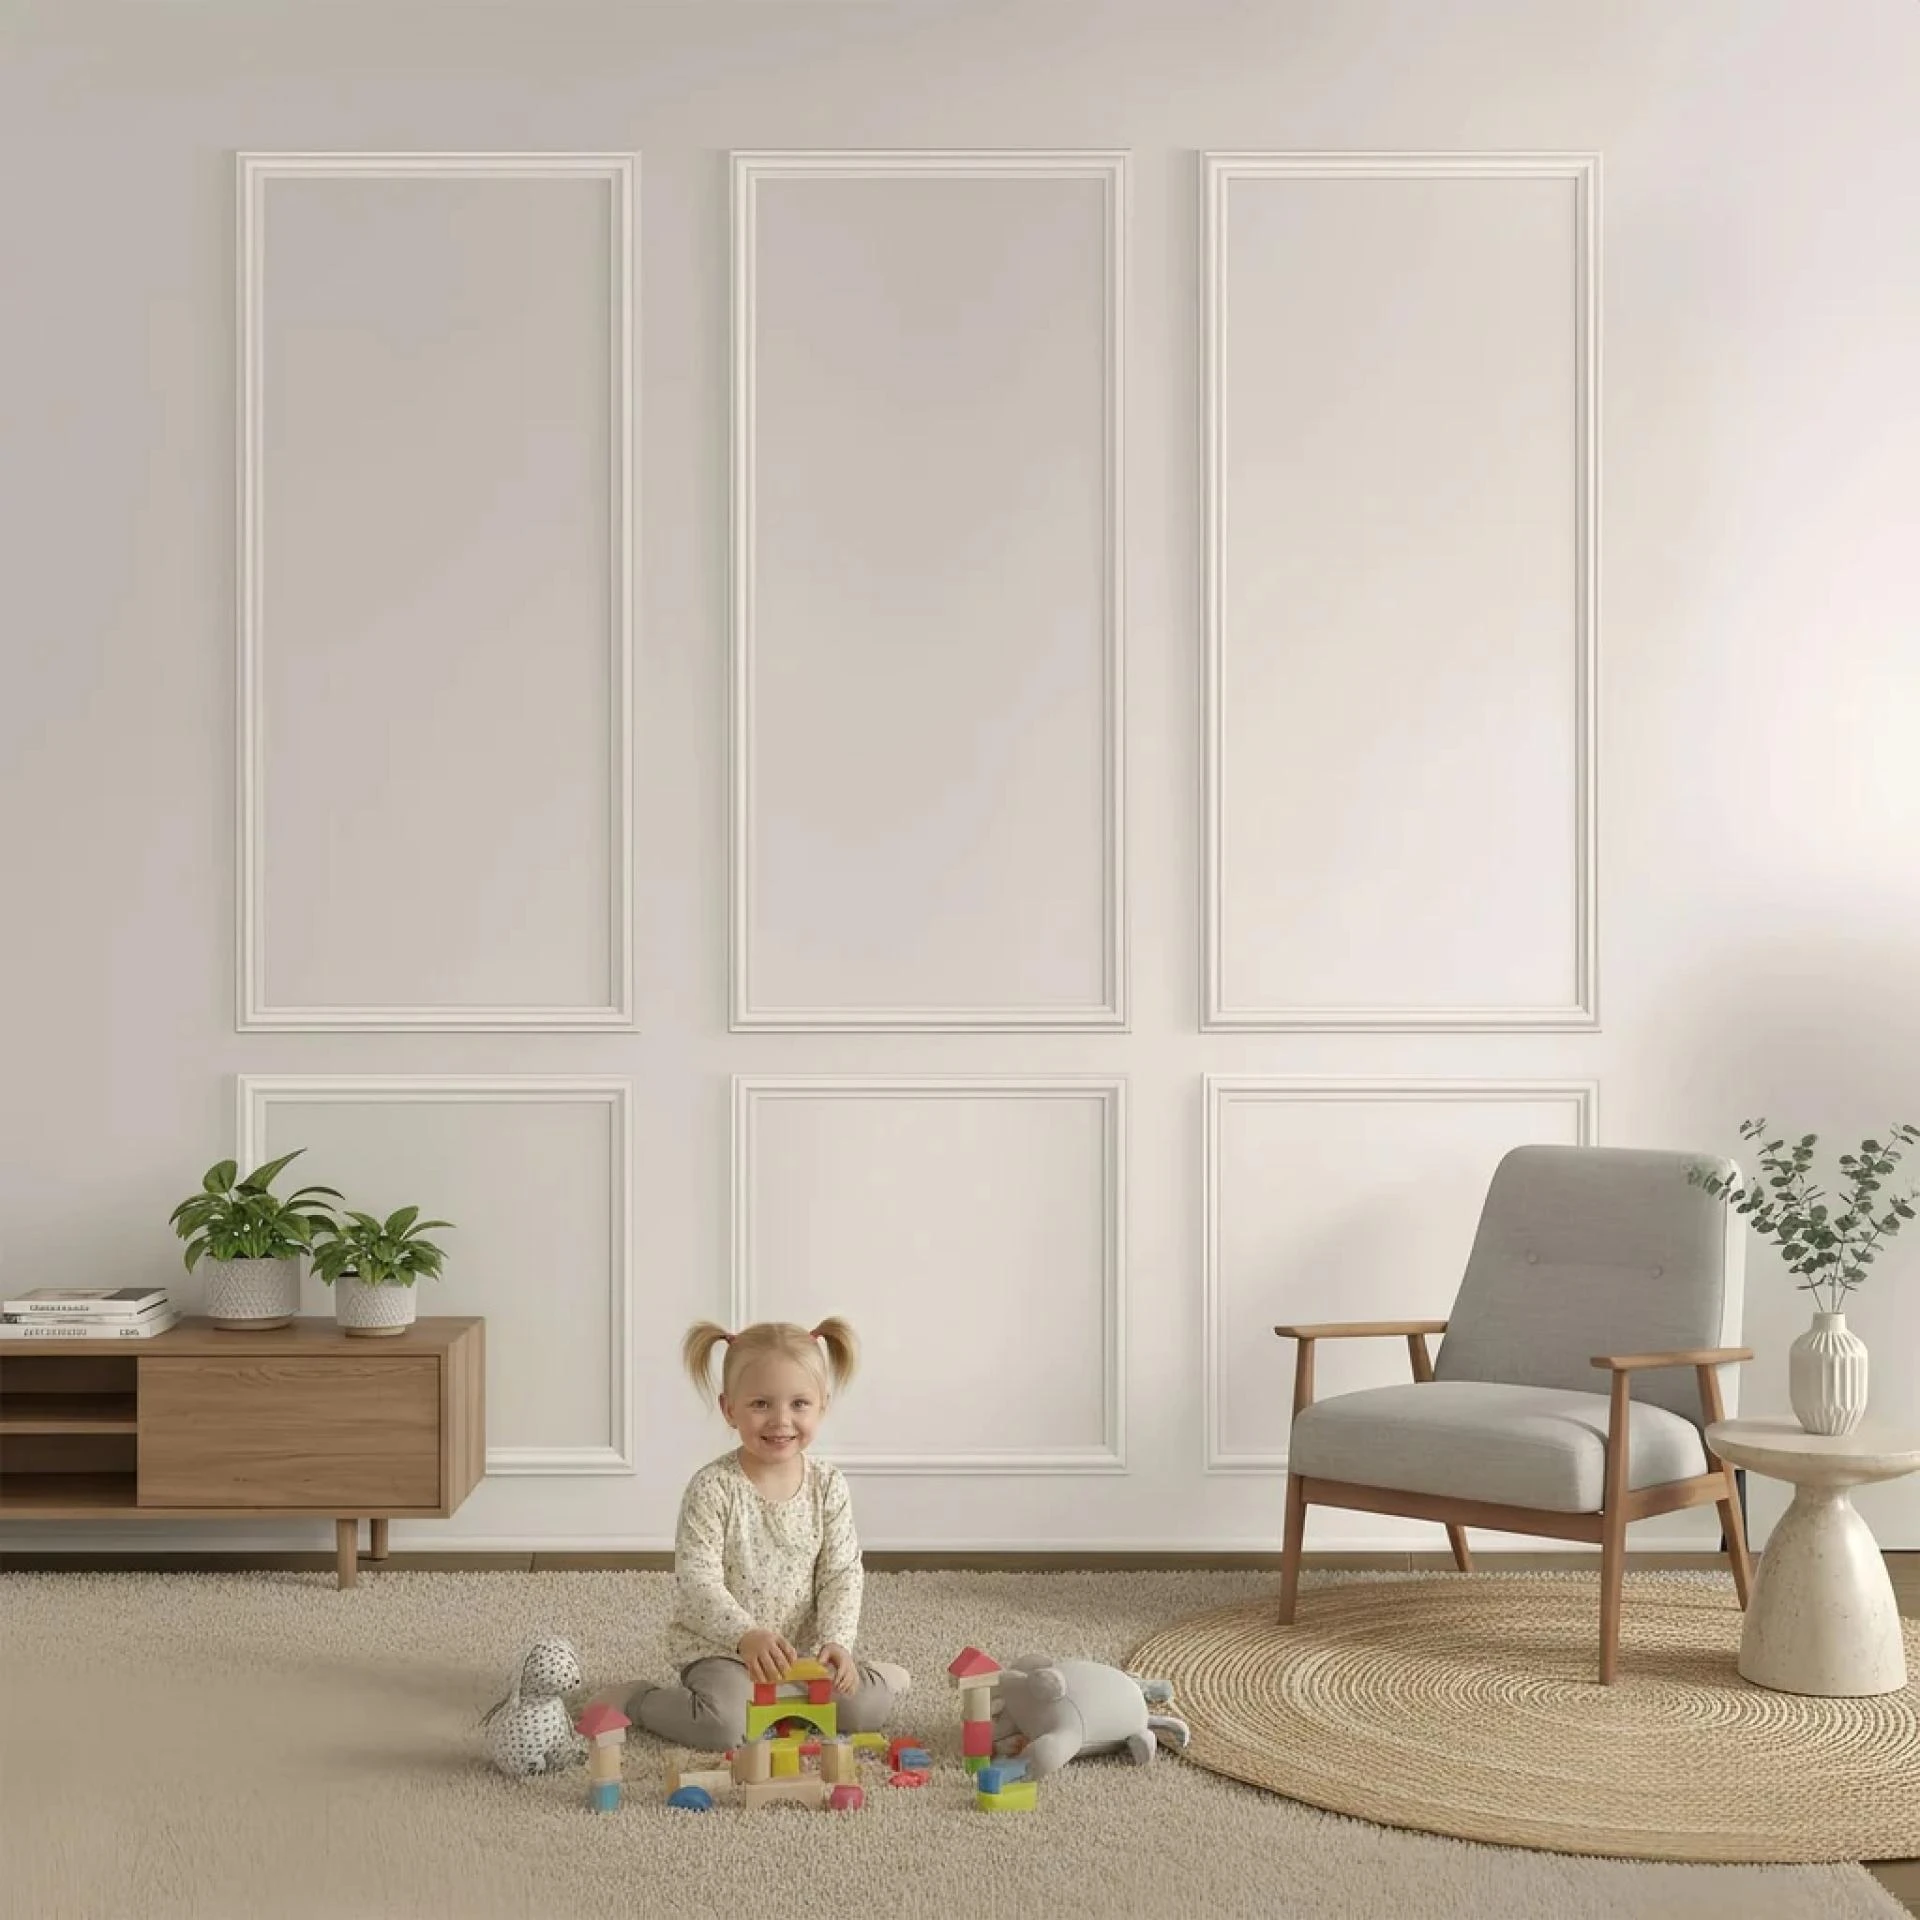
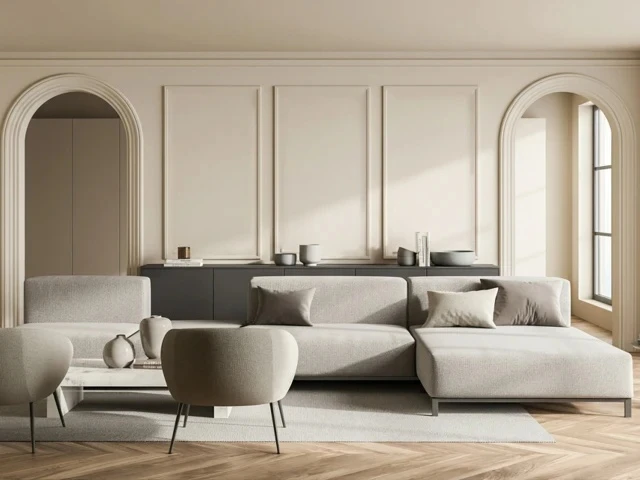
Choosing the Right Style for Your Home
The beauty of decorative wall frames is their incredible versatility and ability to adapt to virtually any interior design style. For homes with traditional or classical architecture, consider frames with more ornate profiles, featuring curves, ridges, and detailed edges that echo historical millwork. These work beautifully in formal dining rooms or grand entryways. If your aesthetic leans toward farmhouse or cottage style, opt for simpler, flat profiles that create clean, geometric panels. This approach adds texture without fussiness and pairs wonderfully with shiplap or neutral color palettes. For modern and contemporary spaces, think about using wide, flat molding to create large, minimalist rectangles that almost float on the wall. This graphic approach adds architectural interest while maintaining a sleek, uncluttered feel. The scale of your frames matters too; larger rooms can handle bold, wide panels, while smaller spaces benefit from more delicate proportions that enhance the sense of space rather than overwhelming it.
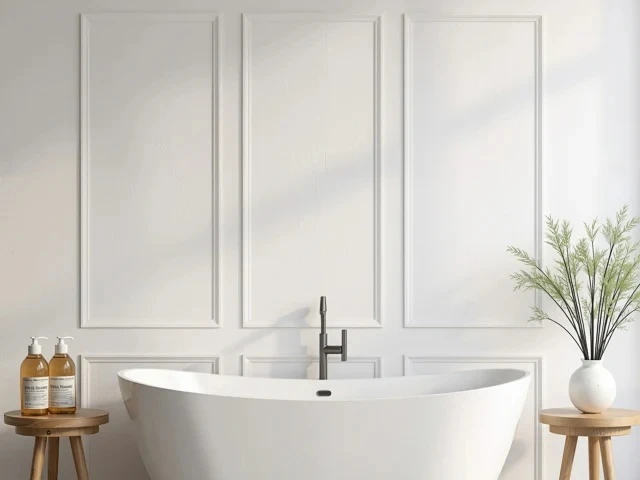
Transforming Every Room in the House
While living rooms and dining rooms are classic choices for decorative wall frames, the possibilities extend throughout the entire home. In a bedroom, creating a single large frame behind the bed serves as an instant headboard alternative, adding warmth and sophistication without the cost of custom furniture. Hallways and entryways, often neglected in terms of design, can become stunning galleries when lined with a series of frames that guide the eye through the space. A home office gains a sense of permanence and professionalism with paneled walls, making video call backgrounds look intentionally designed. Even bathrooms can benefit from the moisture-resistant materials used in these kits, adding a layer of elegance to a space that is often purely functional. Powder rooms, in particular, are perfect candidates for a bold frame treatment, turning a small space into a design jewel box. Wherever you choose to install them, decorative wall frames have the power to elevate the ordinary into something truly special.