
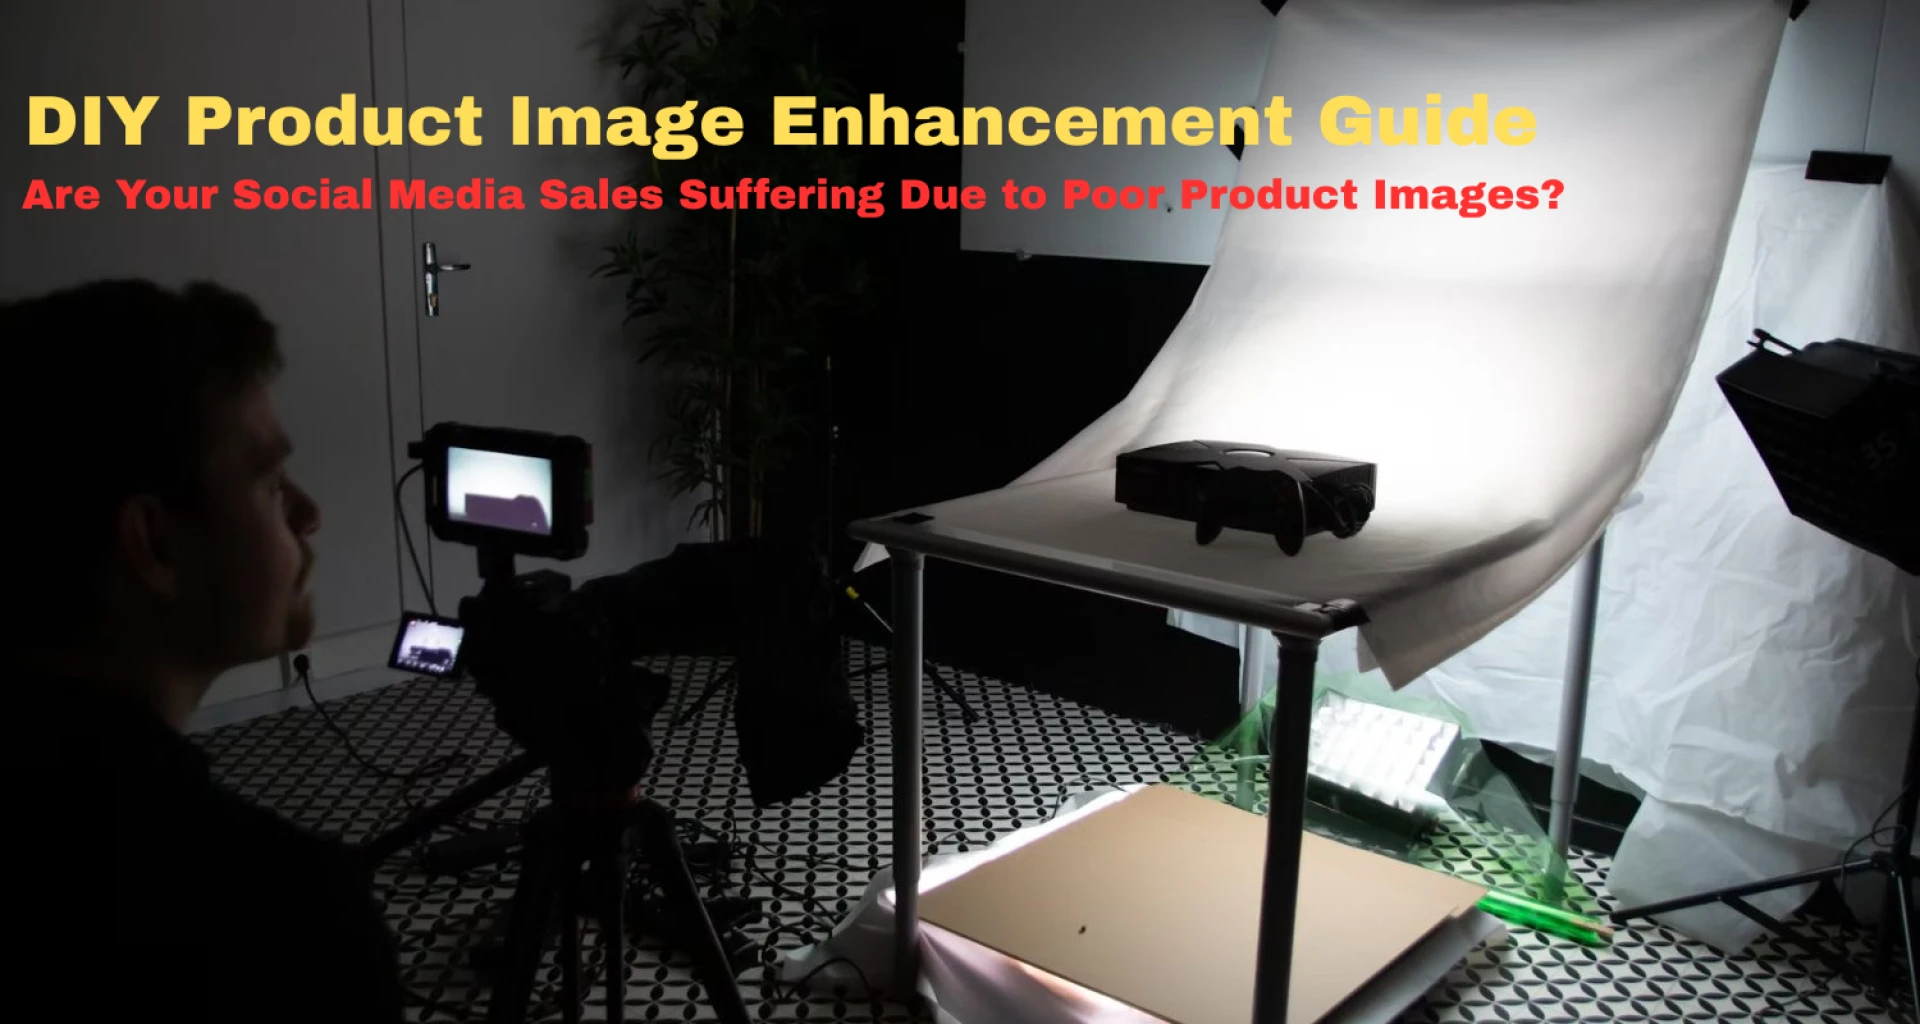
Have you ever scrolled through your social media feed, stumbled upon a product that piqued your interest, but hesitated to purchase because the image quality was subpar? In the digital marketplace, your product images are the first impression you make on potential customers. If they're not up to par, you're likely losing sales without even realising it.
This DIY product image enhancement guide is here to help you transform your product photos, ensuring they captivate your audience and drive sales.
Why High-Quality Product Images Matter
In the realm of social media, visuals reign supreme. A compelling product image can be the difference between a scroll past and a sale. According to a study by MDG Advertising, 67% of consumers consider image quality to be "very important" when making an online purchase.
Poor-quality images can erode trust and make your products appear less valuable. Conversely, high-quality images can enhance perceived value and credibility.
DIY Product Image Enhancement Guide: Step-by-Step
1. Invest in Proper Lighting
Natural light is your best friend. Shoot near windows during the day to capture soft, diffused light. Avoid harsh shadows by using reflectors or whiteboards to bounce light onto the product.
2. Use a Clean Background
A cluttered background can distract from your product. Opt for a plain white or neutral-colored backdrop to keep the focus on the item. You can use poster boards or purchase affordable lightboxes online.
3. Stabilize Your Camera
Blurry images are a no-go. Use a tripod or place your camera on a stable surface to prevent shake. Most smartphones have built-in stabilization features—make sure they're enabled.
4. Capture Multiple Angles
Showcase your product from various perspectives. Include close-ups of important details, and if applicable, demonstrate the product in use. This provides a comprehensive view, building trust with potential buyers.
5. Edit Thoughtfully
Post-processing can elevate your images. Use free tools like GIMP or paid options like Adobe Photoshop to adjust brightness, contrast, and color balance. However, avoid over-editing—your product should still look realistic.
"In today's digital age, a product image isn't just a picture; it's a communication tool. It tells your brand's story and conveys quality. Investing time in creating compelling visuals is investing in your brand's success." — Sarah Johnson, E-commerce Consultant
Tools and Resources
- Canva: A user-friendly design tool for creating social media graphics.
- Remove.bg: Automatically removes backgrounds from images.
- Pixlr: Online photo editor with advanced features.
- Clipping Path Center: A reliable company offering professional image editing services.
Common Mistakes to Avoid
- Overuse of Filters: While filters can enhance images, overdoing it can make products look unrealistic.
- Ignoring Image Dimensions: Ensure your images are optimized for each social media platform's specifications.
- Neglecting Mobile Optimization: With many users browsing on mobile, ensure your images look good on smaller screens.
Conclusion
High-quality product images are crucial for capturing attention and driving sales on social media. By following this DIY product image enhancement guide, you can create compelling visuals that resonate with your audience. Remember, if you need professional assistance, companies like Clipping Path Center are available to help elevate your product photography to the next level.