Have you ever held a paintbrush and wondered how artists turn simple strokes into stunning art? With acrylic painting, you don’t need years of experience or fancy tools to get started. This beginner-friendly guide will take you through acrylic painting for beginners step by step, helping you go from a blank canvas to your first masterpiece with ease. Ready? Let’s turn your creative spark into art!
🎨 Why Choose Acrylic Paint as a Beginner?
There’s a reason beginner acrylic painting is so popular:
- Quick-drying: You don't have to wait long between layers.
- Easy to clean: Soap and water are all you need.
- Versatile: Acrylics can be used on canvas, wood, rocks, and more.
- Budget-friendly: Start with a basic set and still get great results.
Acrylics are perfect for beginners because they’re fun, forgiving, and flexible!
🖌️ Step 1: Gather Your Beginner Art Supplies
You only need a few simple tools to get started:
- Acrylic Paints (Red, Blue, Yellow, White, Black)
- Brush Set (Round for detail, Flat for large areas)
- Canvas or Acrylic Paper
- Palette or Paper Plate (for mixing paint)
- Cup of Water (for cleaning brushes)
- Paper Towels or a rag
This essential setup is all you need to begin your acrylic painting for beginners step by step.
🖌️ Step 2: Try Basic Brush Strokes
Before starting a full painting, try:
- Long strokes
- Short dabs
- Light blends
- Curved lines
This experiment will help you understand how much pressure to apply and how the paint flows from the brush. Practicing makes beginner acrylic painting feel natural in no time!
🖌️ Step 3: Learn Basic Color Mixing
You don’t need dozens of colors—just learn how to mix:
- Red + Blue = Purple
- Blue + Yellow = Green
- Red + Yellow = Orange
- Add White to lighten
- Add Black (sparingly!) to darken
Try painting a small color chart to see what shades you can create. This is a fun part of acrylic painting for beginners step by step that will make your future paintings pop.
🖌️ Step 4: Begin Your First Painting – Step by Step
Now it’s time for your first real painting! Try a simple scene like a sunset, flower, or mountain.
Here’s the process:
- Paint the background first (like the sky or base color).
- Add main shapes like hills, trees, or water in simple strokes.
- Build details using smaller brushes for highlights and shadows.
- Add finishing touches like grass, clouds, or texture.
Remember, if you don’t like a spot, let it dry and paint right over it. That’s the beauty of acrylics!
🖌️ Step 5: Build Layers and Add Depth
Layering is key in beginner acrylic painting:
- Start with light, thin layers
- Add depth with mid-tones
- Finish with shadows and highlights
Each new layer adds richness and detail to your artwork. Let each coat dry before adding another—it only takes a few minutes!
🖌️ Step 6: Try Fun Acrylic Techniques
Once you’re comfortable, explore techniques like:
- Dry brushing (for texture)
- Splattering (for stars or snow effects)
- Glazing (thin color layers for depth)
- Palette knife painting (for bold strokes)
These help take your acrylic painting for beginners step by step journey to the next level.
🎨 Final Thoughts
Acrylics are the perfect medium to start your art journey. They’re forgiving, easy to learn, and open up endless creative possibilities. With regular practice and a little patience, your blank canvases will soon turn into works of art.
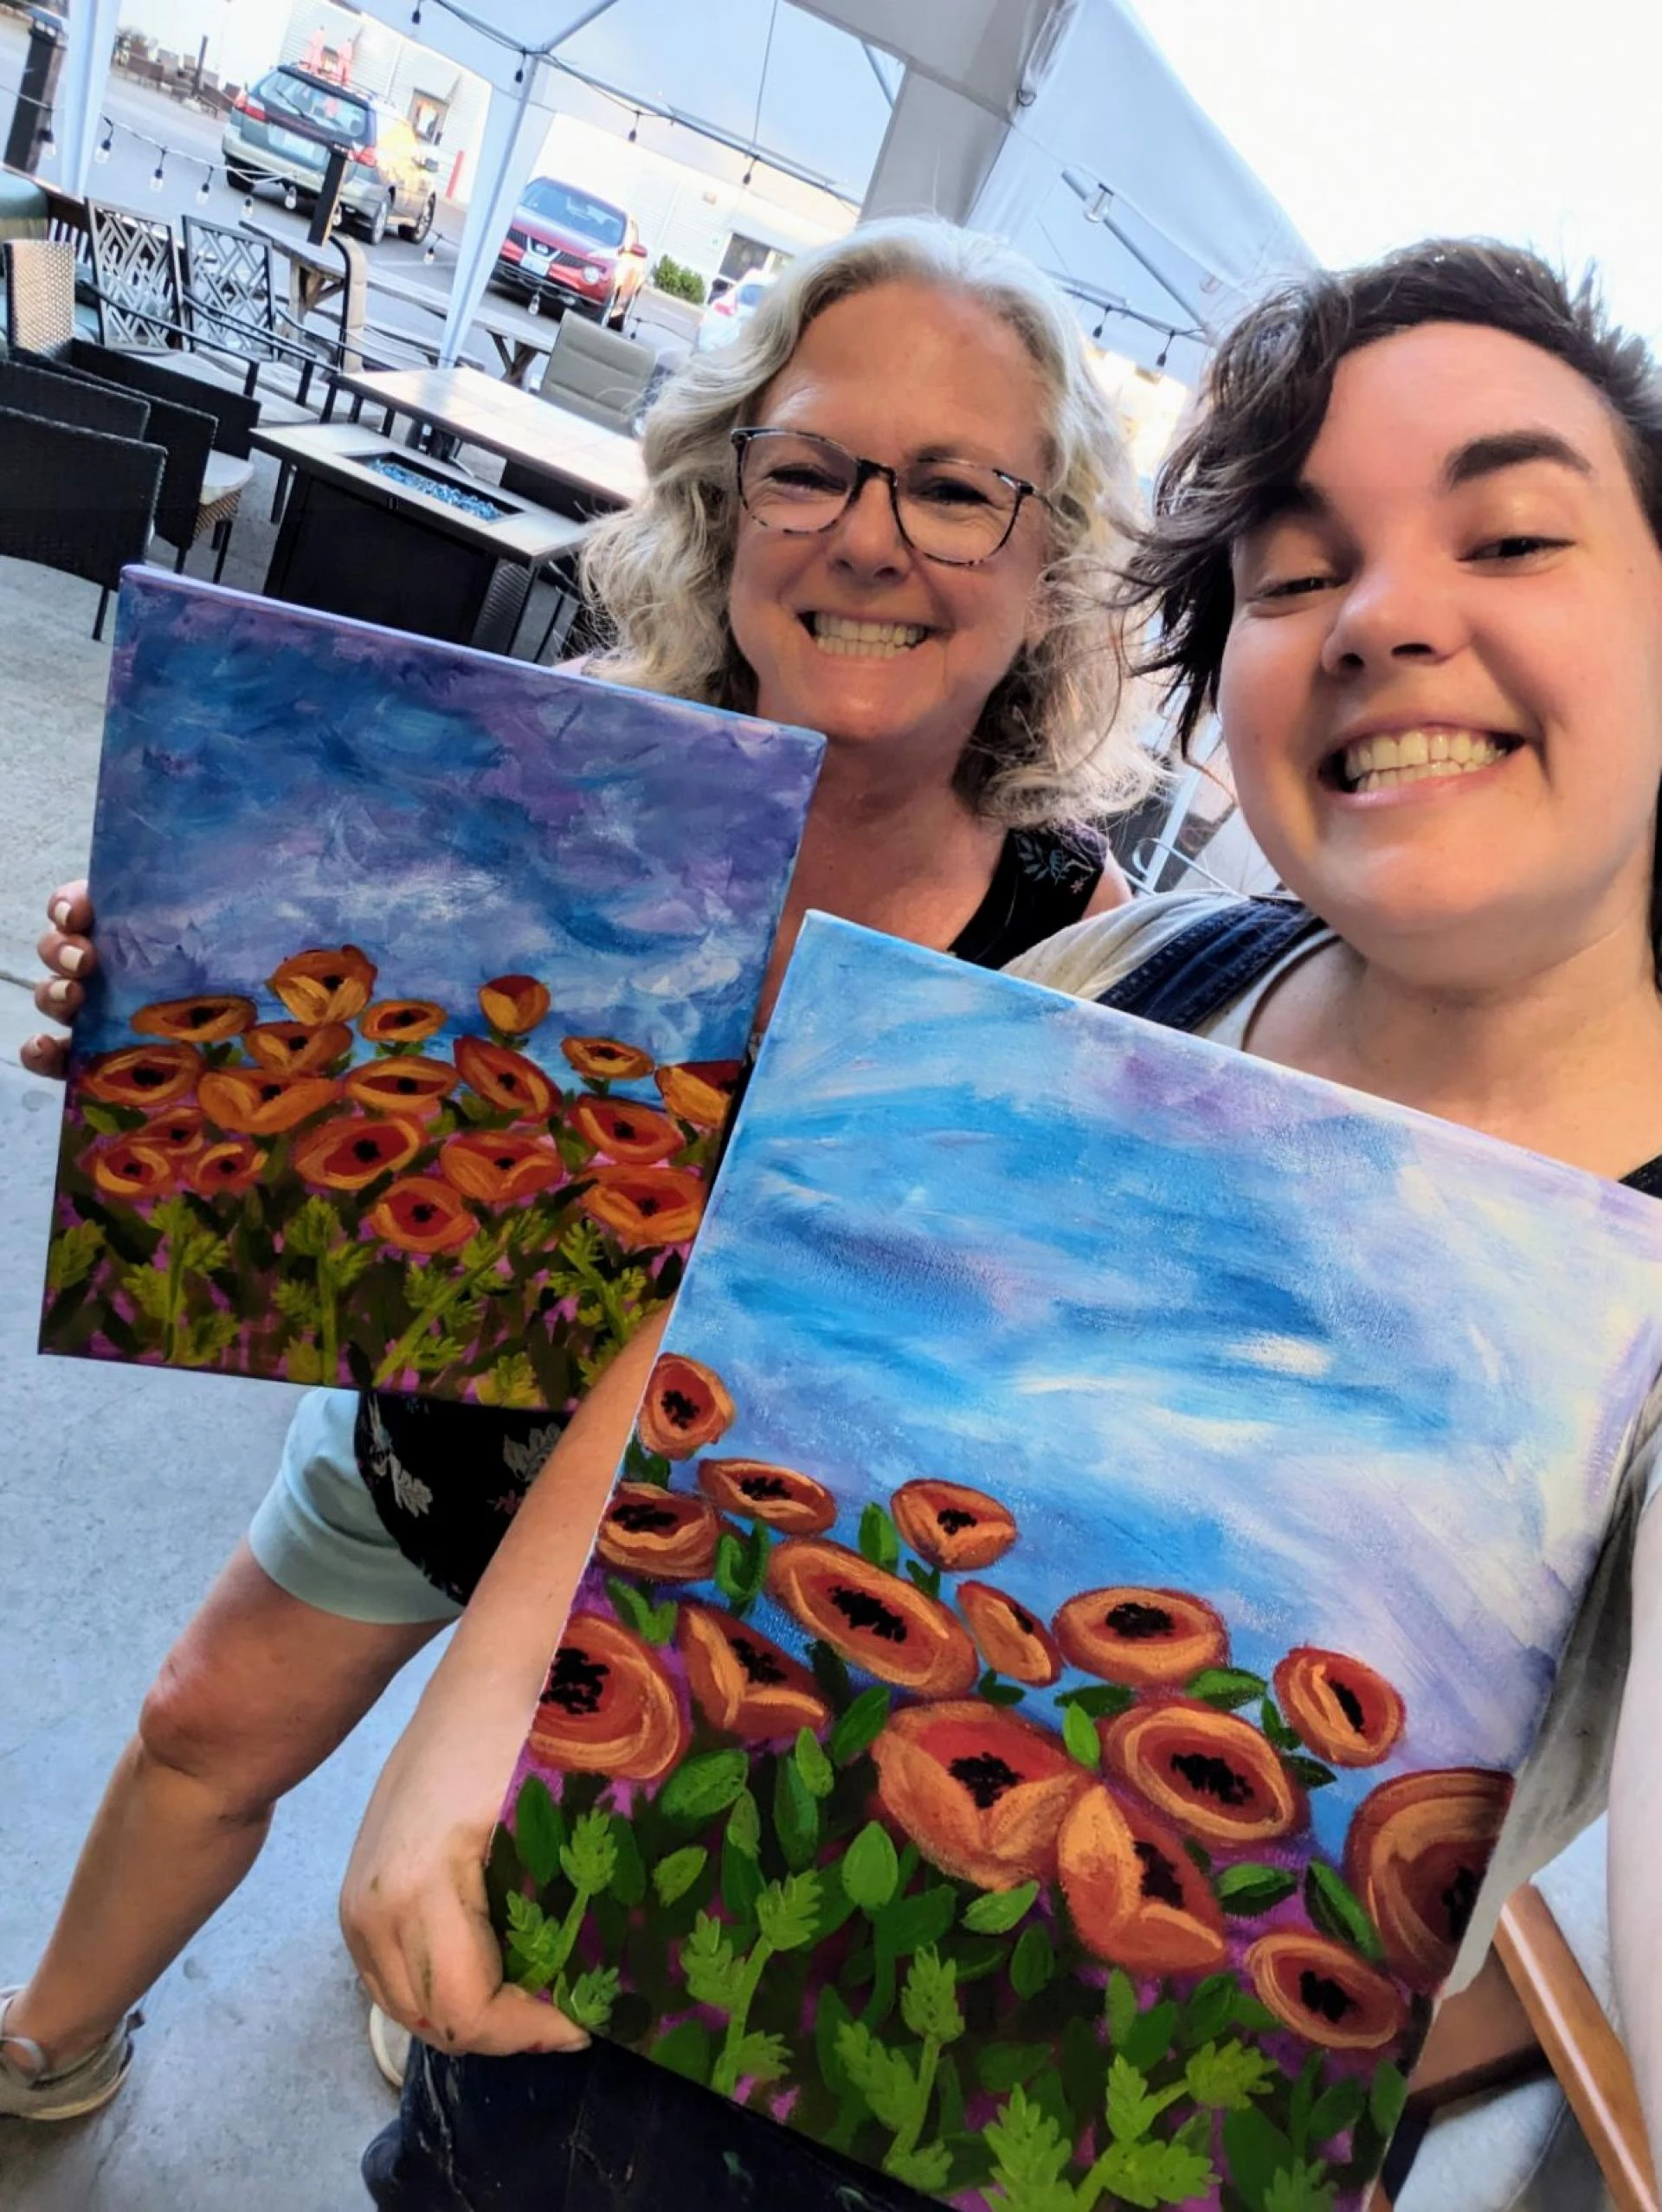
Looking to have fun while learning? Join a paint and sip night or virtual painting class with Artväna—a creative experience designed with beginners in mind. Discover, create, and connect, one brushstroke at a time.
Pick up that brush today—the world of acrylic painting is waiting for you!