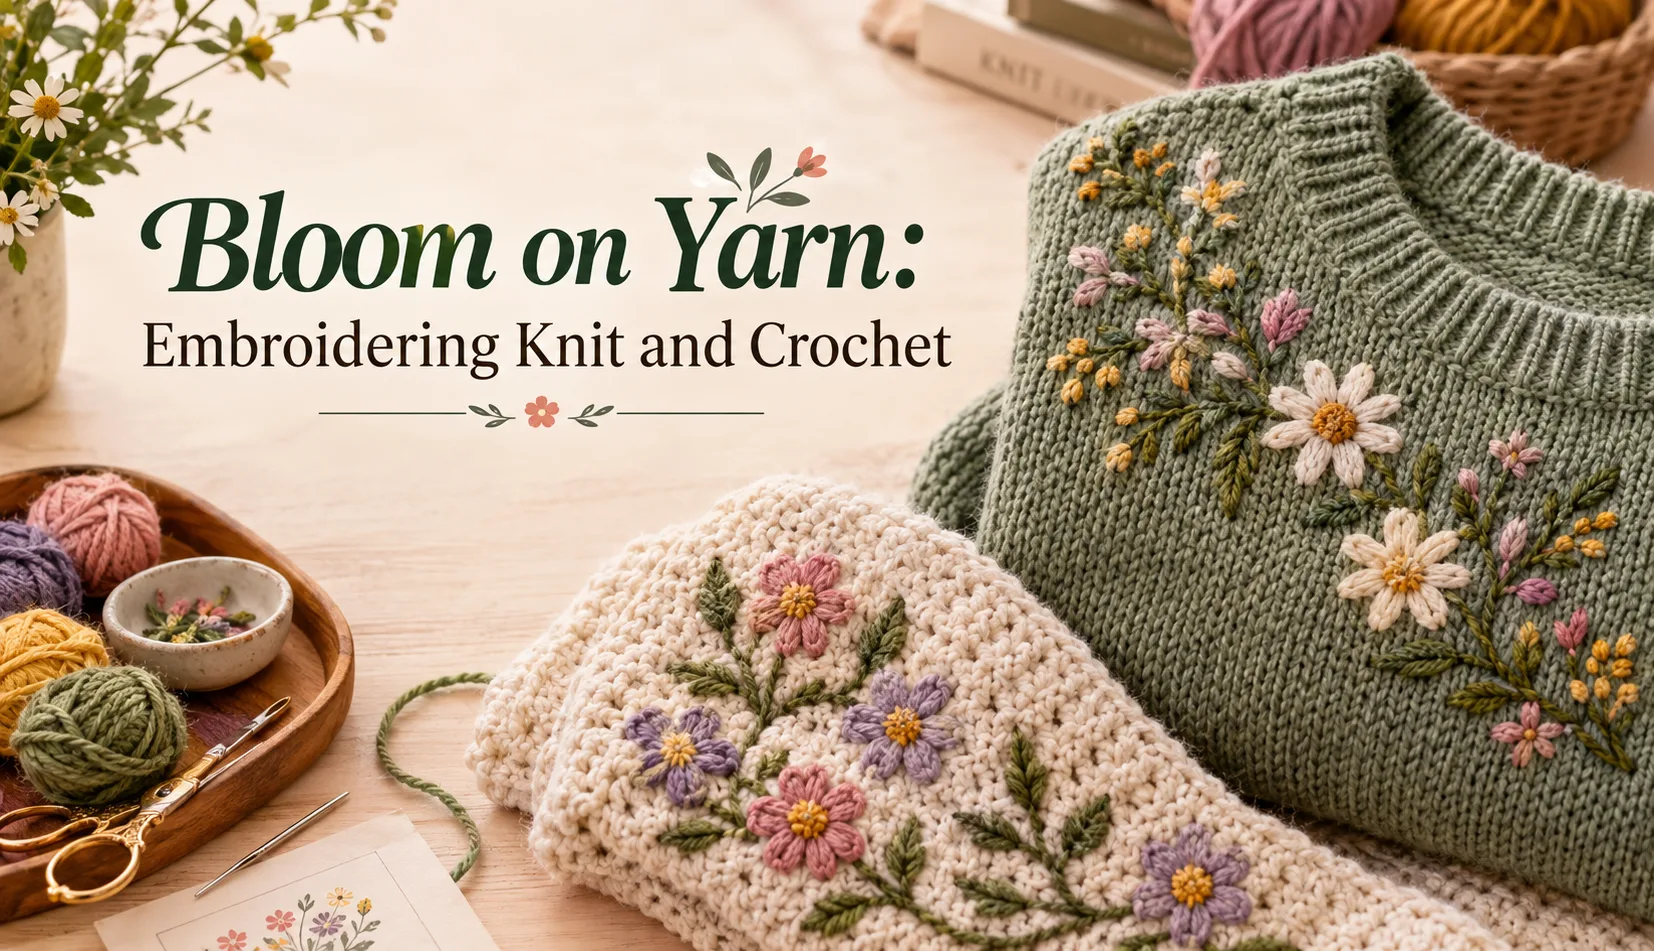
After finishing your stockinette sweater or crochet scarf, do you see anything missing? Plain stitches create cozy, soft fabric. However, adding handcrafted floral embroidery gives a solid background a hand-finished look.
You don't have to be an expert embroiderer or spend weeks managing dozens of yarn bobbins while knitting. Two techniques do the job: duplicate stitch for knit fabric and surface embroidery for crochet. Between them, you can stitch daisies, tulips, and leafy vines onto almost any plain project.
Here's how to turn plain handknits and crochet into pieces that look one of a kind.
Understanding the Duplicate Stitch
Duplicate stitch, also known as Swiss darning, is one of the easiest ways to add colorwork without carrying a single extra strand. Instead of working complex Fair Isle or intarsia while knitting, duplicate stitch lets you embroider directly over existing stitches after completion.
Using a tapestry or wool needle, you simply trace the shape of an existing knitted stitch with a new strand of yarn. As you follow the V-shape of the knit stitch, the embroidery blends smoothly into the fabric. This keeps the design neat and lets you place every stitch exactly where you want it.
Step-by- Step Technique
Before you start, block your project first. Embroidering on unblocked fabric can leave the design looking warped once you wash and stretch it into shape. Also mark your chart's center stitch with a removable stitch marker so the design stays centered.
- Thread a blunt tapestry needle with a strand about 18 inches long. A blunt tip slides between fibers instead of splitting them, and a shorter strand frays less as it passes through the fabric. Choose yarn the same weight as your project for a flat finish, or one weight heavier if you want the motif to sit slightly raised. Leave a 4-inch tail on the wrong side. Weave it through a few nearby stitches, then work your first few stitches over it to hold it in place. Skip the knot.
- Bring your needle from the back (wrong side) to the front (right side), coming up right at the bottom point of the V-stitch you want to cover.
- Slide your needle under both legs of the V-stitch located directly above your working stitch. Pull the yarn through gently without tugging too tight.
- Work from the bottom of your motif upward, one row at a time. Finish the row, then turn your work and continue in the opposite direction on the next row. Stitching in a consistent pattern keeps your tension even.
Repeat the whole process by following the pixel or grid chart. Each square on a knitting chart represents one stitch, so read it like a map: one square, one V. Print the chart and tick off each row as you finish it.
Learn Floral Embroidery Stitches
Duplicate stitches work well on V-shaped knitted stitches. However, direct surface embroidery gives you complete freedom to cross over stitch boundaries. This approach is used mostly on crochet, such as single or double crochet, where stitches do not form distinct V shapes.
Some of the classic floral stitches
1. The Lazy Daisy Stitch (Petals): Come up at the base of the petal and go back down in the same spot, leaving a loop. Bring the needle up at the petal's tip, inside the loop, then pull gently. Anchor the loop with a tiny stitch over the top. Repeat five or six times in a circle to form a full blossom.
2. French Knots (Textured Centers): This stitch makes wonderful three-dimensional centers for daisies, as well as clusters of tiny berries. Bring your needle up, wrap the yarn around the needle shaft two or three times close to the fabric, and insert the needle back down right next to your starting point. Hold the working yarn taut with your non-dominant hand as you pull the needle through to the back.
3. Stem and Straight Stitches (Stems & Foliage): Straight stitches make crisp pine needles. For rounded leaves, work a single lazy daisy stitch and elongate it. For winding stems, work slightly overlapping angled stitches in a line, so each new stitch starts halfway along the last one. They connect your flowers into one garland.
Tips for Embroidery on Knit and Crochet
Embroidery on knit and crochet fabric requires a different approach when compared to cotton fabric. Keep a few rules in mind:
- Match the fiber content and care instructions of your embroidery yarn to the garment. Hand-dyed wool on a machine-washable acrylic sweater can bleed or felt in the wash.
- Knit and crochet fabrics naturally stretch and move. If you pull your embroidery threads too tightly, the surrounding fabric will pucker and distort. Keep your stitching relaxed so the embroidered motifs flex along with the garment.
- Avoid hard knots on the back of your work, as they can pop through to the front or scratch against your skin. Instead, weave your tail ends thoroughly through the backs of the surrounding stitches.
Conclusion
A few embroidered flowers can turn a basic sweater or scarf into something worth handing down. Whether you cover both sleeves with a duplicate-stitch flower grid or place one tiny lazy daisy, there's no wrong way to start. Grab a tapestry needle and some leftover yarn, and start with one small daisy.