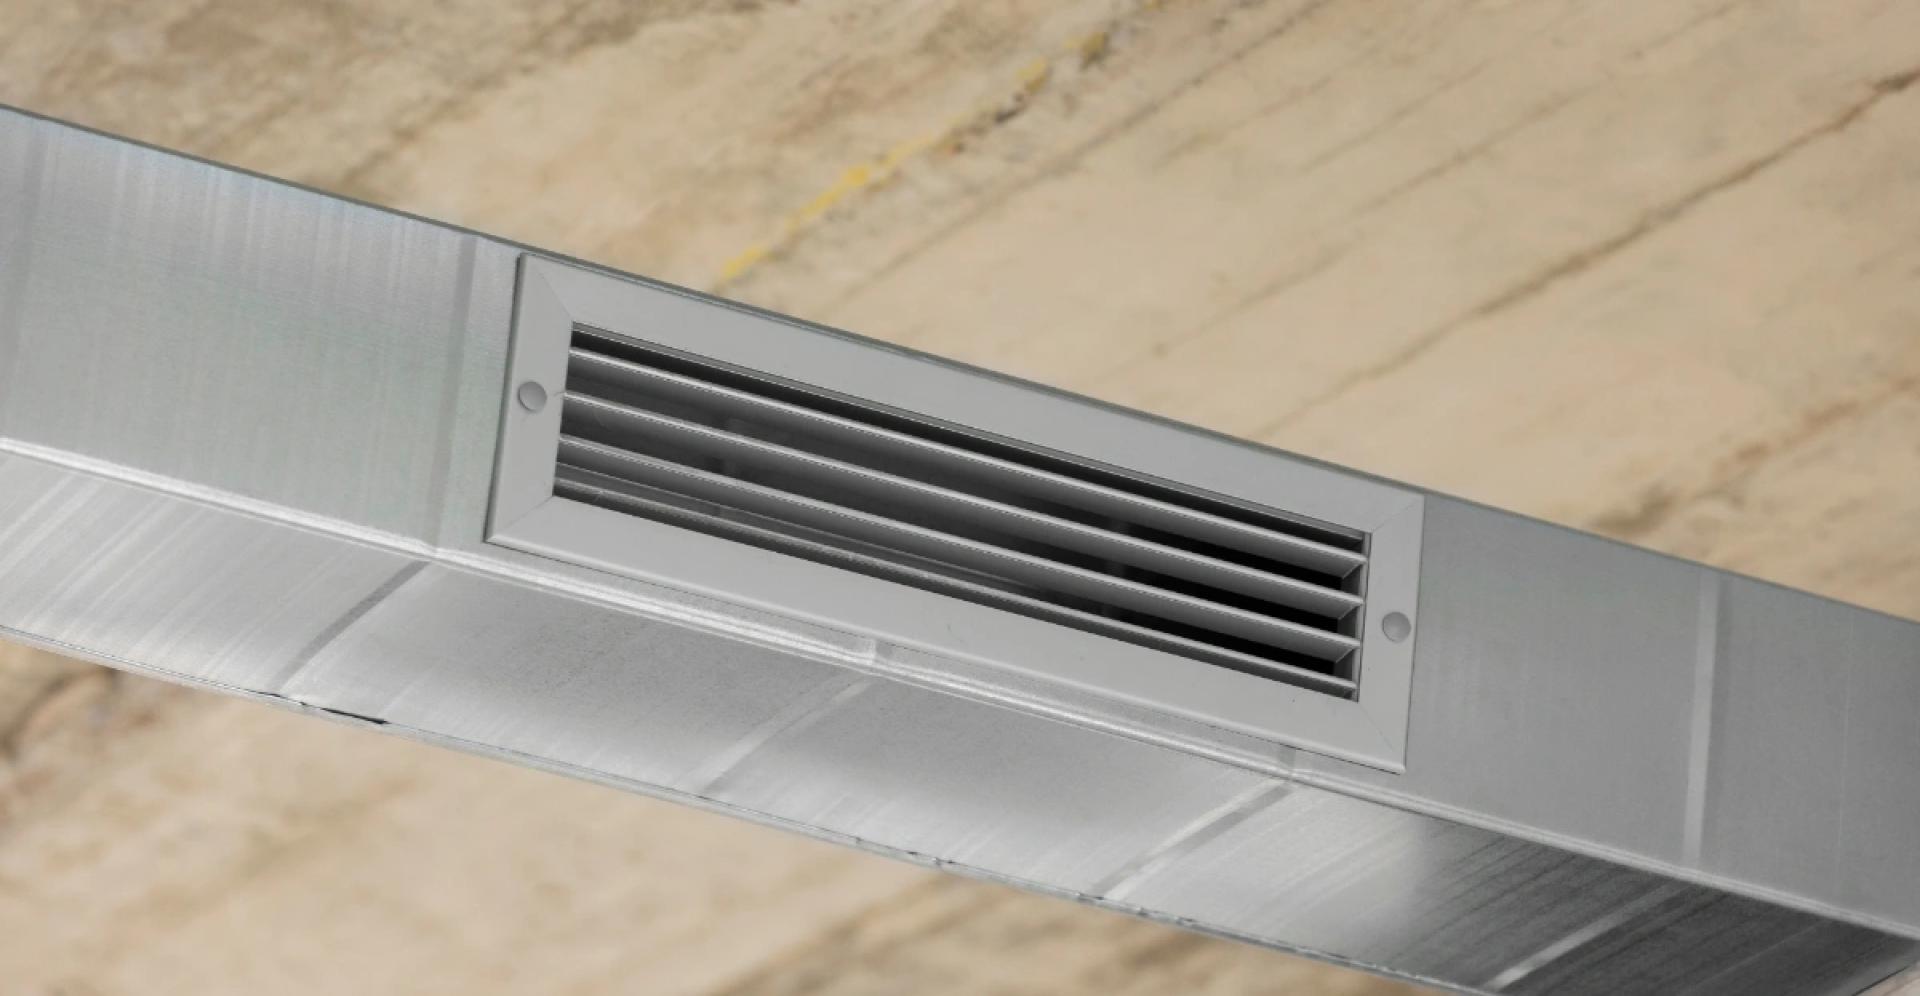
Properly functioning ductwork is essential for maintaining a comfortable and energy-efficient home. Over time, duct systems can develop leaks, blockages, or other damage that reduces airflow, increases energy costs, and affects indoor air quality. For homeowners in Cambridge, understanding a clear process for HVAC duct repair in Cambridge can help maintain system efficiency, protect your home, and improve comfort throughout the year. In this step-by-step guide, we will walk you through common duct problems, repair methods, and preventive tips to ensure your HVAC system performs at its best.
Step 1: Identify the Problem
The first step in any duct repair process is to determine the issue. Common problems include:
- Air leaks or holes that reduce efficiency
- Disconnected or sagging duct sections
- Blockages caused by debris, dust, or animal nests
- Damaged insulation causing energy loss
- Mold or mildew growth due to moisture
Signs of duct issues often include uneven heating or cooling, higher energy bills, unusual noises, or poor airflow from vents. Homeowners should inspect accessible duct areas and listen for abnormal sounds.
Step 2: Gather Tools and Safety Equipment
Before starting any repair, ensure you have the necessary tools and safety gear. Common items include:
- Screwdrivers and pliers for adjusting or reconnecting ducts
- Mastic sealant or metal tape for sealing leaks
- Replacement duct sections, if needed
- Insulation materials for damaged or missing insulation
- Gloves, safety goggles, and a mask to protect from dust and debris
Proper preparation ensures repairs are completed safely and effectively, minimizing potential hazards.
Step 3: Seal Leaks and Holes
Air leaks are one of the most common issues affecting HVAC efficiency. Even small gaps can lead to significant energy loss and uneven temperature distribution.
Repair Process:
- Locate leaks by listening for hissing sounds or using a smoke pencil or air flow detector.
- Clean the surrounding area to ensure proper adhesion.
- Apply mastic sealant or metal tape to cover leaks completely.
- Inspect all seams, joints, and connections to confirm they are airtight.
Sealing leaks not only improves efficiency but also ensures that your HVAC system works at full capacity without unnecessary strain.
Step 4: Repair or Replace Damaged Sections
Ducts that are disconnected, sagging, or severely damaged may need partial replacement. Proper alignment and secure connections are critical for maintaining airflow.
Repair Steps for Cambridge Homes:
- Measure and cut replacement duct sections to fit precisely.
- Securely connect the new sections with screws, clamps, or mastic sealant.
- Ensure all connections are tight to prevent future leaks or disconnections.
For professional results, many homeowners rely on experts such as Airvance Solutions, who specialize in HVAC duct repair in Cambridge and can handle complex repairs efficiently and safely. Their team ensures that all ductwork is properly aligned, sealed, and insulated, restoring system efficiency.
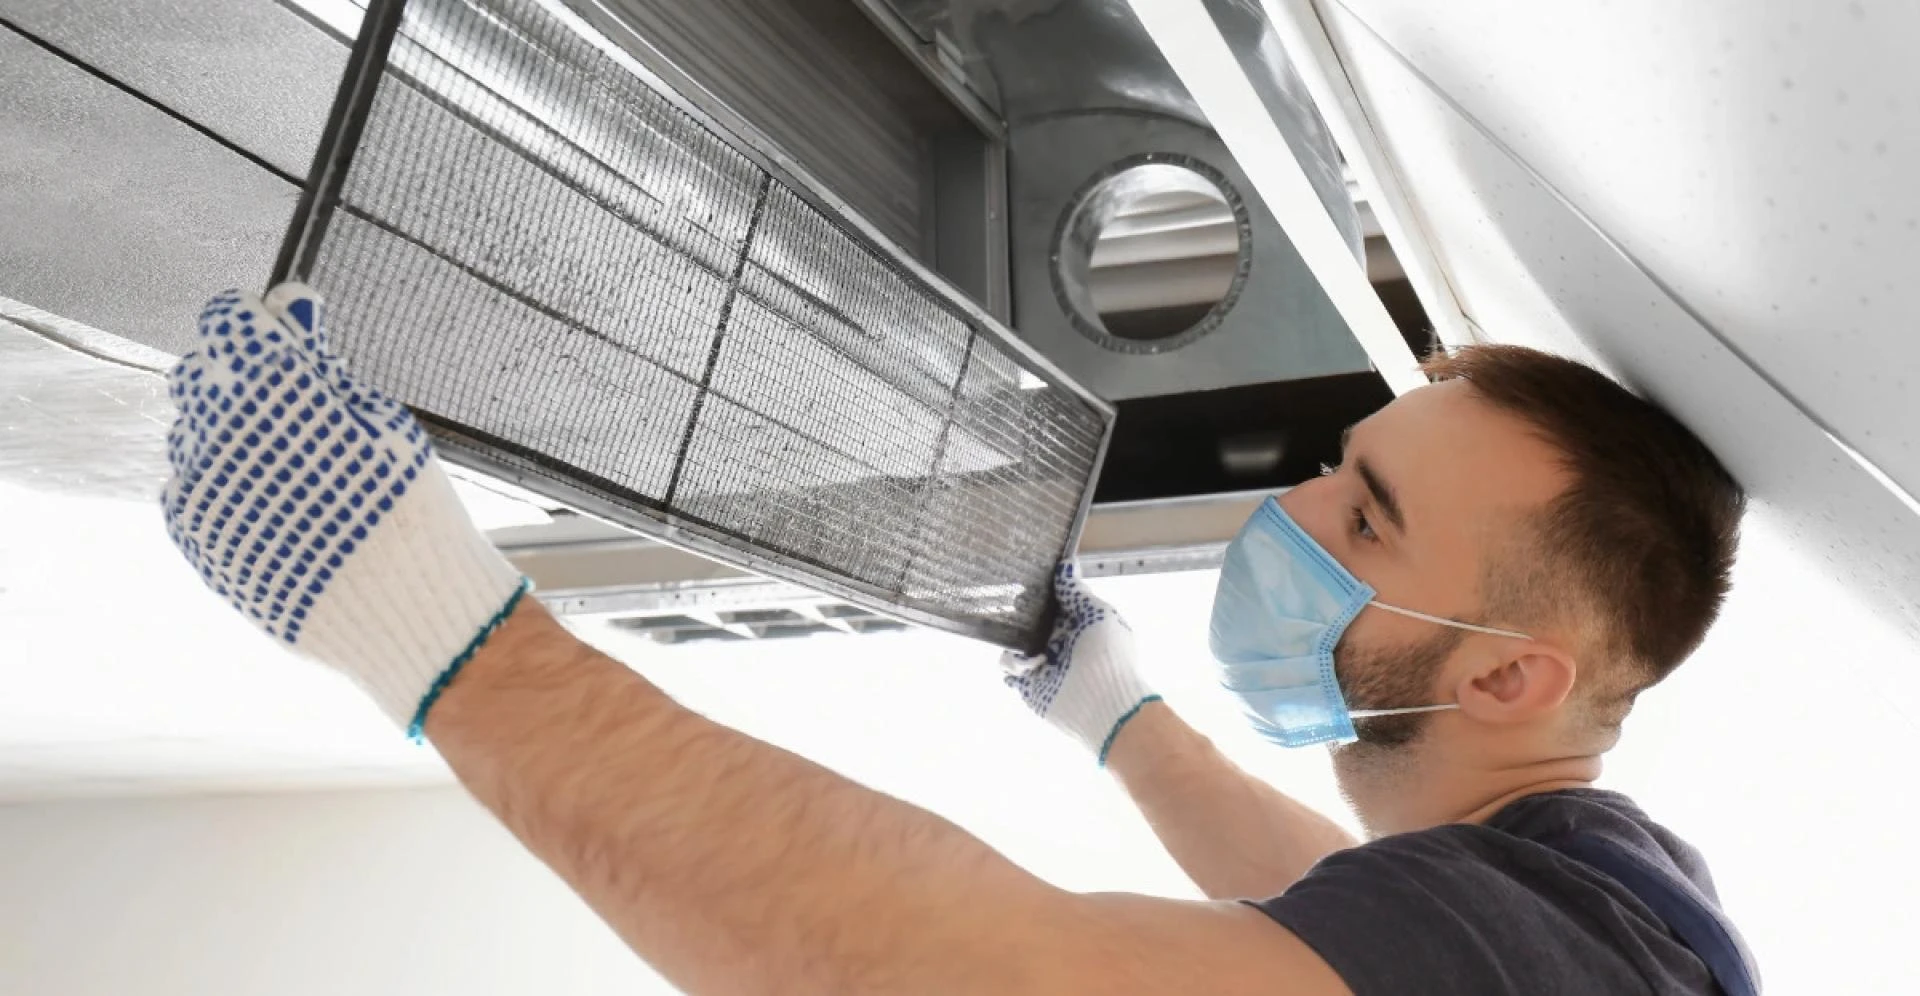
Step 5: Inspect and Clean Ducts
Once repairs are complete, inspecting and cleaning the duct system is essential. Debris, dust, and allergens can accumulate over time, reducing airflow and potentially impacting indoor air quality.
Cleaning Steps:
- Use a vacuum or duct cleaning equipment to remove dust and debris
- Check for mold or moisture buildup and address it promptly
- Inspect insulation to ensure it is intact and effective
Regular cleaning helps maintain system efficiency and ensures healthy air circulation throughout your home.
Step 6: Add or Repair Insulation
Ducts that pass through unconditioned spaces like attics or basements can lose energy if insulation is damaged or missing. Proper insulation keeps conditioned air at the desired temperature and reduces the load on your HVAC system.
Insulation Tips:
- Wrap exposed ducts with appropriate insulation materials
- Repair or replace torn or wet insulation immediately
- Ensure insulation is snug but not compressed to maintain airflow
Step 7: Test the System
After all repairs are complete, turn on the HVAC system to test airflow, temperature distribution, and overall performance. Check each vent to ensure even airflow and listen for any unusual sounds that may indicate unresolved issues.
Testing the system confirms that repairs were successful and helps identify any areas that may need further attention.
Step 8: Schedule Regular Maintenance
Preventive maintenance is key to extending the life of your ductwork and HVAC system. Annual inspections and cleaning can detect small issues before they become major problems. Homeowners in Cambridge should consider scheduling professional checks to maintain optimal performance and air quality.
Conclusion
By following this step-by-step guide to HVAC duct repair in Cambridge, homeowners can identify common problems, perform safe and effective repairs, and maintain an efficient HVAC system. Addressing leaks, blockages, insulation issues, and damaged sections improves airflow, lowers energy costs, and protects indoor air quality. Whether handling minor repairs or relying on professionals, following these steps ensures your ductwork operates safely and efficiently. Trusted providers like Airvance Solutions offer expert duct repair services, providing peace of mind while keeping your home comfortable throughout the year.