Installing road barriers looks straightforward on paper — dig posts, bolt rails, tighten nuts. In reality, it’s one of the highest-risk activities on any road project.
One misaligned anchor, one skipped soil test, or one rushed connection can turn a safety device into a launching ramp.
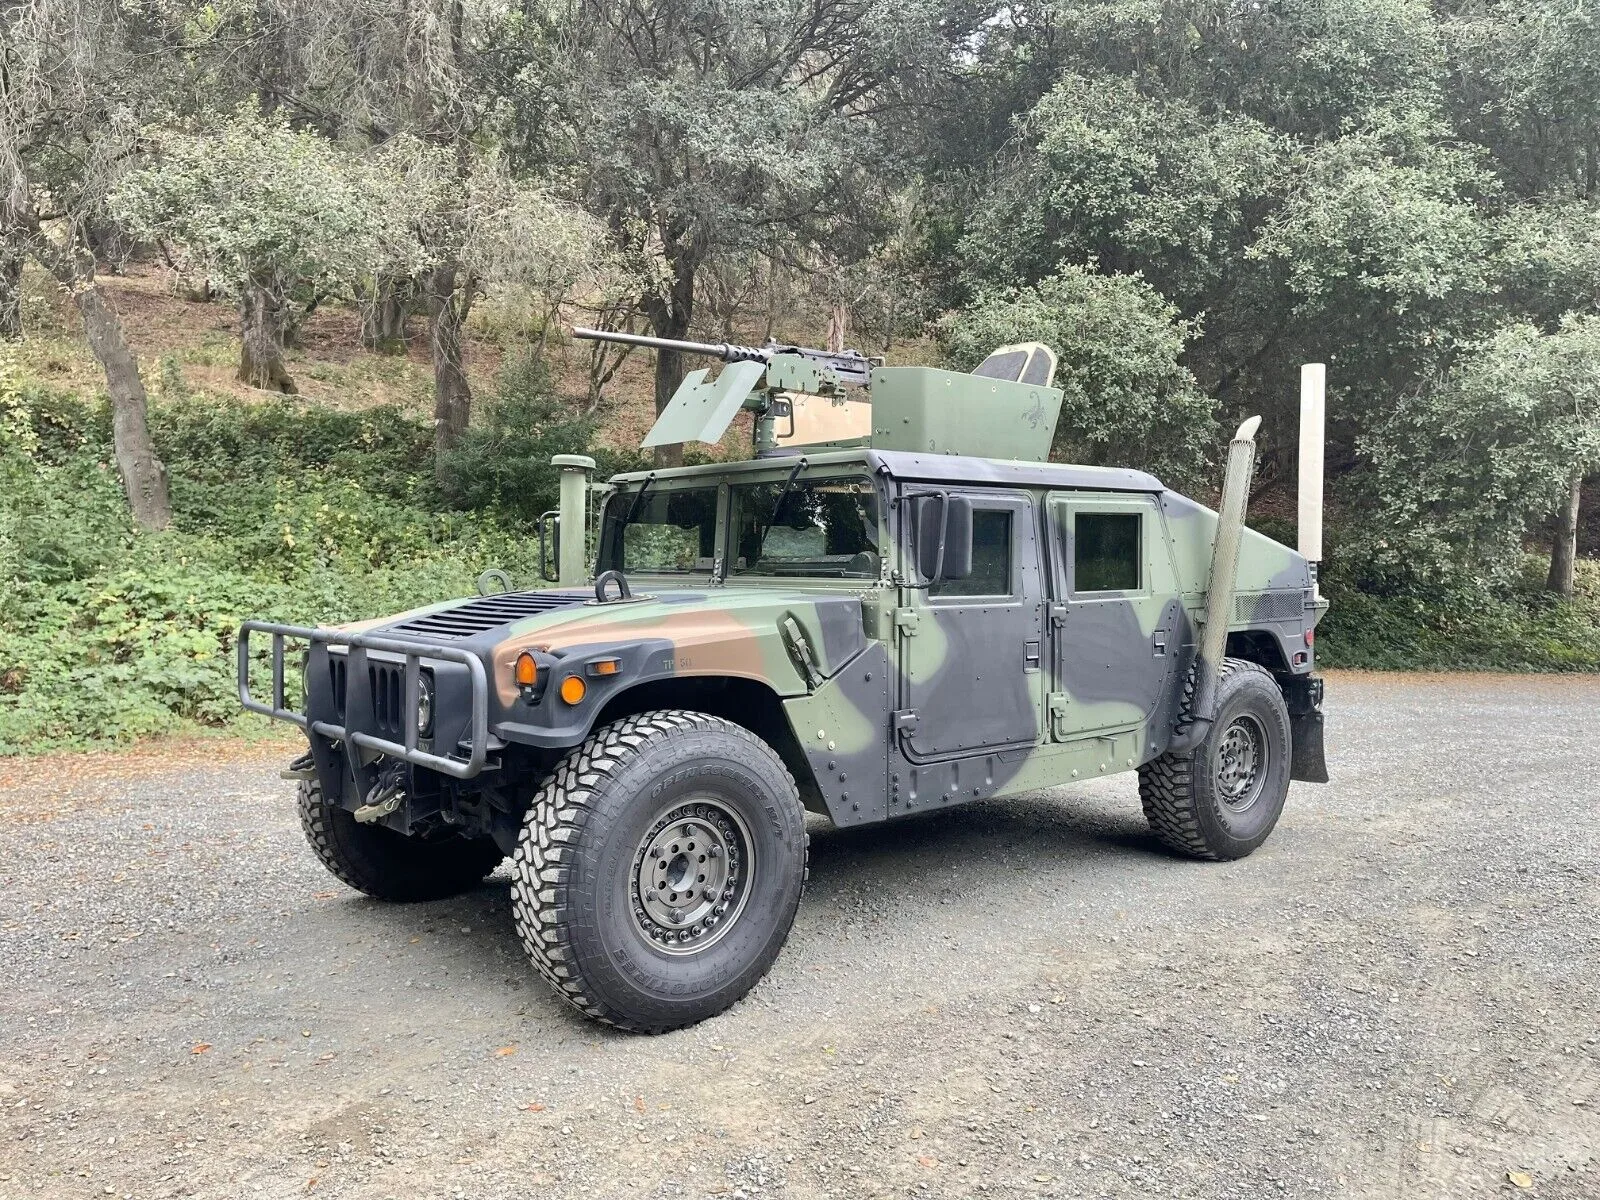
Over the years I’ve watched crews install barriers in pouring rain on the N2, in blinding dust on the N1, and at 2 a.m. on urban arterials.
The difference between a barrier that performs perfectly for decades and one that fails on first impact almost always comes down to the seemingly small decisions made during installation.
Pre-Installation Planning That Actually Matters
Never treat barrier installation as “just another line item.” Start with a detailed site-specific risk assessment that includes:
- Accurate ground-penetrating radar or trial pits to understand soil conditions and underground services.
- Traffic volume and speed data to confirm the correct containment level and deflection space.
- Clear staging plans that keep workers out of live traffic lanes as much as possible.
- Weather contingency plans — never install critical connections in heavy rain or high wind.
A single day spent on proper planning routinely saves weeks of rework and prevents dangerous “temporary fixes” later.
Step-by-Step Best Practices for Safe and Efficient Installation
1. Establish a Protected Work Zone First
Before any plant or crew enters the area, deploy advance warning signs, cones or drums, and high-intensity LED warning lights at least 300–500 m upstream (depending on speed). Use arrow boards and portable rumble strips to manage approaching traffic. This creates breathing room for the installation crew.
2. Verify Alignment and Levels Religiously
SafetyXpress noted that you should use laser levels or total stations for every run. Even a 2 cm height variation over 50 m can create weak points or unexpected deflection behaviour. Mark the exact centreline and post locations with paint or stakes before any digging begins.
3. Pay Extreme Attention to Foundations and Anchorage
This is where most failures originate.
- In soft or sandy soils, use deeper embedment or concrete footings.
- In rocky ground, pre-drill and use chemical anchors instead of driving posts.
- Torque every bolt to manufacturer specifications — under-tightened connections are the silent killer of barrier performance.
4. Install in Logical Sequence
Always work from the downstream end backwards. This allows proper overlapping of rail sections and tensioning of cables (where used). Never leave an open end unprotected overnight — install temporary crash cushions or end treatments immediately.
5. Maintain Constant Quality Checks
After every 50–100 m, conduct a quick pull-test on posts and visual inspection of connections. Document height, spacing, and torque values. A simple checklist signed by the supervisor prevents arguments during the final handover.
6. Integrate Warning Devices During Installation
Don’t treat lights and signage as an afterthought. Mount warning lights and reflective elements as you go so the barrier is fully functional the moment traffic is allowed back into the lane.
Common Installation Mistakes That Cost Lives and Money
- Ignoring underground services and hitting a water main or fibre optic cable.
- Using the wrong post spacing for the design speed.
- Leaving transition sections between different barrier types poorly connected.
- Installing in poor weather, which leads to loose connections that fail weeks later.
- Rushing the final 20 m of a run and skimping on end treatments.
Case Study: Night Installation on the Busy N4 West
Challenge
A 3.2 km median barrier replacement on the N4 near Rustenburg had to be completed during night shifts to minimise disruption to platinum mine traffic. The schedule was tight, soil conditions varied wildly, and any delay would trigger massive penalties.
Action
The crew used pre-fabricated modular steel sections with factory-drilled holes, laser-guided alignment, and a strict “no-install-in-rain” rule. Every post was torque-checked and photographed before backfilling. Warning lights were mounted on the barriers as they were erected, keeping the work zone visible at all times.
Quantifiable Result
The installation finished two nights ahead of schedule. Zero incidents occurred during the works despite 80,000+ vehicles passing nightly. Post-installation crash testing (via simulation) and the first real minor impact both confirmed full performance. The contractor later used the same methodical approach on three additional projects, reducing average installation time by 22%.
Link: https://www.platinumweekly.co.za/article.php?id=2765&categoryID=5
Efficiency Tips That Don’t Compromise Safety
- Pre-assemble as much as possible off-site or in a laydown area.
- Use purpose-built barrier installation trucks with hydraulic lifters instead of excavators where possible.
- Schedule crews in rotating shifts with mandatory fatigue management.
- Keep a dedicated “barrier doctor” van on site stocked with spare parts and torque tools for immediate corrections.
People Also Ask
How long should a proper road barrier installation take?
For a standard steel guardrail run, expect 150–300 metres per shift with a well-trained crew. Modular systems can achieve 400–600 metres per shift. Rushing beyond these rates almost always compromises quality.
Do I need a qualified engineer on site during installation?
For any crash-rated system on high-speed roads, yes. An engineer or highly experienced supervisor should verify critical connections, transitions, and end treatments.
Can barriers be installed in wet weather?
Only non-critical preparatory work. Critical anchorage and bolted connections should never be done in standing water or heavy rain, as it affects torque accuracy and long-term corrosion performance.
What is the most important single factor for successful barrier installation?
Consistent post embedment depth and torque. Everything else — alignment, overlap, transitions — depends on the foundation being right.
Installing road barriers correctly is equal parts engineering discipline, site discipline, and respect for the physics involved. When done with care and the right sequence, the barrier becomes an invisible hero that protects thousands of drivers and workers for years. Cut corners during installation and you risk turning an expensive safety asset into an expensive liability. Take the time to do it properly once — your future self, and every road user, will thank you.