Selling your phone? Whether you’re upgrading to a new model or simply looking to earn extra cash from an old device, it’s crucial to ensure the phone is in excellent working condition before handing it over to a new owner. A pre-sale diagnostic test helps you verify that every part of the phone is functioning correctly, increasing the resale value and boosting buyer confidence.
With the help of phone diagnostic software, this process becomes efficient, accurate, and accessible—even if you’re not a tech expert. This article walks you through how to conduct a full diagnostic test before selling your phone, what tools to use, and why it matters.
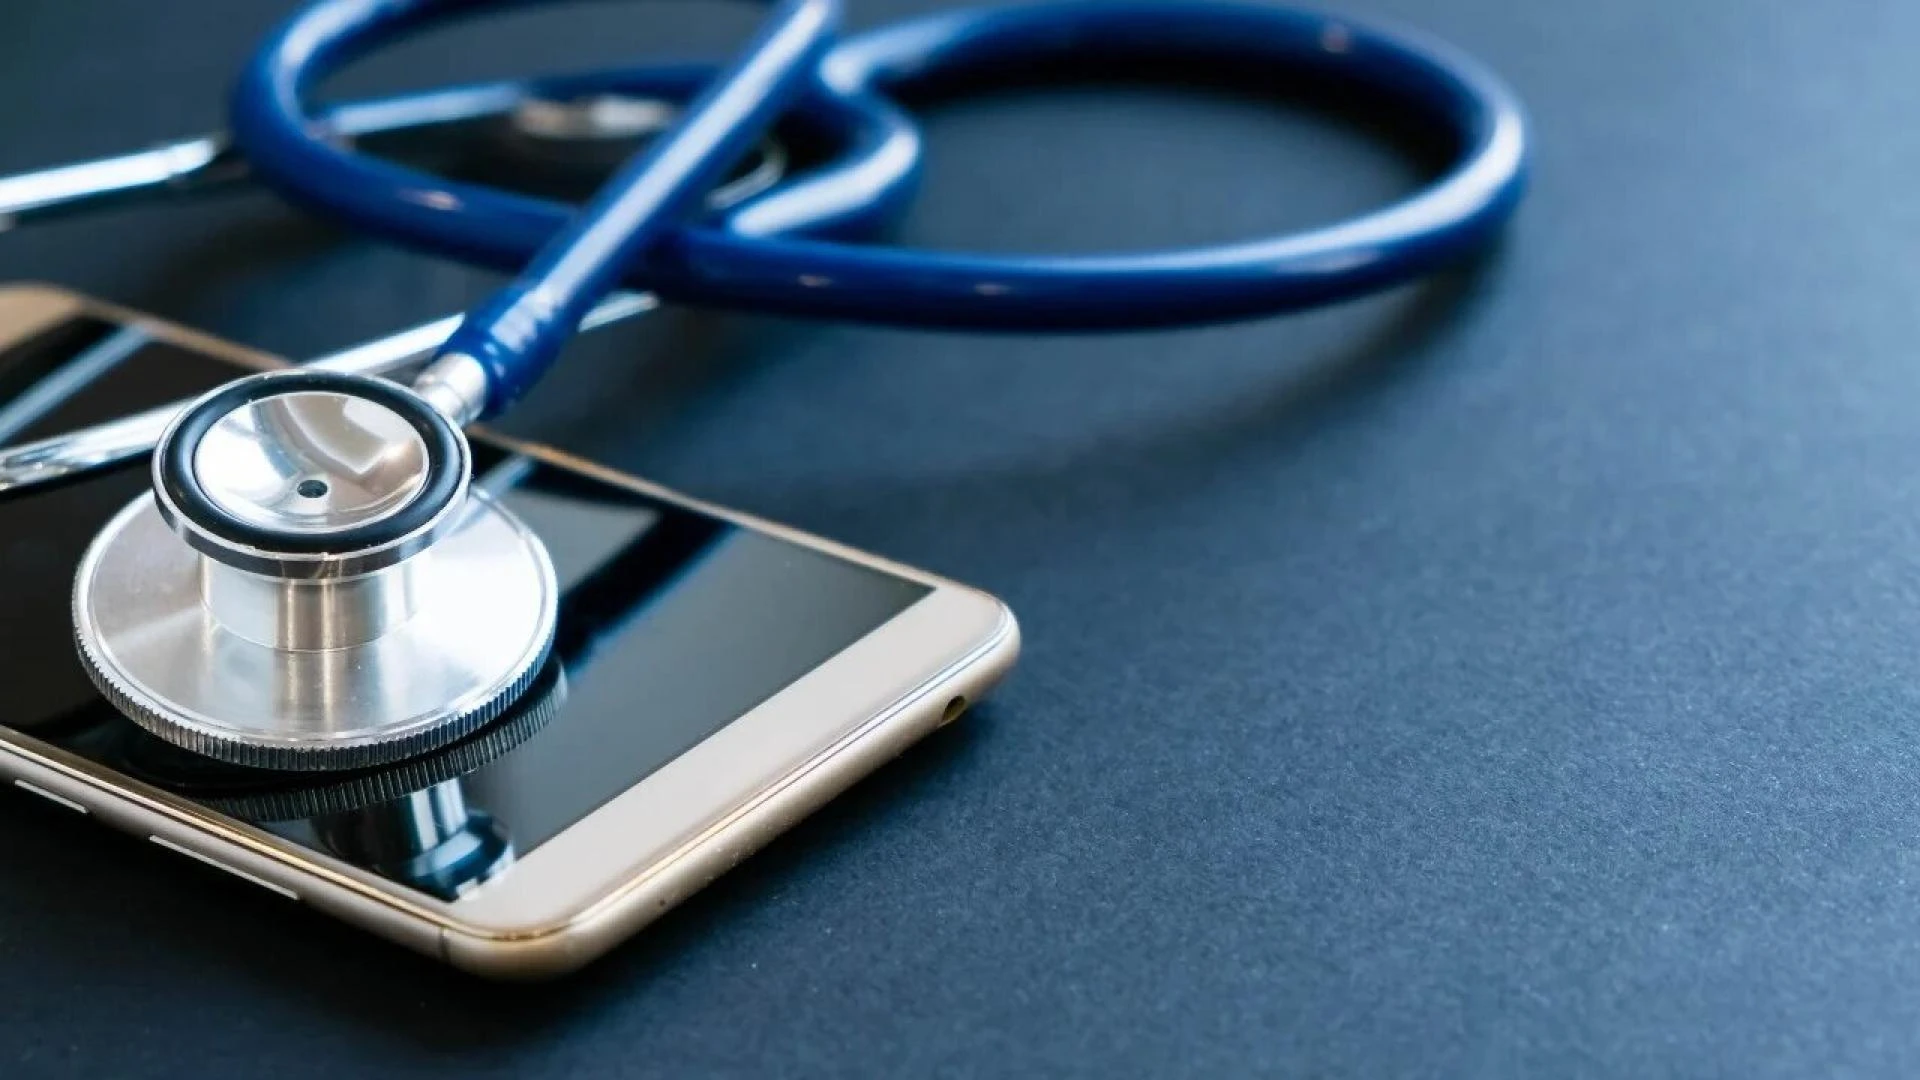
Why Pre-Sale Diagnostics Matter
Before selling your phone, running a comprehensive diagnostic test can help in several ways:
- Builds buyer trust: Offering proof that the phone passed a diagnostic check reassures buyers that they’re getting a reliable device.
- Increases resale value: A tested and verified device can sell for more than one with unknown status.
- Helps detect hidden issues: Catch problems you might have overlooked—like a failing battery or a non-working microphone.
- Protects your reputation: If you’re a regular seller on platforms like eBay, Swappa, or Facebook Marketplace, this ensures positive feedback.
This is where phone diagnostic software comes in handy, giving you the tools to test your phone's features easily and comprehensively.
What Is Phone Diagnostic Software?
Phone diagnostic software is a category of apps designed to test and evaluate various hardware and software components of a smartphone. These tools help you run checks on the screen, battery, sensors, connectivity, camera, audio, and more.
The best part? Most diagnostic apps are easy to use, available for free or a small fee, and support both Android and iOS platforms.
Step-by-Step: How to Perform a Pre-Sale Diagnostic Test
Step 1: Backup and Factory Reset (Optional but Recommended)
Before you begin testing, back up your personal data and consider performing a factory reset. This ensures that no personal information interferes with diagnostic apps and that you're evaluating the phone in its cleanest state.
- iOS: Settings > General > Transfer or Reset iPhone
- Android: Settings > System > Reset Options > Erase all data
Step 2: Install a Reliable Phone Diagnostic App
Here are some trusted phone diagnostic software options:
Phone Doctor Plus (Android & iOS)
Offers 30+ test modules including screen, battery, SIM card, sensors, microphone, speaker, and more.
TestM (Android & iOS)
Delivers a full device diagnostic with a report you can share with buyers. Tests include display, sound, motion, and hardware buttons.
Samsung Members (for Samsung Phones)
Built-in tool with comprehensive tests for display, camera, connectivity, and more.
Device Info HW (Android)
Ideal for deeper hardware details including CPU, GPU, battery, and screen data.
Install one of these apps, preferably Phone Doctor Plus or TestM for their wide test coverage and user-friendly interfaces.
Step 3: Run Full Diagnostic Tests
Here’s a breakdown of the most important components to test before selling your phone:
1. Screen and Display
- Dead pixels
- Touch responsiveness
- Brightness uniformity
- Color accuracy
How to test: Use the diagnostic app’s screen test module. It will prompt you to identify display issues or swipe on different sections to ensure proper touch response.
2. Battery Health
- Capacity status
- Charge/discharge rate
- Charging port functionality
Phone diagnostic software can show battery health as a percentage of original capacity and highlight rapid drainage issues.
3. Camera Functionality
- Front and rear camera clarity
- Autofocus
- Flash operation
The app will prompt you to take test photos and check for blurriness, dead sensors, or malfunctioning flash units.
4. Buttons and Touch ID
- Volume buttons
- Power button
- Mute switch
- Fingerprint scanner
Apps like TestM let you physically press each button as prompted to verify functionality.
5. Speakers and Microphones
- Play audio and record sound
- Test for clarity, distortion, or hardware failures
These are common failure points in older devices, so don’t skip these tests.
6. Sensors
- Accelerometer
- Gyroscope
- Proximity sensor
- Ambient light sensor
These can be tested using real-time feedback in the app. The phone should respond to movement, light changes, and ear proximity.
7. SIM and Connectivity
- SIM slot detection
- Mobile data signal strength
- Wi-Fi and Bluetooth range
- GPS locking speed
Some apps also let you test Dual-SIM functionality (if applicable). SIM slot detection confirms that both cards are recognized and registered.
8. Storage Check
- Total and available storage
- Read/write speed
This helps verify that the phone’s storage chip is working well and isn’t suffering from performance degradation.
9. Call and Messaging Test
- Make a test call
- Send and receive SMS
Apps like TestM simulate call quality checks and let you confirm cellular network capability.
Step 4: Generate and Save the Report
Once you've completed the diagnostics, many apps offer a summary or export option. This report includes:
- Phone model and OS version
- Test results (pass/fail)
- Battery health
- IMEI verification (important for resale)
You can share this report with potential buyers or attach it to your online listing as proof of the phone’s condition.
Step 5: Physically Inspect and Clean Your Device
In addition to digital testing:
- Check for visible cracks, scratches, or dents
- Clean the screen and body with a microfiber cloth
- Remove screen protectors or cases (if selling without them)
This ensures the phone looks as good as it performs, which can significantly increase its resale value.
Step 6: Reset and Wipe Data (Final Step)
After you’re done testing and ready to ship or hand over the device:
- Perform a factory reset again to remove all your data
- Log out of Apple ID or Google account to remove activation lock
- Remove SD cards or SIMs
Leaving your accounts signed in can prevent the new owner from setting up the phone.
Bonus Tips for Selling
- Include your diagnostic report in your listing or email it to the buyer.
- Mention the testing software used for credibility.
- If a component failed a test but is minor (e.g., slight wear on the speaker), mention it honestly in your description.
Conclusion
Performing a full pre-sale diagnostic test on your phone is no longer something only tech repair professionals can do. With the rise of reliable and user-friendly phone diagnostic software, anyone can thoroughly check their phone’s performance in under 30 minutes.
These tests not only ensure you’re selling a fully functional device but also give buyers the confidence to complete the purchase, often at a higher price. Whether you’re listing your phone online, trading it in, or selling it locally, a detailed diagnostic is your best tool for a smooth, profitable sale.
So before you list that phone, make sure it’s tested, certified, and ready for its next owner—because a well-tested phone always sells better.