Upgrading your home’s heating system is one of the most rewarding home improvement projects you can undertake. Not only does a new radiator improve the aesthetic of your living space, but modern units especially those from Budget Radiators—are engineered for maximum efficiency, helping you slash those rising energy bills.
Whether you are swapping an old, rusty panel for a sleek anthracite radiator or installing a space-saving vertical radiator, this 1500-word guide will walk you through the process with professional precision.
1. Pre-Installation: Planning for Efficiency
Before you pick up a wrench, you need to ensure you have the right "output" for your room. Installing a radiator that is too small will leave you shivering, while one that is too large wastes money and energy.
Calculate Your BTU Requirements
The first and most critical step is to use a BTU calculator. BTU stands for British Thermal Unit, and it measures how much heat energy is required to warm a specific space. Factors like room dimensions, window types (single vs. double glazing), and wall insulation all play a role. Visit Budget Radiators to use their free tool to get an accurate figure.
Choosing Your Radiator Type
Innovation in heating technology means you are no longer restricted to "boring white boxes."
- Aluminium Radiators: These are the "super-metals" of 2025. They heat up five times faster than steel and are naturally resistant to rust—perfect for bathrooms.
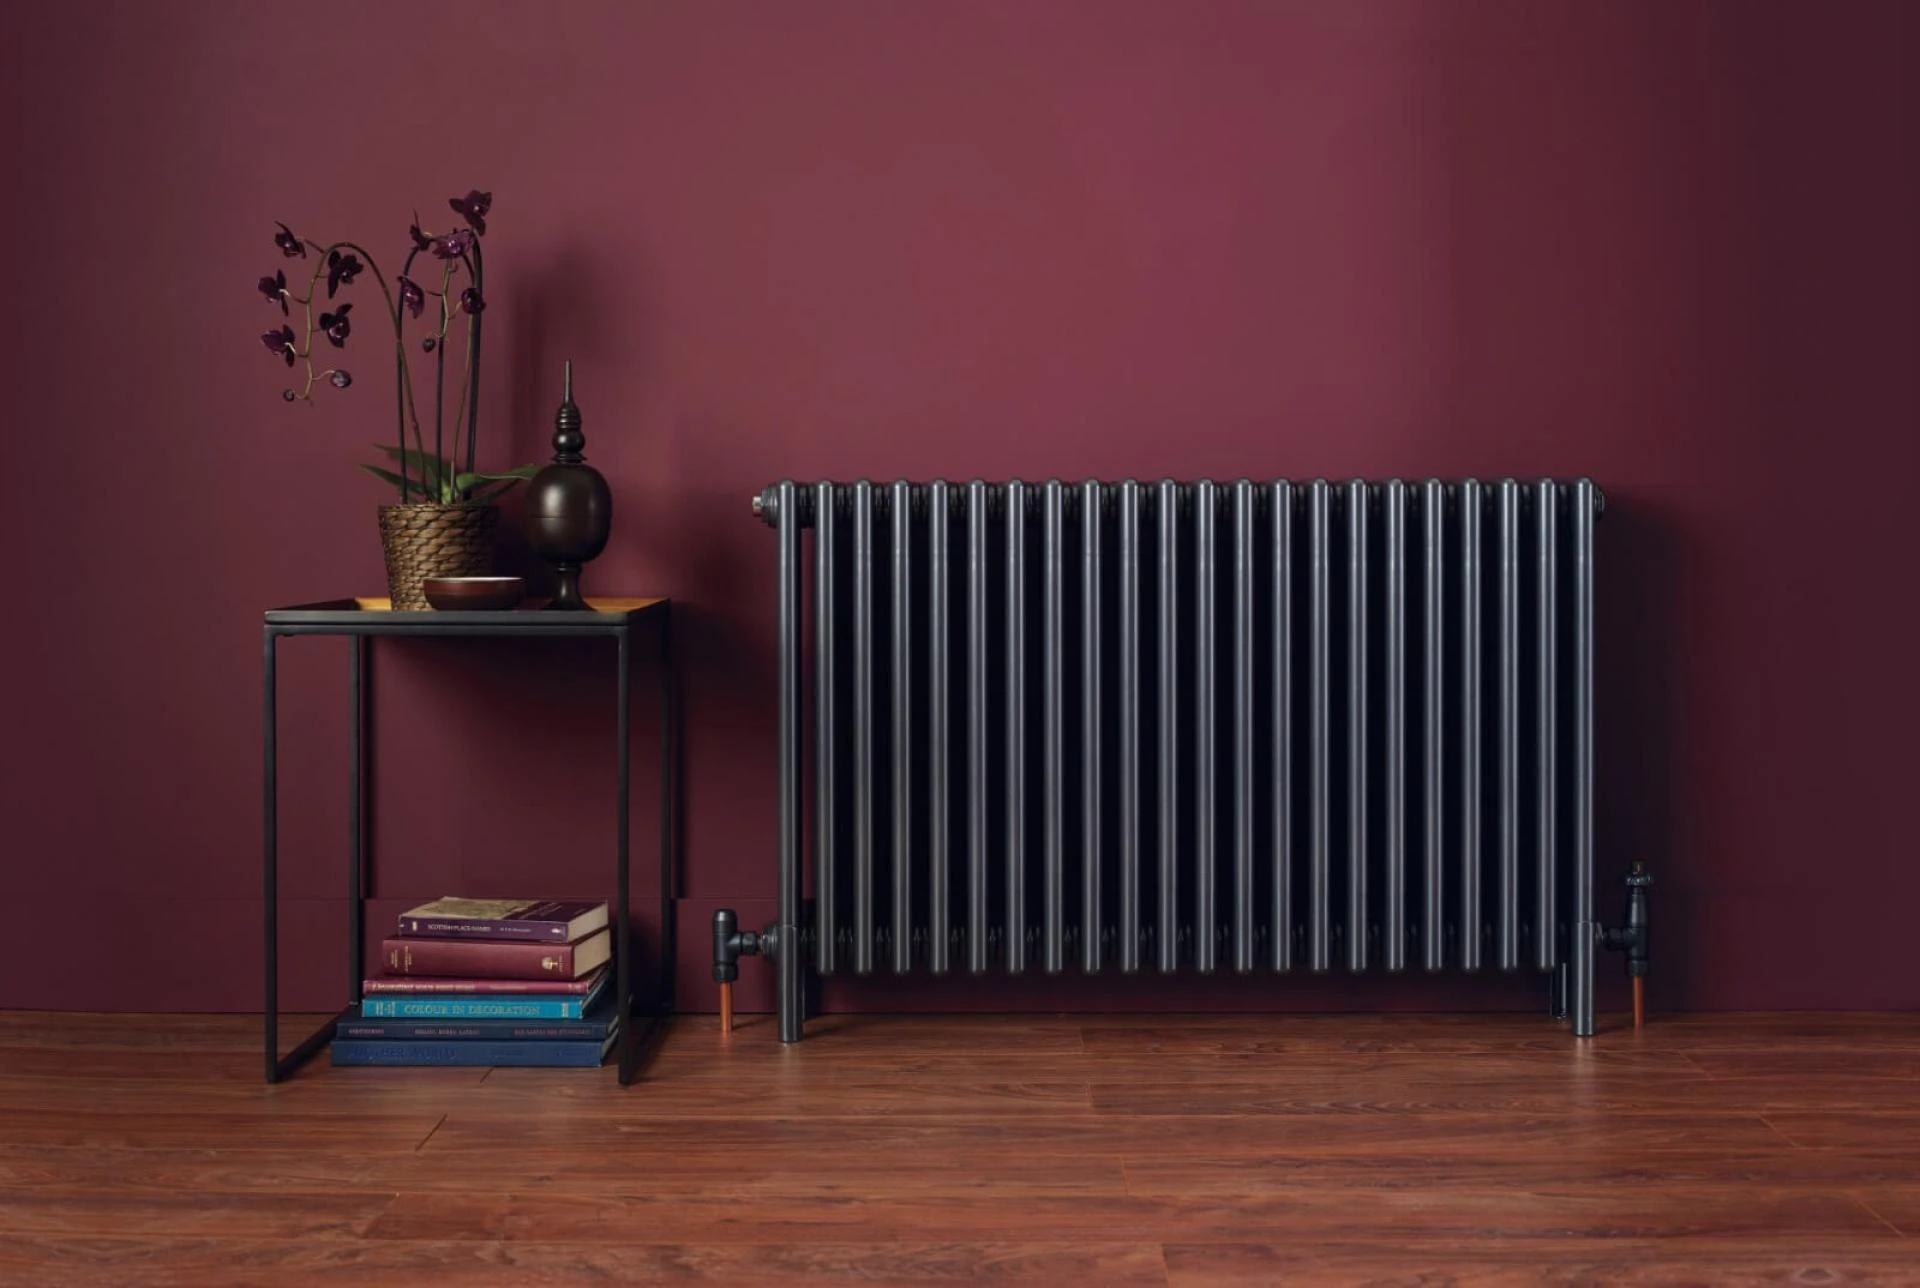
- Column Radiators: Ideal for traditional or period-style homes, offering a timeless aesthetic with high surface area for heat retention.
- Type 22 Double Convector: If you have a large, cold room, a Type 22 radiator (two panels, two sets of fins) provides the massive heat output needed to stay cozy.
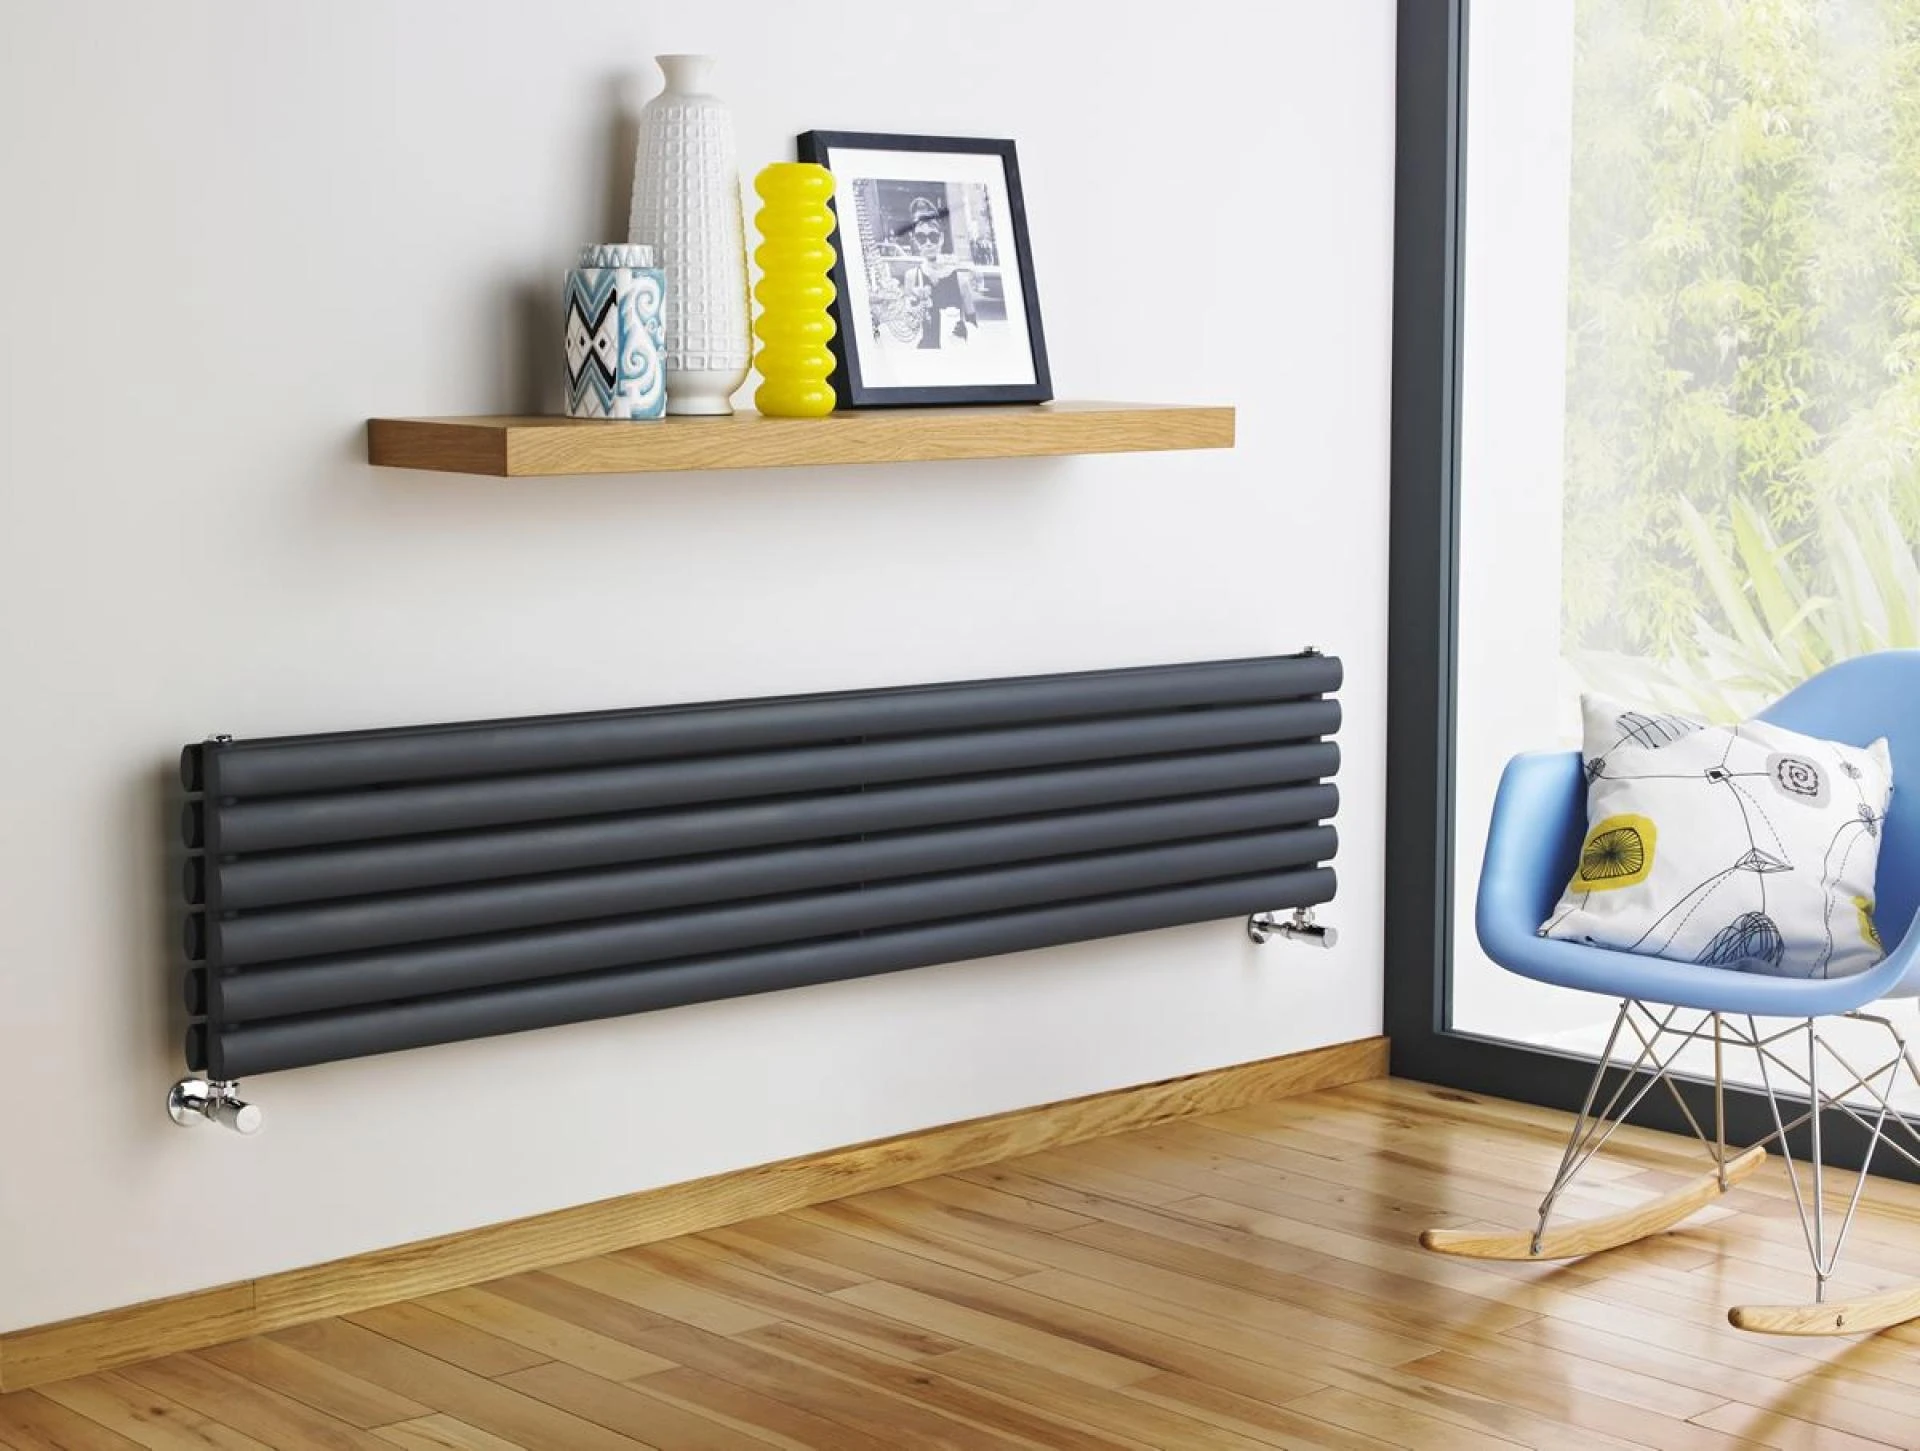
- Designer Radiators: From slimline profiles to mirror radiators, these turn a functional appliance into a piece of wall art.
2. Essential Tools and Materials
To perform a high-quality installation, you need the right kit. Don't cut corners here; the right tools prevent leaks and damage.
- The Radiator: Your chosen unit from Budget Radiators.
- Radiator Valves: You’ll need a Thermostatic Radiator Valve (TRV) to control the temperature and a lockshield valve to balance the system.
- PTFE Tape (Plumber’s Tape): Essential for creating watertight seals on threaded joints.
- Adjustable Wrenches: Two are better than one—one to turn the nut, the other to hold the valve steady.
- Spirit Level: To ensure your wall-mounted radiator isn't crooked.
- Digital Wall Scanner: To check for hidden pipes or electric cables before drilling.
- Radiator Bleed Key: To let out trapped air once the job is done.
- Buckets and Old Towels: Because water is unpredictable!
3. Step-by-Step Installation Guide
Step 1: Isolate and Drain the System
Safety first. Turn off your boiler and allow the water to cool completely. You don’t want to be working with scalding water.
- Close the TRV (turn it clockwise until it stops).
- Remove the plastic cap from the lockshield valve and use a spanner to turn it clockwise, counting exactly how many turns it takes to close. (Write this number down; you’ll need it later to balance the radiator).
- Place a bucket under the valve and slowly loosen the union nut. Use your radiator bleed key to open the air vent at the top; this breaks the vacuum and allows the water to flow out into your bucket.
Step 2: Removing the Old Unit
Once the water stops flowing, fully unscrew the nuts connecting the radiator to the pipework. Lift the radiator off its brackets. Note: even a "drained" radiator often has a bit of black, sludge-filled water (magnetite) left at the bottom. Tilt it over your bucket to get the last bits out before moving it.
Step 3: Preparing the Wall and Brackets
If your new horizontal radiator has the same dimensions as the old one, you might be able to reuse the brackets. However, modern designer radiators often require specific mounting points.
- Measure Twice: Measure the distance between the hanging lugs on the back of your new radiator.
- Mark the Wall: Use your spirit level to mark a perfectly straight horizontal line.
- Check for Hazards: Use a digital detector to ensure there are no cables or pipes behind your marks.
- Drill and Plug: Drill the holes, insert high-quality wall plugs, and screw your brackets into place. Ensure they are rock-solid; a water-filled cast iron radiator is incredibly heavy.
Step 4: "Dressing" the Radiator
Before you hang the radiator, you need to "dress" it with its fittings.
- Apply PTFE Tape: Wrap the tape around the threads of the valve tails about 10–15 times in a clockwise direction.
- Insert Tails: Screw the tails into the bottom inlets of the radiator.
- Install the Air Vent and Blanking Plug: These go into the top two holes. The air vent (bleed valve) should be positioned where it’s easiest to access.
Step 5: Mounting and Connecting
- The Lift: Carefully lift the radiator onto the brackets. If you’ve chosen a large Type 22 or a cast iron model, get a friend to help.
- Connect the Valves: Align the radiator valves with the pipework. Slide the nut and the olive (the small brass ring) onto the pipe, then tighten the nut onto the valve body.
- Pro Tip: Do not overtighten! Tighten by hand first, then give it a 3/4 turn with a wrench. Overtightening can crush the olive and cause a slow, annoying drip.
Step 6: Refilling and Bleeding
- Open both the TRV and the lockshield valve (remember that number of turns from Step 1?).
- You will hear water rushing into the unit.
- As it fills, air will be pushed to the top. Use your bleed key to keep the air vent open until water starts to spurt out, then close it immediately.
- Check the Pressure: Go to your boiler. The pressure will likely have dropped. Use the filling loop to bring it back to the recommended level (usually between 1.0 and 1.5 bar).
4. Innovative Tips for a Professional Finish
System Balancing
If you’ve installed multiple new radiators, you might find that the ones closest to the boiler get hot while the ones further away stay lukewarm. This is where balancing comes in. By slightly closing the lockshield valves on the "hot" radiators, you force more hot water to reach the "cold" ones, ensuring even heat distribution throughout the home.
Corrosion Protection
When you introduce a new metal (like an aluminium radiator) into a system with copper pipes, a chemical reaction called galvanic corrosion can occur. Always add a high-quality central heating inhibitor to your system. This chemical prevents sludge buildup and protects your 10-year warranty.
Pipe Snapping
For a truly high-quality look, use pipe snips or "talons." These are plastic or chrome sleeves that clip over your copper pipes to match the finish of your anthracite or chrome radiator, hiding the ugly copper and providing a seamless "designer" look.
5. Why Choose Budget Radiators?
In 2025, homeowners are looking for the perfect balance between low prices and premium quality. Budget Radiators has revolutionized the UK market by offering:
- Direct-to-Consumer Pricing: By cutting out the middleman, you get high-end column radiators and towel rails at a fraction of high-street costs.
- Fast UK Delivery: When your old radiator leaks, you can’t wait weeks. Their logistics network ensures your replacement arrives when you need it.
- Expert Support: Not sure if a Type 21 or Type 22 is right for your lounge? Their team provides technical advice that goes beyond just a sales pitch.
6. Safety and Regulations
While DIY is great, you must be aware of UK standards.
- Gas Safety: You can legally change a radiator yourself. However, you must not touch the internal components of a gas boiler or the gas supply pipes. That requires a Gas Safe Registered engineer.
- Building Regulations Part L: New regulations suggest that heating systems should be designed to operate at lower flow temperatures (55°C or less) to improve efficiency. This means choosing "oversized" or high-efficiency convector radiators is now the smart move for future-proofing your home against the transition to heat pumps.
Conclusion: Transform Your Home Today
Installing a radiator is a task that requires patience, the right tools, and a bit of "DIY grit." By following this guide, you can successfully upgrade your home's comfort and style.
Remember, the secret to a perfect installation starts with the product. Explore the wide range of cheap radiators, designer vertical models, and traditional cast iron units at [https://budgetradiators.co.uk/]. With their price match guarantee and 10-year warranties, you’re not just buying a heater—you’re investing in a warmer, more efficient future for your home.