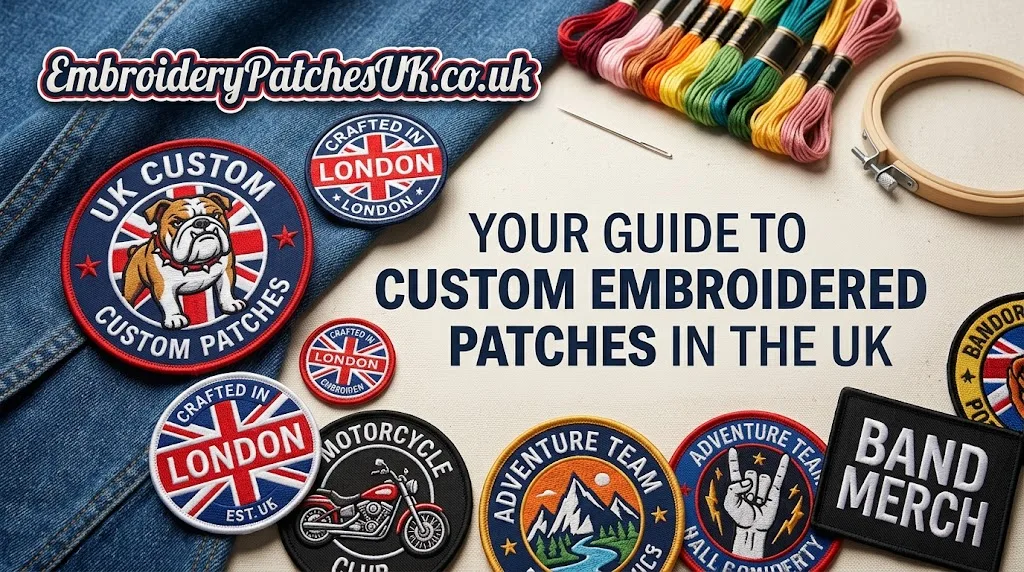
Custom embroidered patches are a simple way to give clothing and accessories a distinctive look. A well-designed patch can represent a business, school, sports team, motorcycle club, fashion label, or personal interest. It can turn a plain jacket or bag into something personal without changing the entire item.
However, a good patch starts with good planning. When designing custom embroidered patches UK, consider the artwork, colours, size, shape, border, backing, and where the finished patch will be used. A design that looks great on a screen may need some adjustments before it works well as embroidery.
Start With a Clear Patch Idea
The first question you need to ask yourself is: What is the patch supposed to represent?
A business patch may need to communicate a brand identity. A sports patch could feature a team name, mascot, or number. A school design might use its crest and official colours, while a personal patch can reflect a hobby, interest, or individual style.
The intended use also affects the design. A patch for a jacket can usually contain more detail than one made for a cap. Similarly, a patch for a bag or heavy vest may need different backing from one intended for lightweight clothing.
Before designing, decide:
- Who will wear or use the patch?
- Where will it be attached?
- What message should it communicate?
- Will it be used occasionally or regularly?
- Does it need to match an existing brand or uniform?
Make sure you to get answers to these questions so that further design decisions become easier.
Choose the Right Artwork
Artwork is the foundation of an embroidered patch. You can use a logo, illustration, lettering, symbol, mascot, or combination of these elements. Also, one lesson worth remembering is that simple does not mean boring. Embroidery has physical limitations. Very small details, thin lines, and tightly packed elements can become difficult to reproduce clearly.
Start with high-quality artwork whenever possible. A clean vector logo or high-resolution image gives the patch designer a better starting point. According to Adobe’s guide to vector graphics, vector artwork can be scaled without losing resolution, which makes it useful for designs that need to work at different sizes. If the artwork contains lots of tiny details, consider simplifying it before production.
Also, text grabs major attention. So, choose lettering that remains readable when stitched. Decorative fonts may look attractive in a design file but become difficult to read when reduced to a small patch.
Pick Suitable Colours
Colours play an important role in making an embroidery patch easy to recognise. So, start with the main colour of the artwork and then select a background and border that provide enough contrast. For example, dark lettering on a dark background can become difficult to read, even if both colours look attractive separately.
I also recommend keeping the colour palette controlled. Using too many thread colours can make a relatively simple design look crowded. A small number of well-matched colours can often create a stronger visual identity.
Businesses should consider existing brand colours, while sports teams and organisations may want their patches to match uniforms or other merchandise. One thing to remember is that digital colours and physical thread colours are not exactly the same. A production-ready mock-up can help you understand how the selected colours will work together before the patch is made.
Decide the Size and Shape
The size of your patch should match both the design and the item where it will be attached.
Common patch shapes include:
- Round
- Rectangle
- Square
- Shield
- Oval
- Custom outline
A small patch needs a simple design because there is less room for detail. Larger patches provide more space for lettering and illustrations, but they still need balanced spacing. So, think about placement before choosing the final dimensions. A patch for the chest or sleeve may need different proportions from one intended for the back of a jacket.
Important point:
If you are ordering several patches for uniforms or teamwear, measuring the available area first can prevent sizing problems later.
Choose the Right Border and Backing
The border gives an embroidered patch a finished edge and helps separate the artwork from the background. A contrasting border can make the design stand out, while a similar colour creates a more subtle appearance. You also need to choose the right backing.
Sew-on backing is a practical choice when you want the patch permanently attached to a garment. It is particularly useful for items that are washed regularly or exposed to frequent movement.
Furthermore, Iron-on backing makes application easier because heat activates the adhesive. However, the suitability depends on the fabric and the intended use. Some garments or items may require additional stitching for greater security.
Whether you are designing patches for jackets, uniforms, or any other frequently used clothing item, make sure to discuss the intended application with your patch provider before selecting the backing.
Design Custom Back Patches UK
A custom back patch gives you considerably more space to work with, but that does not mean every available area should be filled.
Large patches often contain a central graphic, club or brand name, and additional lettering around the design. The challenge is creating enough visual space between these elements so the finished patch remains easy to understand. When planning custom back patches UK, consider the overall shape of the jacket or vest. A wide design may work better across the upper back, while a more vertical design could suit another placement.
Creating Biker and Motorcycle Patches
Patches have a long association with motorcycle culture, clubs, riding groups, and individual riders. Biker patches UK can include club names, numbers, symbols, slogans, locations, or artwork that reflects a rider's interests.
When creating motorcycle-themed designs, decide what the patch should communicate before choosing the artwork. A simple emblem may create a stronger visual identity than a design containing too many separate elements. Motorcycle patches UK may also be placed on different parts of jackets, vests, bags, or riding gear. Consider the material, available space, and how much movement the item experiences before deciding on the final size and backing.
If a patch represents a formal club or organisation, it is also sensible to confirm that names, symbols, and other identifying elements are approved before production.
Review the Design Before Publication
Never rush from the first design to production.
Before approving a patch, check:
- Spelling and punctuation
- Logo proportions
- Thread and background colours
- Patch dimensions
- Border thickness
- Lettering size
- Artwork clarity
- Backing type
- Intended placement
I pay particular attention to text. A single spelling mistake can undermine an otherwise excellent patch. Ask the provider for a digital proof or production mock-up where possible. Review it at both full size and the approximate size at which people will see the finished patch.
For larger orders, this step becomes even more important. Taking a few minutes to review the artwork can prevent an avoidable production issue.
Choose a Reliable Patch Provider
Once the design is ready, the next step is finding a provider that can turn the artwork into a suitable embroidered product.
When comparing embroidery patch UK providers, look beyond price alone. Consider the quality of their materials, communication, design support, backing options, and ability to explain production requirements clearly.
It can also help to review examples of previous work. Look closely at lettering, borders, small details, thread coverage, and how cleanly different colours have been combined. Also, the best embroidery patches UK option is not necessarily the cheapest one. A better choice is usually a provider that understands your design, communicates clearly, explains limitations, and produces a patch suited to its intended use.
Conclusion
Designing a great embroidered patch is mainly about making thoughtful decisions before production. Start with a clear purpose, use suitable artwork, choose colours carefully, and make sure the size and shape suit the garment or accessory.
For larger designs such as custom back patches, pay particular attention to lettering and spacing. For biker and motorcycle designs, think about how the artwork represents the group or individual while also considering the practical demands of the garment. Most importantly, review the design carefully before approving production. A little planning at the beginning can make the finished patch clearer, more practical, and much closer to the original idea.