
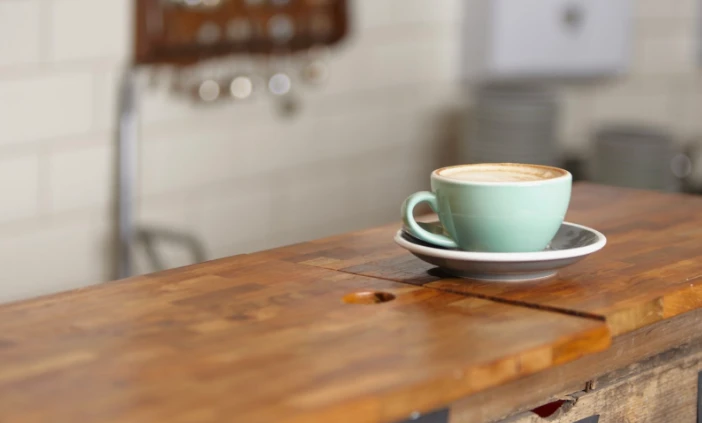
There’s something truly magical about starting your morning with a cup of coffee that feels like a luxury experience. For many coffee enthusiasts, Kona coffee is the ultimate indulgence—a smooth, rich, and flavorful brew with just the right hint of natural sweetness. Sourced from the fertile volcanic slopes of Hawaii’s Big Island, this world-renowned coffee is cherished for its exceptional quality and unique flavor profile. Brewing Kona coffee at home can feel intimidating, but with a few simple steps and the right tools, you can unlock its full potential and enjoy café-quality coffee right in your kitchen.
Kona coffee stands out for a reason. Grown in the Kona District of Hawaii, this coffee benefits from ideal growing conditions—sunny mornings, mild temperatures, rich volcanic soil, and afternoon cloud cover. These factors contribute to its well-balanced flavor, often described as smooth, slightly nutty, and subtly sweet with low acidity. However, not all Kona coffee is created equal. Always look for 100% Kona coffee rather than blends, which may contain only a small percentage of actual Kona beans. Choosing high-quality, freshly roasted beans is the first—and perhaps most important—step in achieving the perfect cup at home.
Step 1: Choose the Right Beans
The foundation of any great coffee starts with great beans. Make sure you're buying 100% Kona coffee from a reputable source. Look for beans that have been recently roasted and packaged properly to retain freshness. Whole beans are preferable over pre-ground, as grinding them right before brewing helps preserve the flavor and aroma. Depending on your preferred brewing method, choose a roast level that matches your taste—light for more delicate flavors, medium for balance, or dark for boldness.
Step 2: Store Your Beans Properly
Proper storage helps extend the freshness of your Kona coffee. Keep your beans in an airtight container, away from light, heat, and moisture. Avoid storing them in the refrigerator or freezer, as temperature fluctuations can lead to condensation, which degrades the quality of the beans over time. A cool, dark pantry or cupboard is ideal.
Step 3: Use Fresh, Filtered Water
Coffee is 98% water, so the quality of your water matters just as much as the quality of your beans. Use fresh, filtered water that is free of any chlorine or impurities that could affect the flavor. Avoid distilled water, as it lacks minerals that help extract the full flavor of the coffee during brewing.
Step 4: Pick Your Brewing Method
There are several methods to brew Kona coffee at home, each bringing out different aspects of its flavor. Here are a few popular ones:
Pour-Over
The pour-over method is a favorite for purists, as it gives full control over the brewing process. Use a gooseneck kettle for precise pouring and a medium grind size. Bloom the coffee by wetting the grounds slightly and letting them rest for 30 seconds before pouring the rest of the water in slow, circular motions.
French Press
For a fuller-bodied cup, the French press is a great option. Use a coarse grind and let the coffee steep for 4 minutes before pressing the plunger down slowly. This method highlights the richness and depth of Kona coffee.
Drip Machine
If convenience is your priority, a high-quality drip coffee maker can still deliver a great cup. Use medium-grind coffee and ensure your machine heats the water to the right temperature (between 195°F and 205°F).
Step 5: Measure Your Coffee and Water
Consistency is key to brewing a great cup every time. A good starting ratio is 1 to 2 tablespoons of ground coffee for every 6 ounces of water. Use a digital scale if possible, as weighing your coffee and water is more precise than measuring by volume.
Step 6: Grind Your Beans Fresh
Grinding your beans right before brewing helps preserve the essential oils and flavor. Adjust your grind size according to your brewing method: coarse for French press, medium for drip and pour-over, and fine for espresso. Invest in a burr grinder rather than a blade grinder for a more consistent grind.
Step 7: Control Your Water Temperature
The ideal brewing temperature is between 195°F and 205°F. Water that’s too hot can over-extract the coffee and make it bitter, while water that’s too cool can result in under-extraction, leaving the coffee flat and weak. If you're boiling water, let it sit for 30 seconds before pouring.
Step 8: Enjoy Immediately
Coffee is best enjoyed fresh. Serve your Kona coffee immediately after brewing to experience its full aroma and flavor. Avoid letting it sit on a warming plate, as this can alter the taste over time.
Bonus Tips for the Ultimate Experience
- Use a ceramic or glass mug to maintain temperature and prevent any metallic taste.
- Avoid adding too much sugar or creamer the first time you brew Kona coffee—try it black to appreciate its natural sweetness and complexity.
- Pair it with a light breakfast like fruit, a croissant, or even a slice of banana bread to complement its flavor.
Conclusion
Brewing the perfect cup of Kona coffee at home doesn’t require a barista certification—just a bit of attention to detail and appreciation for the process. From selecting the best beans to using filtered water and choosing the right brewing method, every step enhances your coffee-drinking experience. Once you taste that smooth, rich, and flavorful cup, you’ll understand why Kona coffee holds such a special place in the hearts of coffee lovers worldwide.