Lip fillers have become one of the most popular non-surgical aesthetic treatments for enhancing lip volume, symmetry, and definition. Whether you’re seeking subtle hydration or a fuller, more contoured look, understanding the lip filler process can help you feel confident and informed before your appointment. At Ihya Aesthetics, we pride ourselves on providing safe, bespoke treatments using dermal lip-fillers in Birmingham, delivered by trained professionals who prioritize natural results.
Below is a detailed, step-by-step guide explaining how the lip filler procedure is performed from consultation to aftercare.
Step 1: Initial Consultation and Assessment
The lip filler journey always begins with a comprehensive consultation. This step is crucial to achieving safe, balanced, and aesthetically pleasing results.
During the consultation, your practitioner will:
- Discuss your aesthetic goals and expectations
- Assess your facial anatomy, lip shape, and symmetry
- Review your medical history and any contraindications
- Explain the benefits and limitations of lip fillers
- Recommend the most suitable product and technique
At Ihya Aesthetics, consultations for lip fillers in Birmingham are tailored to each individual, ensuring that the treatment plan complements your natural facial proportions rather than following a “one-size-fits-all” approach.
Step 2: Choosing the Right Lip Filler
Most lip enhancement treatments use hyaluronic acid (HA)-based fillers. Hyaluronic acid is a naturally occurring substance in the body, making it safe, reversible, and effective.
Your practitioner will select a filler based on:
- Desired volume (subtle vs. enhanced)
- Lip texture and hydration needs
- Structural support and definition
- Longevity and flexibility of the product
Using high-quality products is one of the reasons clients seek the best lip fillers in Birmingham, as premium fillers offer smoother results and a lower risk of complications.
Step 3: Preparing the Lips
Before the injections begin, the lips are thoroughly cleansed to reduce the risk of infection. Preparation includes:
- Removing makeup and skincare products
- Disinfecting the treatment area
- Applying a topical numbing cream
Many modern dermal lip-fillers already contain lidocaine, which further minimizes discomfort during the procedure. Most clients report only mild pressure or a slight pinching sensation.
Step 4: Mapping and Marking the Lips
Once the lips are numb, your practitioner may gently mark specific areas of the lips. This step helps ensure precision and symmetry.
Marking is especially important for:
- Cupid’s bow enhancement
- Defining the vermilion border
- Correcting asymmetry
- Supporting the corners of the mouth
This careful planning stage is a hallmark of professional dermal lip-fillers in Birmingham, ensuring controlled, natural-looking outcomes.
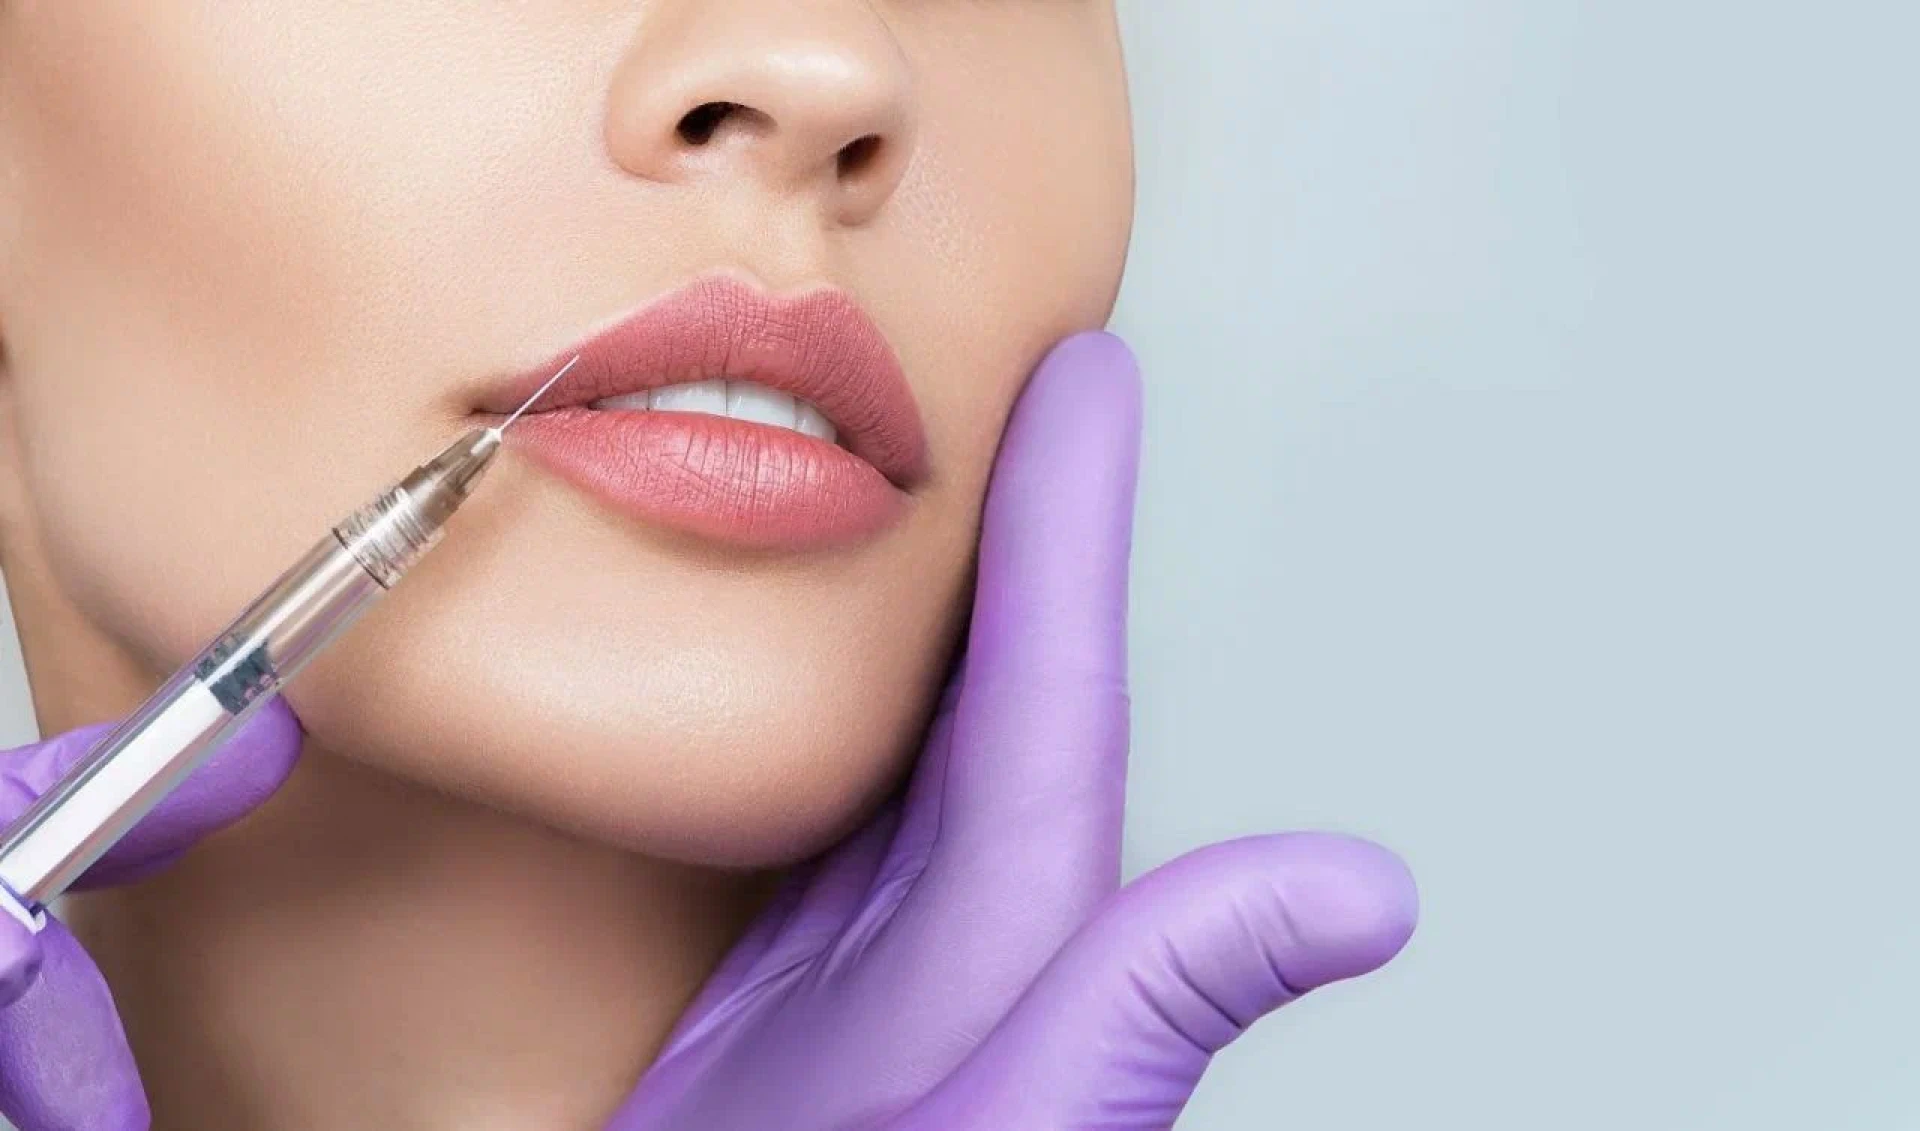
Step 5: Injecting the Lip Filler
This is the core step of the lip filler process. Using either a fine needle or a blunt-tipped cannula, the practitioner injects small amounts of filler into targeted areas of the lips.
Common techniques include:
- Linear threading for smooth volume
- Micro-droplet technique for subtle enhancement
- Russian lip technique for height and definition
- Contour enhancement for sharper borders
The filler is placed gradually, allowing the practitioner to assess balance and proportion throughout the procedure. This step-by-step approach helps avoid overfilling and maintains natural movement.
Step 6: Molding and Shaping
After the filler is injected, the practitioner may gently massage the lips to:
- Ensure even distribution
- Smooth out any lumps
- Refine the final shape
This step is performed carefully and conservatively to avoid displacing the filler. The results will appear slightly swollen at this stage, which is completely normal.
Step 7: Immediate Results and Final Check
One of the advantages of lip fillers is that results are visible immediately. After the procedure, your practitioner will:
- Assess symmetry and volume
- Make minor adjustments if needed
- Review the results with you
While the lips may appear fuller initially due to swelling, the final result typically settles within 7–14 days. Clients seeking lip fillers in Birmingham often appreciate the minimal downtime and instant enhancement.
Step 8: Aftercare Instructions
Proper aftercare is essential for optimal healing and long-lasting results. You will be advised to:
- Avoid touching or massaging the lips for 24 hours
- Refrain from intense exercise for 24–48 hours
- Avoid heat (saunas, steam rooms) for several days
- Stay hydrated and avoid alcohol for 24 hours
Mild swelling, redness, or bruising is normal and temporary. At Ihya Aesthetics, aftercare support is always available to ensure peace of mind.
Step 9: Healing and Follow-Up
The lips continue to settle over the following days. Most swelling subsides within a week, revealing the final shape and volume.
A follow-up appointment may be scheduled to:
- Review results
- Address any concerns
- Perform small refinements if necessary
This commitment to aftercare is one of the reasons clients consider Ihya Aesthetics a trusted provider of the best lip fillers in Birmingham.
FAQs About the Lip Filler Process
How long does the lip filler procedure take?
The entire lip filler process usually takes 30–45 minutes, including consultation, numbing, and injections.
Are lip fillers painful?
Discomfort is minimal due to numbing cream and lidocaine in the filler. Most clients describe the sensation as mild pressure rather than pain.
How long do lip fillers last?
Results typically last between 6–12 months, depending on metabolism, lifestyle, and the type of filler used.
Is the lip filler process safe?
Yes, when performed by a trained professional using approved products. Choosing reputable providers of dermal lip-fillers in Birmingham significantly reduces risks.
Will my lips look natural?
When done correctly, lip fillers enhance your natural features rather than overpower them. Subtle, balanced results are always the goal at Ihya Aesthetics.
Can lip fillers be reversed?
Hyaluronic acid fillers can be dissolved if necessary, providing an added layer of safety and reassurance.
What should I avoid before my appointment?
Avoid alcohol, blood-thinning medications (unless prescribed), and supplements like fish oil for 24 48 hours before treatment to minimize bruising.