Shopping for synthetic lawn installation this spring usually starts the same way: three quotes that look almost identical on the front page. The differences are buried in what the crew does on day one. That's where the cost difference lives, and where the next ten years of lawn life are decided.
This is a breakdown of what a proper synthetic lawn installation looks like, step by step, so homeowners know what to ask for when the quotes come in.
Day One: Dig-Out and Sub-Base Prep
The crew starts by stripping the existing surface to a depth of 75–100mm. That's deeper than most homeowners expect. Anything shallower and the new lawn sits proud of the path edges by the second summer.
The base of the dig-out gets compacted. A weed membrane goes down. Then 50mm of MOT Type 1 is barrowed in, raked level, and whacker-plated until it rings hollow under the plate.
If the crew skips the compaction step or barely runs the plate over the surface, the lawn will dip within eighteen months. Watch for it on day one. The sound the plate makes is the cheapest quality check you'll ever do.

Day Two: Levelling, Edging, and the Top Layer
The second day is granite dust. Twenty-five millimetres screeded flat across the whole area, with the fall cut in toward the drainage point. The screed needs to be straight enough that a long spirit level shows no daylight under it.
The edges go in next. Treated timber or composite edging is fixed to wooden pegs, sitting flush with the granite dust layer. This is where rushed jobs cut corners. If the edge wobbles when you push it, the lawn will eventually pull away from it.
What Sets a Proper Synthetic Lawn Installation Apart
This is the section where the brochures and the actual work diverge. For a clear view of what an install actually involves at each layer, including the steps crews quietly skip when nobody's watching, the Superior Lawn installation guide is the most thorough resource written for UK homeowners.
The short version: a proper install spends 60% of its time on the layers under the grass, not the grass itself. Once a homeowner has seen one done properly, the cheap ones become easy to spot.

Day Three: Laying the Turf
The roll gets unrolled on the prepped surface and left to relax for an hour. That step alone improves the finish. Turf laid straight off the roll holds curl marks for weeks.
Where two rolls meet, the seam is the single highest-skill moment of the install. Joining tape goes down underneath, then the two edges are butted (not overlapped) with the pile running the same direction. A bad seam shows as a visible parting line. A good seam is invisible from two metres back.
Infill and Finishing
Once the turf is fixed at the edges with galvanised nails or adhesive, the infill goes in. Kiln-dried silica sand at roughly 4–6 kg per m² brushes into the pile and weighs the lawn down.
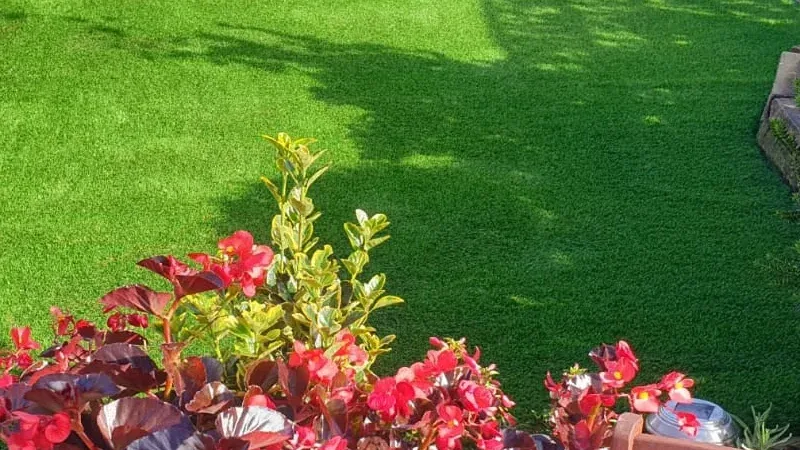
The crew finishes with a power brush pass that lifts the pile to standing. That's the moment the lawn looks like the brochure picture for the first time. If they hand the garden back without that final brush, the pile reads as flat for weeks.
What It All Costs in the UK in 2026
For a 40 m² London back garden, a full mid-range synthetic lawn installation runs £2,800–£3,800 fully fitted. That includes everything: dig-out, sub-base, edging, turf, infill, disposal.
Budget installs come in around £40–£60 per m². Premium with shock pad and drainage cells push toward £100–£120 per m². The mid-range bracket is where most homeowners end up once they've compared three quotes side by side.

Final Thoughts
A synthetic lawn installation isn't a quick weekend job, even though some crews try to make it look like one. The work that decides whether the lawn looks right in three years happens in the first 48 hours, mostly underneath the grass. Pick the crew that shows you the sub-base spec on quote day. That's the installer worth paying for.
For more information, visit: https://superiorlawn.co.uk/