Printing vibrant, full-color designs onto dark fabrics has traditionally been one of the biggest hurdles in the custom clothing industry. Standard sublimation inks are transparent, meaning they completely disappear when applied to a black shirt, while traditional printable vinyl can often feel thick, stiff, and plastic-like.
Fortunately, a brilliant industry workaround—combining sublimation printing with white Heat Transfer Vinyl (HTV)—allows creators to bypass expensive hardware to achieve bright, retail-ready clothing. At Little 6, we are a dedicated USA-based team passionate about bringing your ideas to life with high-quality, personalized products.
Whether you are looking to scale an independent clothing line or design custom team gear, understanding how this innovative hybrid technique works can completely transform your production workflow. Let’s dive into a step-by-step breakdown of how to conquer dark garments.
Essential Supplies Checklist
To execute this advanced dark garment method seamlessly, you will need the following professional tools and materials:
- Sublimation Printer & Inks: A dedicated system (like a Sawgrass or converted Epson printer) to ensure true, rich color calibration.
- Premium DTF Transfer Powder: A specialized hot-melt adhesive powder that binds the sublimation inks directly to your design base.
- High-Quality Transfer Film: Look for reliable sheets featuring a distinct frosted side (the printing surface) and a glossy backing.
- White Heat Transfer Vinyl (HTV): Smooth, everyday white iron-on vinyl acts as the solid, opaque underbase that forces your colors to pop off dark backgrounds.
- Precision Cutting Machine: A digital die-cutter (such as a Cricut or Silhouette) to cut out the exact shape of your background underbase.
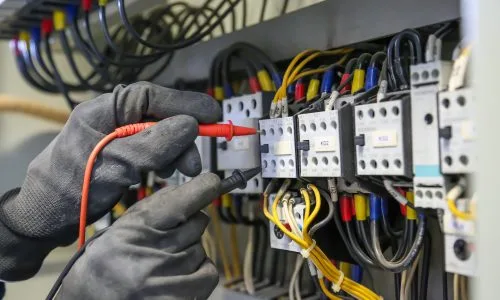
- Professional Heat Press: A reliable heavy-duty press capable of maintaining uniform temperature and high pressure across the design space.
The Step-by-Step Production Process
1. Setting Up the Underbase Layout (The Offset)Before printing, import your artwork into your design software. Because dark cotton shirts absorb standard transparent ink, you must create a solid white background layer—known as an offset—that perfectly mirrors the contours of your graphic.
Pro Design Tip: You can set the offset boundary to zero for a completely seamless look where the design edges bleed directly into the shirt fabric, or add a subtle white border to give your graphic an extra punch of contrast against a solid black shirt.
Once your layout is finalized, separate the project into two distinct tasks: the printed graphic layer on your film and the basic cut file for your white HTV base. Always remember to mirror your design elements prior to production.
2. Managing Your PrintsWhen printing with specialized ink systems, always route the job through dedicated print management software rather than standard system print dialogs. This step guarantees that your colors remain true and accurately calibrated.
To easily feed smooth transfer film through standard paper trays, secure a temporary carrier sheet of standard copy paper to the glossy back of the film using high-temperature painters' tape. Ensure the frosted side of the film is facing the correct direction, keeping your fingers off the printing surface to avoid oil smudges.
3. Applying the DTF Powder and CuringWhile the printed ink is still wet on the film, carefully remove it from its carrier sheet. Liberally apply your adhesive powder across the surface, tilting the film back and forth until the entire graphic is evenly coated. Thoroughly shake off any excess powder.
To properly lock the colors and activate the adhesive, you must cure the transfer. Pre-heat the lower platen of your press to 385°F, place the film down, and hover the heating element slightly above the design for exactly 60 seconds. This melts the powder into a smooth, glossy, integrated layer.
4. Pressing and LayeringPre-press your target apparel item for a few seconds to eliminate any trapped moisture or wrinkles.
- Press the HTV Base: Lay down the weeded white vinyl backing first. Drop your press temperature down to 300°F and press lightly for 2 to 5 seconds just to tack it down to the shirt. Remove the carrier sheet.
- Align the Transfer: Place your cured transfer film directly on top of the white vinyl base, aligning the edges precisely. Secure it with heat-resistant tape and cover the area with a protective sheet of parchment paper.
- The Final Press: Lock down the heat press at 300°F for 20 seconds.
- The Cold Peel: Let the garment cool down entirely. Attempting to peel the film while it is hot can tear the design. Once fully cooled, peel the film away smoothly to reveal a stunning, bright, ultra-soft graphic.
Commercial Quality vs. DIY Workarounds
While hybrid crafting methods are highly rewarding for home hobbyists and prototyping, scaling a business requires commercial efficiency. Manual vinyl weeding and chemical curing take considerable time and leave a margin for error.
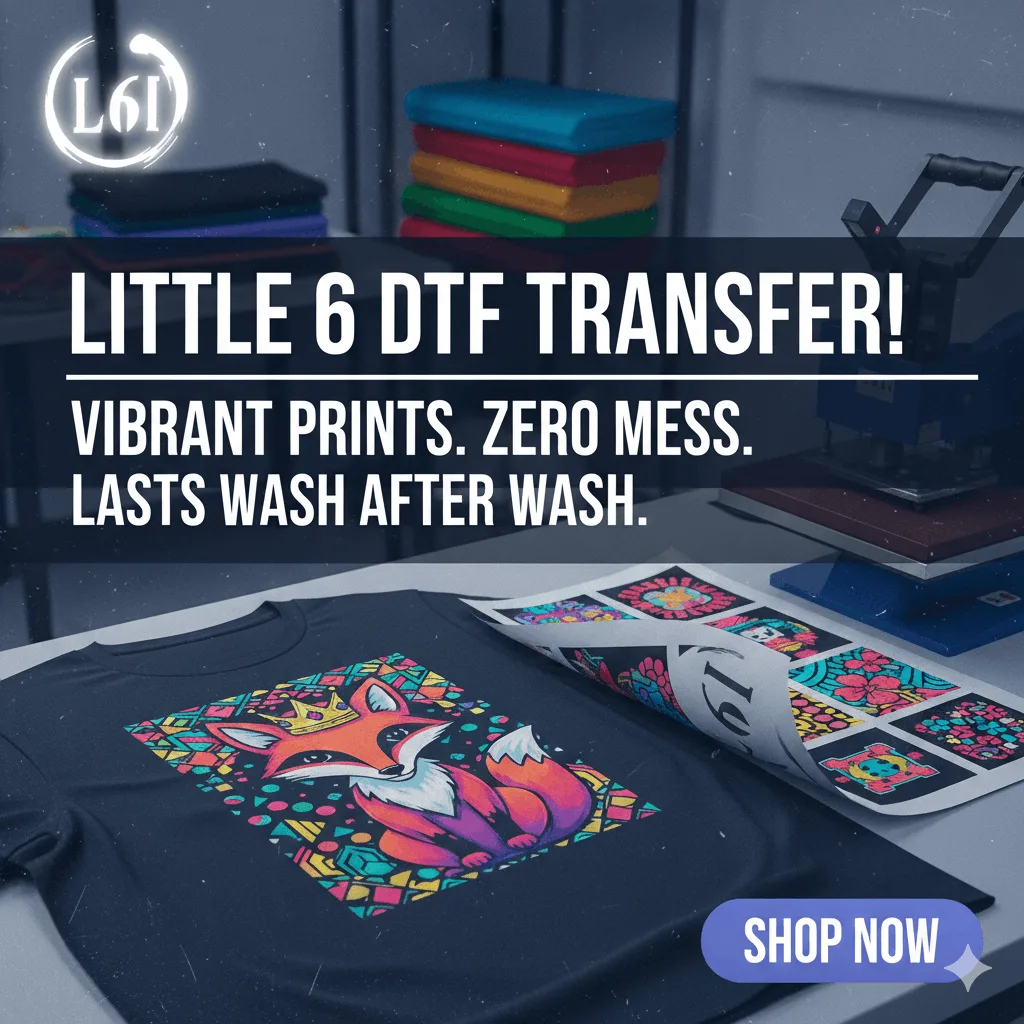
Utilizing commercial-grade DTF transfers eliminates the multi-step hassle entirely. Modern professional DTF transfer sheets offer an incredibly soft, lightweight, and breathable hand-feel where you cannot even feel a separation between the fabric layers. Furthermore, they provide industrial-grade wash durability that ensures your garments look pristine without fading, cracking, or peeling over time.
Beyond Apparel: Complete Branding with Little 6
At Little 6, we believe that custom printing should be accessible, affordable, and easy. No order is too big or too small—if you can imagine it, we can print it! We use state-of-the-art printing technology to deliver exceptional products that stand out and last.
Our comprehensive customization services include:
- Ready-to-press DTF transfers for flawless fabric printing.
- Vibrant, weather-resistant vinyl stickers for packaging and branding.
- High-impact outdoor signs and promotional banners for storefronts.
- A massive selection of high-quality promotional products to boost your corporate brand awareness.
Let us handle the technical complexities of manufacturing so you can focus on growing your brand. Get in touch with the Little 6 team today, and let’s start creating something amazing together!