Tiles can make any room pop, but a bad tile job stands out for all the wrong reasons. Maybe you have chipped tiles in your bathroom, or noticed strange gaps and crooked lines on your kitchen floor.
Tile installation mistakes are common among Seattle homeowners. These problems do not just look bad; they can lead to bigger headaches like cracks or water damage.
Did you know improper adhesive use causes almost 37 percent of tile failures? Yikes! That means more repairs down the road if things go wrong during the first install.
In this blog post, we will show you how easy it is to avoid these mistakes. You will learn simple tips for surface prep, using better adhesives, smart layout tricks, and why listening to a Tile Installation Expert matters most here in Seattle.
If keeping those tiles pretty and strong sounds good to you, keep reading!
Identifying Common Tile Installation Errors
Tile installation can be tricky. Many people overlook key steps and run into problems later on.
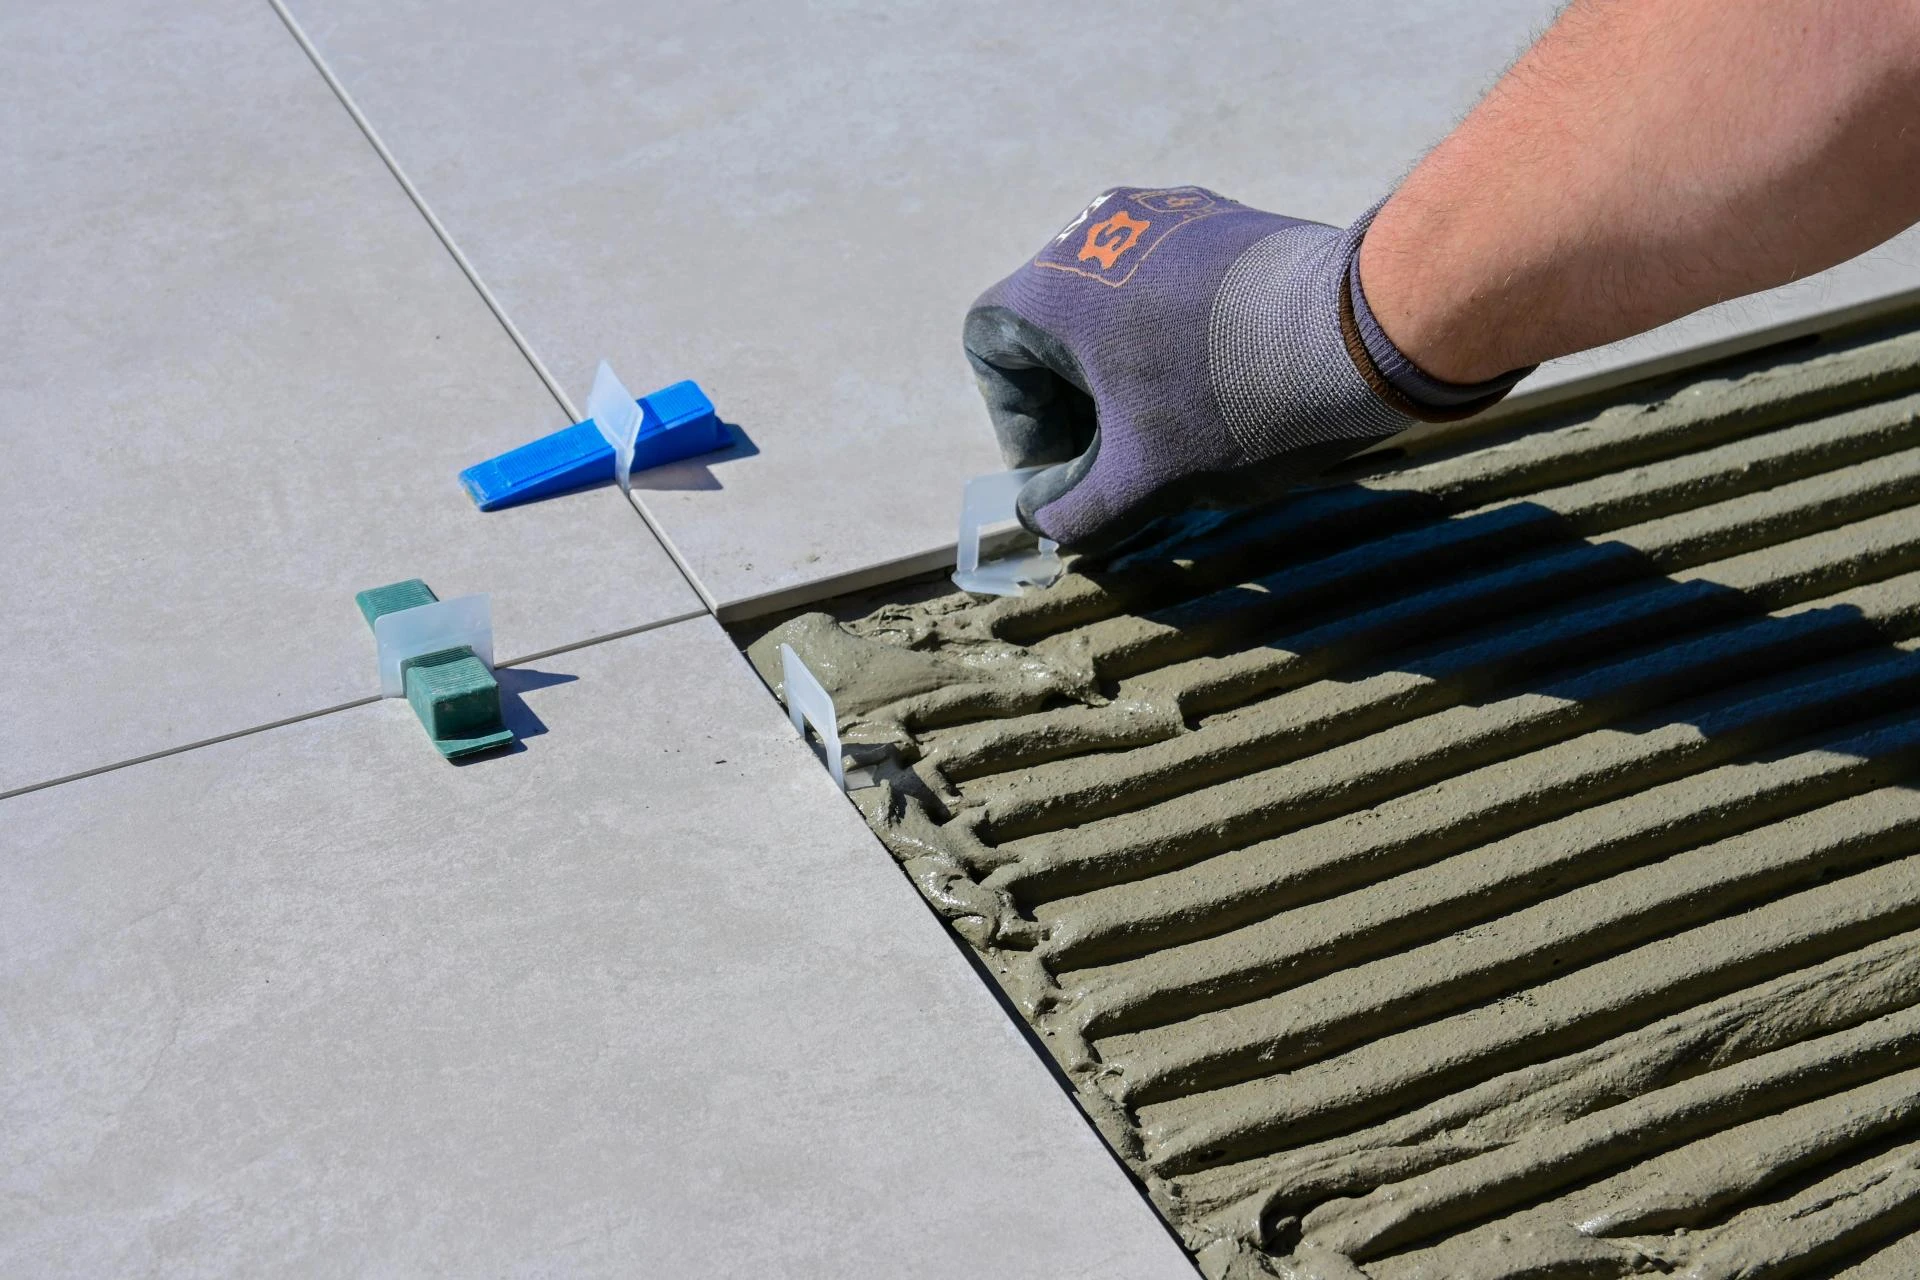
Overlooking Surface Preparation Necessities
A dirty or uneven floor causes big headaches in any Tile Installation Seattle homeowners attempt. Skipping prep work leads to cracked tiles, loose corners, and a finish that screams "DIY disaster." Floors need more than just a quick sweep; they must be flat, clean, and dry before the first tile goes down.
Failing to do this can turn your kitchen backsplash or shower stall into Chip City.
Statistically speaking, up to 37% of failed installations happen because people cut corners on things like surface cleaning or leveling. That's not just numbers—it means possible water damage and costly repairs later.
As one old pro says,.
Start with a solid base, and you’ll sleep better every night after.
A little sweat now saves a lot of dollars—and trouble—down the line for anyone considering tile installation in Seattle homes.
Choosing Incorrect Adhesives or Mortars
Using the wrong glue or mortar can spell big trouble for your tile job. Up to 37 percent of failed installations in Seattle happen because people use improper adhesives during DIY projects.
The right adhesive helps tiles stick tight, keeping floors and walls safe from cracked tiles and water sneaking in behind them.
Some homeowners grab whatever is on sale at the hardware store, thinking one size fits all. But stone, ceramic, and porcelain each need their own specific kind of mortar; using kitchen tile glue on a shower wall just asks for future repairs.
Mess this up and you might find chipped tiles popping off around sinks or backsplashes before you even get a chance to enjoy your morning coffee! If professional installers seem picky about their materials list—they have good reason—choosing wisely saves headaches now instead of patching disaster later.
Executing Poor Tile Layout and Spacing
Laying tiles without careful planning leads to a finish that sticks out like a sore thumb. Floors need to be measured and mapped ahead of time so tiles look centered, with even cuts snug against all four walls.
Homeowners in Seattle often end up with chipped edges or awkward corners, especially in shower stalls and kitchen backsplashes, because they rush the layout step or eyeball spacing instead of using spacers.
Up to 37% of tile failures trace back to DIY mistakes like crooked layouts or uneven gaps. Rooms start looking unprofessional fast when grout lines zigzag and tiles don't line up along cabinets or doors.
Dark grout only makes these problems pop even more; it's tricky for beginners but seasoned pros handle it smoothly every day. Skipping this prep can mean costly repairs down the road, turning what should be a neat DIY project into an eyesore you'll want to cover with a rug.
Neglecting Waterproofing in Moisture-Prone Areas
Neglecting waterproofing in wet areas is a big mistake. This can lead to water damage and mold growth. Areas like bathrooms and kitchens require special care. If you skip this step, your tiles might crack or lift over time.
Using the right waterproof materials keeps moisture at bay. It helps protect your home from hidden leaks, too. Many homeowners don't realize that poor waterproofing accounts for a lot of tile failures; up to 37% of these issues stem from DIY errors! Don’t let a small oversight turn into an expensive repair down the road.
Hastening the Tile Grouting and Curing Steps
Rushing the grouting and curing steps can lead to big problems. If you hurry, tiles may crack or pop up. Proper grout needs time to set well. It’s easy to think faster means better, but that’s not true here.
Choosing the right adhesive is key too; skipping this step causes about 37% of tile failures in DIY projects. Rushing leads to a finish that looks bad and might need repairs later on.
Take your time now, for a strong and beautiful floor later!
Conclusion
Tile installation can be tricky. If you don’t pay attention, mistakes happen. Common errors can lead to cracked tiles and water damage, making your work look bad. Pay close attention to preparing the surface and choosing the right adhesive.
Taking your time with grout makes a big difference too! Avoid these slip-ups for a great finish in your home.