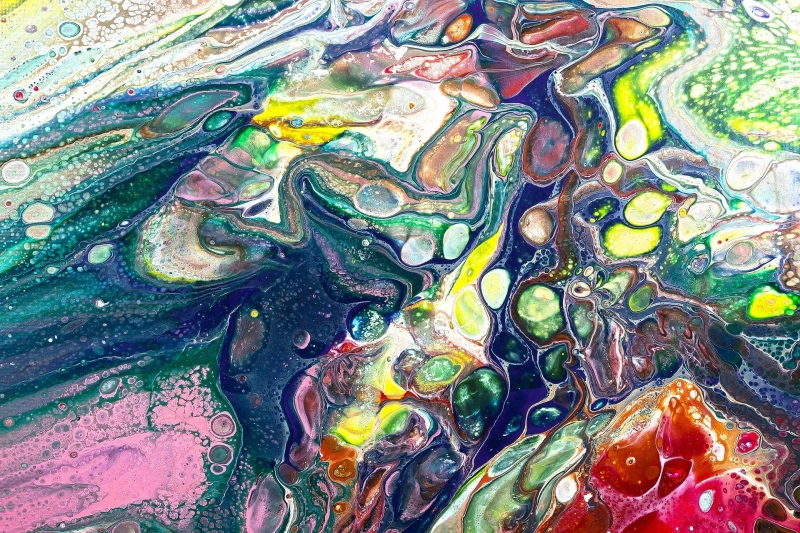
The acrylic pouring painting technique is one of the most fascinating types of abstract artwork in existence today. This panting technique empowers artists with endless possibilities for creating captivating paintings. The various kinds of acrylic pouring methods, coupled with the fact that the exact outcome is unpredictable, make this painting technique awe-inspiring.
Acrylic pouring is not complicated; with so many kinds of techniques available, newbies can simply select the most convenient one to create a fluid art. However, newbies find it challenging to choose the best pour painting technique for beginners. Before we proceed to describe our number-one pour painting technique for beginners, let\'s introduce pour painting to the absolute beginner.
What is Acrylic Pouring?
Acrylic pouring is an abstract painting technique that involves pouring liquid acrylic paint on a surface and working it to create art. It can be likened to resin art or alcohol ink. This technique can be used to create a wide array of art, including faux marble, coasters, and other attractive arts for home decoration.
Materials for Acrylic Pouring
The materials required for acrylic pouring painting differs slightly due to individual preferences. Acrylic pouring is highly customizable; you may need to change your recipes to achieve the specific results you want. For the purpose of the pour painting technique in this article, you will need the following materials.
Floetrol: This is a water-based paint conditioner that improves the paint flow, allowing you to work with the paint efficiently.
Distilled water: This water was vaporized and condensed to remove impurities and other contaminants.
Silicone: It is a colorless, rubber-like substance that enhances the gloss and durability of the paint.
Acrylic paint: This is a water-based paint made of pigment suspended in acrylic polymer emulsion.
Do not substitute distilled water for tap water because ordinary water contains several chemicals that act on the paint to produce undesirable results. Stick with distilled water. You can purchase these materials from your local supermarket or paint shop.
How to Mix Acrylic Paint
Mixing the paint is one of the most critical techniques in acrylic pour painting. So, get the acrylic colors you intend to use and other materials mentioned above, and follow the method below to mix the paint.
ItemQuantity
Acrylic paint
1 Part
Floetrol
2 Parts
Silicone
3-4 Drops
Distilled Water
1 Part
As you gain more acrylic pouring experience, you can determine the various quantities that work best for you. In this assignment, we want to achieve a paint with the texture and viscosity of syrup. The pour procedure is described below.
The Basic Pour Technique
This technique entails pouring colors one after the other on the canvas to create a unique pattern. The goal of this method to create color blocks or retro-abstract patterns. Follow the steps below.
Step-1: Mix your colors in different containers. Try to achieve the warm honey or syrup\'s viscosity that flows freely but not too liquid to drip. The paint\'s thickness is critical; the color will take a long time to dry and may eventually have cracking lines if it is too thick.
Step-2: Pour each color one after the other on different canvas sections to form separate blocks.
Step-3: Use a tiny brush to adjust the color blocks\' edges or swirl the colors together in a unique pattern.
Step-4: Allow the paint to dry at room temperature.
That’sall. You have just created your first pour painting art.


