If you’ve ever shopped for clothing online and admired how perfectly the garment appears to float in 3D without a model or mannequin in sight, you’ve already seen the work of a Ghost Mannequin Photographer. The technique, known as Ghost Mannequin Photography, creates the illusion that a piece of clothing is naturally shaped and worn, but with nothing distracting from the product itself. It’s one of the most effective ways to showcase apparel for e-commerce, and the process behind it is both technical and artistic.
Let’s walk step-by-step through how ghost mannequin images are created—from garment prep all the way to the polished final photo.
Step 1: Preparing the Garment
Before a single photo is taken, preparation is everything. Clothing arrives in boxes or garment bags, often wrinkled from shipping. The first job is to steam or iron the piece until it looks as if it just came off the rack. Stray threads are clipped, tags are tucked away, and lint is removed.
This stage might seem tedious, but it sets the foundation. A crisp, clean garment photographs dramatically better than one with wrinkles or folds in the wrong places. In fact, good prep can reduce editing time later, which saves both time and cost.
Step 2: Choosing the Right Mannequin
Ghost mannequin photography relies on specially designed mannequins that come apart in sections. Why? Because parts like the chest plate, arms, or neckline can be removed to expose the inside of the clothing. Later, during editing, those gaps are filled with additional shots of the garment’s interior, creating that seamless “invisible mannequin” effect.
The mannequin chosen depends on the clothing style. For example:
- Full-body mannequins for long dresses or coats.
- Half-body mannequins for tops or blazers.
- Leg forms for pants, skirts, or shorts.
Having the right mannequin is crucial. It ensures the garment drapes naturally and looks realistic once edited.
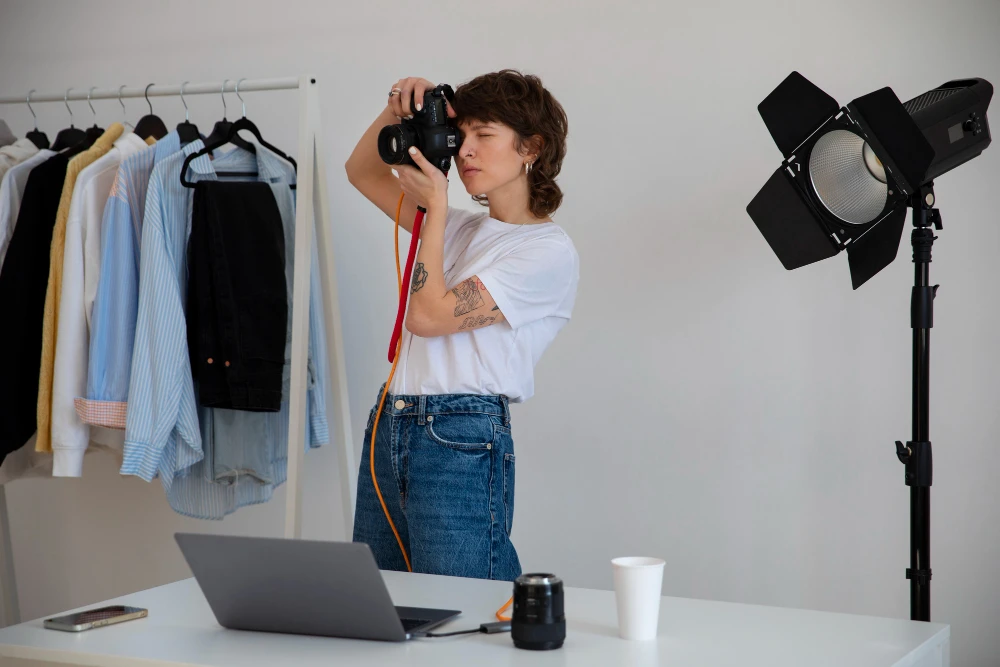
Step 3: Lighting the Setup
Lighting makes or breaks a product photo. Ghost mannequin setups typically use soft, even lighting from multiple angles to avoid harsh shadows and overexposure. The goal is to capture every detail—the stitching, the texture of the fabric, and the true color—while keeping the garment looking dimensional.
Many setups involve a white or neutral background to make the editing process smoother and to match standard e-commerce requirements (like those from Amazon or Shopify).
Step 4: Positioning the Garment
Once the mannequin is dressed, the clothing needs to be adjusted so it fits naturally. Collars are straightened, sleeves are rolled neatly if needed, and hems are aligned. Sometimes pins or clips are used at the back to make the garment fit snugly.
This step ensures the product looks its best without distorting its actual shape. The aim is accuracy—the customer should feel confident that what they see online is exactly what they’ll receive.
Step 5: Shooting the Main Angles
Now comes the fun part: capturing the images. Typically, each garment is photographed from multiple angles—front, back, and side views. Close-up shots may be taken to highlight important details like zippers, buttons, embroidery, or fabric texture.
To create the ghost mannequin effect, the photographer also takes a second set of shots that capture the interior of the garment. For example, if shooting a jacket, the inside collar and tag area are photographed with the mannequin’s neck plate removed. These images will later be layered in during editing to give the garment its “hollow” look.
Step 6: Additional Shots for E-Commerce
Beyond the core angles, many brands request additional styled images. For instance:
- Flat lay shots for social media.
- Detail shots for product pages.
- Styled group images to show mix-and-match looks.
While these aren’t always part of the ghost mannequin workflow, they complement the process and provide a well-rounded product gallery.
Step 7: Post-Production Editing
This is where the magic happens. Using professional editing software, the mannequin is carefully removed from the image. The interior shots taken earlier are composited into the main photo, filling in the empty areas so the garment appears as if it’s floating in space.
Editors smooth out wrinkles, correct lighting inconsistencies, and ensure that the fabric’s true color is preserved. The result is a 3D-like image that feels realistic and high-end, without the distraction of a mannequin or model.
Common editing tasks include:
- Neck joint editing (combining collar and inner label areas).
- Sleeve and hem editing (to show inside fabric and lining).
- Color correction (to match the real garment).
- Background cleanup (usually a pure white backdrop for e-commerce).
Step 8: Quality Control
Before delivering the final images, quality checks are critical. Every angle must be consistent in size, cropping, and background. Many retailers have strict guidelines for product photography (Amazon, for example, requires images on a pure white background, at specific resolutions).
Consistency also matters across a brand’s entire catalog. A shopper scrolling through a clothing website expects every product photo to feel uniform, which builds trust and professionalism.
Step 9: Delivery and Use
Finally, the edited images are exported in the required formats—usually high-resolution JPEGs or PNGs—and delivered to the client. From there, they’re uploaded to e-commerce platforms, online stores, or marketing campaigns.
The end result? A garment that appears natural, perfectly shaped, and ready to be purchased with confidence by online shoppers.
Why This Process Matters
Ghost mannequin photography might sound like a lot of work, but it’s worth it. The process ensures that the customer sees the clothing clearly—front, back, inside, and out—without distraction. It also provides a realistic sense of fit and shape, which helps reduce returns.
In a digital marketplace where customers can’t touch or try on clothes, visuals do the heavy lifting. A well-executed ghost mannequin image doesn’t just show the product; it sells it.
Final Thoughts
From the outside, ghost mannequin photography looks like a simple magic trick: clothes floating in mid-air. But behind the illusion is a careful, step-by-step process that blends preparation, technical shooting, and expert editing.
When done right, the technique gives brands exactly what they need—clean, professional, and compelling product images that stand out in a crowded e-commerce world.
The next time you scroll through a clothing store online and see a perfectly presented shirt, dress, or jacket, you’ll know the invisible effort that went into making it look so effortlessly flawless.