

In today’s digital world, protecting your cryptocurrency is more important than ever. As online threats increase, investors are turning to hardware wallets for secure crypto management. One of the most trusted names in this space is Trezor, known for its advanced security features and user-friendly interface. If you’re setting up your Trezor device on a Mac, the official process begins at Trezor.io/start. Here’s a complete guide to safely installing and using Trezor Suite on macOS.
1. Why Use Trezor for Crypto Protection
Trezor is designed to keep your private keys offline, away from potential hackers and phishing attacks. Unlike software wallets, your data never leaves the hardware device, providing an extra layer of protection for your digital assets. Whether you hold Bitcoin, Ethereum, or other altcoins, Trezor ensures your funds remain secure even if your computer is compromised.
The Trezor Suite app offers a simple way to manage, send, and receive cryptocurrency while maintaining complete control over your wallet. It’s the official management software developed by SatoshiLabs—the creators of Trezor—ensuring safety and authenticity.
2. Accessing the Official Trezor Setup Page
To avoid counterfeit websites or malicious downloads, always begin the setup process by visiting the official Trezor start page:
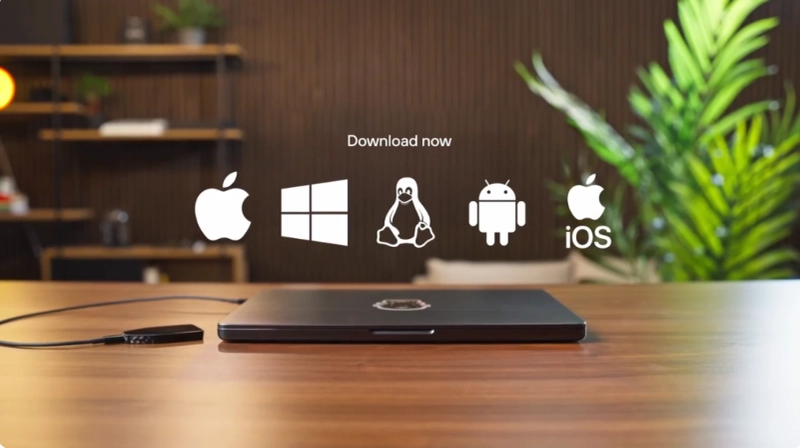
From this page, you can download the correct software for your operating system, including macOS, Windows, and Linux. Make sure you only use this official source to protect your funds and personal data.
3. How to Install Trezor Suite on MacOS
Follow these steps to install Trezor Suite safely on your Mac:
- Go to the official site – Open your web browser and visit Trezor.io/start.
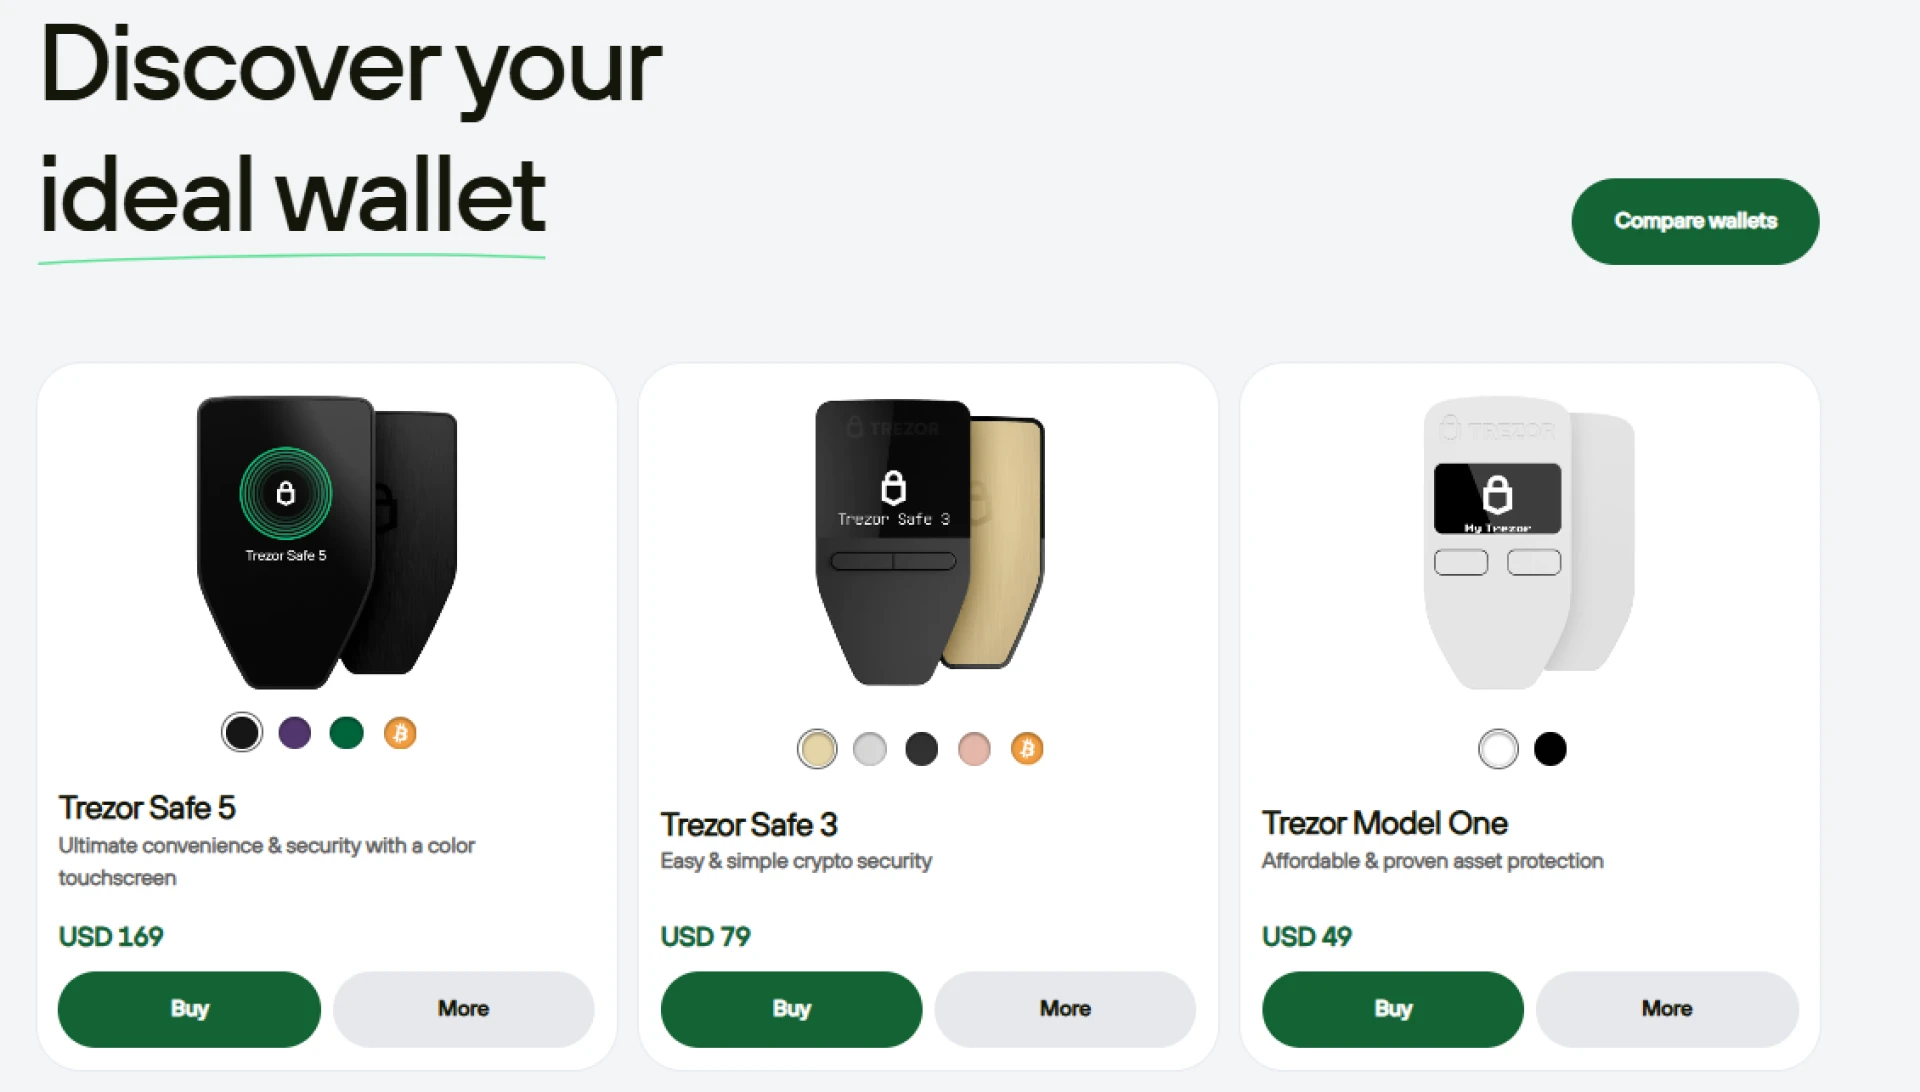
- Select your device – Choose your model (Trezor One or Trezor Model T).
- Download the MacOS version – Click “Download for MacOS” and wait for the file to finish downloading.
- Install Trezor Suite – Open the downloaded
.dmgfile, drag the Trezor Suite icon to your Applications folder, and launch it. - Connect your Trezor device – Plug in your Trezor using a USB cable. Follow on-screen instructions to complete firmware updates or wallet setup.
The app will guide you through creating a new wallet, backing up your recovery seed, and setting a PIN for additional protection.
4. Keeping Your Crypto Secure
Security doesn’t end after installation. Always keep your recovery seed phrase written on paper and stored safely offline. Never share it online or take digital photos of it. This seed is the only way to recover your wallet if your Trezor device is lost or damaged.
Regularly check for firmware updates through Trezor Suite to maintain top-level protection. Updates often include new features and enhanced security protocols.
5. Final Thoughts
Using Trezor.io/start (Official) is the safest way to set up your Trezor device and install Trezor Suite on macOS. It’s fast, secure, and designed to keep your digital assets protected from online threats. By following the official instructions and maintaining good security habits, you can confidently manage your cryptocurrency knowing it’s safe in your hands.