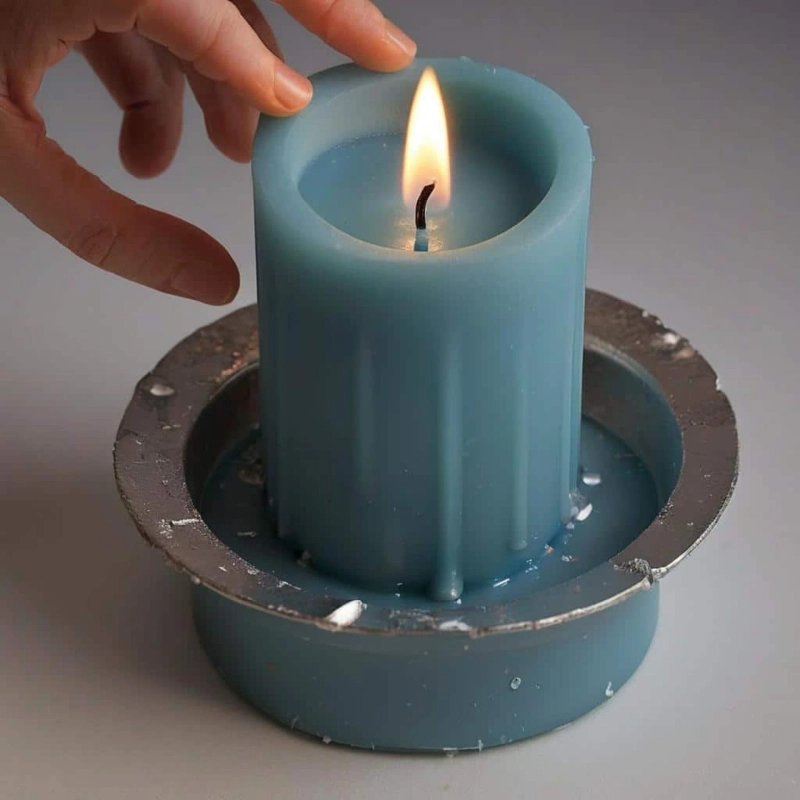
Candles have always been more than just sources of light. They symbolize warmth, ambiance, and a touch of elegance in any setting. While store-bought candles come in a plethora of shapes and designs, there\'s something uniquely satisfying about creating your own candles using handmade molds. This blog post will take you on a journey of transforming simple wax into stunning works of art with custom molds.
The Magic of Handmade Molds
Handmade molds open a world of possibilities for candle makers. Instead of sticking to standard shapes, you can experiment with intricate designs, unique textures, and personalized forms that reflect your creativity. Whether you’re a seasoned candle maker or a beginner, creating your own molds can elevate your craft to new heights.
Getting Started: Materials You’ll Need
Before diving into the mold-making process, gather the following materials:
- Mold-making silicone: Easy to use and perfect for capturing fine details.
- Container: To hold your mold while it sets.
- Model for the mold: This can be anything from a figurine to a carved object, as long as it can withstand the mold-making process.
- Release agent: To ensure your model comes out cleanly.
- Mixing tools: Cups, sticks, and gloves for handling materials.
Step-by-Step Guide to Making Handmade Molds
1. Choosing Your Model
Select an object that you want to replicate in candle form. It could be something sentimental, like a cherished figurine, or a unique shape you’ve crafted yourself. Make sure the model is clean and dry.
2. Preparing the Mold Container
Choose a container that’s slightly larger than your model. It should hold the model and leave enough space for the silicone to cover it completely. Coat the inside of the container and your model with a release agent to prevent sticking.
3. Mixing the Silicone
Follow the instructions on your silicone mold kit. Typically, you’ll need to mix two parts together. Stir thoroughly to ensure an even consistency.
4. Pouring the Silicone
Place your model in the container. Slowly pour the silicone mixture over the model, ensuring it covers all sides and fills any intricate details. Tap the container gently to release air bubbles.
5. Letting It Set
Allow the silicone to cure as per the manufacturer’s instructions. This usually takes 24-48 hours. Once set, carefully remove the mold from the container and extract your model.
Creating Candles with Your Handmade Mold
Now that you have your custom mold, it’s time to make candles.
1. Melting the Wax
Choose your wax type—paraffin, soy, or beeswax. Melt it using a double boiler method to prevent scorching.
2. Adding Color and Fragrance
Incorporate candle dyes and fragrance oils into the melted wax. This is where you can get creative with colors and scents.
3. Preparing the Mold
Ensure your handmade mold is clean and dry. Insert a pre-waxed wick, securing it in place with a wick holder or by suspending it across the top of the mold.
4. Pouring the Wax
Pour the melted wax into the mold slowly, avoiding air bubbles. Leave a small amount of wax for topping off later.
5. Cooling and Releasing
Allow the wax to cool and harden completely. This may take several hours. Once solid, remove your candle from the mold gently.
Finishing Touches
Trim the wick to the desired length and inspect your candle for any imperfections. If needed, you can smooth out rough edges with a warm spoon or a heat gun.
Creative Ideas for Custom Candles
- Themed Candles: Create molds from objects related to holidays, such as pumpkins for Halloween or ornaments for Christmas.
- Personalized Gifts: Use molds of initials or small keepsakes to make personalized candles for friends and family.
- Textured Designs: Experiment with textures by pressing different materials (like lace or leaves) into the mold before pouring the silicone.


