Tips to Improve CNC Plasma Quality

Achieving better quality is the ultimate goal of plasma technology.
For this, you can always ask the customer support team for guidance or replace the parts with Mazak used parts. However, with proper information and some cool tips, you can improve your plasma cutting quality on your own.
Keep reading to learn more!
1. Cut in the Right Direction
Make sure that you cut properly. While using standard consumables, the plasma arc spins in the clockwise direction as the torch moves forward to cut. The squarest angles are on the right side, and thus, contour shapes are cut in a clockwise direction. It is opposite with internal features. There, the torch needs to travel anti-clockwise. So, adjust the current direction if needed.
2. Refer to the Cut Charts
Check out the cut charts in your system manual and select the appropriate cutting process for your application. Select the process depending on your material type, thickness, desired cut quality, precision, and productivity goals. Based on these details, the cut chart would show the appropriate consumables, amperage, cut and pierce height, shield gases, etc. The arc voltage measurement, cutting speed, torch to work distance are other parameters listed in the chart.
3. Use Good Consumables
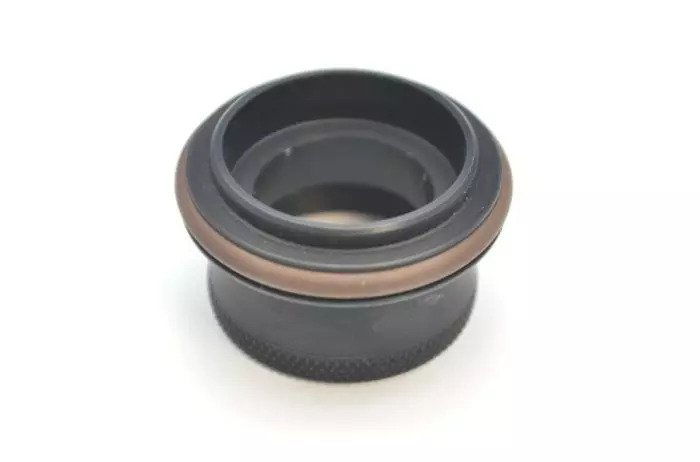
See if your consumables are worn or damaged. They are essential for precision, and any damage could affect the quality and system performance. Therefore, do a visual check and replace it when needed. Use branded alternatives like Mitsubishi spare parts, or Mazak used parts. Always lubricate o-rings while replacing consumables. Don’t over lubricate, as it may affect the system performance.
Also, make sure that you choose right consumables. Double-check the part numbers on your consumables with the numbers in the manual.
4. Level your Table and Workpiece
Always level your torch to the workpiece before you start squaring. Because if the metal is bent or wrapped, it would be impossible to square the torch with the workpiece. Or, in the worst case, you may have to accept the poor cut quality.
5. Hold Right Torch to Work Distance
Ensure that your torch is not close or far away from work, or it would cause rounded cut edges. On top of that, if the torch is too close, the metal splatter would cause severe damage to the torch and nozzle. So, refer to the distance in the manual and adjust accordingly. If your parts are old, adjust them manually as the distance may vary.
6. Cut at the Right Speed
If the cut speed is low, it may result in broader kerf, dross, and warpage on thin materials. Often, the low-speed dross is collected at the bottom of the cut edge and is easy to remove and flake off. In contrast, high-speed dross causes a thinner bead of molten metal to collect at the bottom of the cut. It is harder to remove and requires grinding. However, you can eliminate it by reducing the cut speed to allow arc time to catch up with the arc torch.
7. Use Clean and Dry Air
If you’re using air plasma, make sure it’s clean and dry. The same applies to oxygen or multi-gas systems. Use pure and high-quality gases. Make sure that the regulators and gas lines are of appropriate size. Purge-it manually if required. Also, confirm that the purging cycle is completed. Lastly, see if there are any leakages. In case of emergency, contact your gas distributor and get it resolved immediately.
8. Tune-up your Table
Is the speed of table cutting appropriate? Is the torch secured tightly to the gantry? Is the table vibrating?
Check all these as often the plasma cutting problem is not with plasma cutters but the poor motion or table issues. So, tune up your table before proceeding with the cut.
Most importantly, keep implementing these tips. Share your experience with us. If you have any problem with your system or consumables, contact your manufacturer or supplier immediately.
