Table top
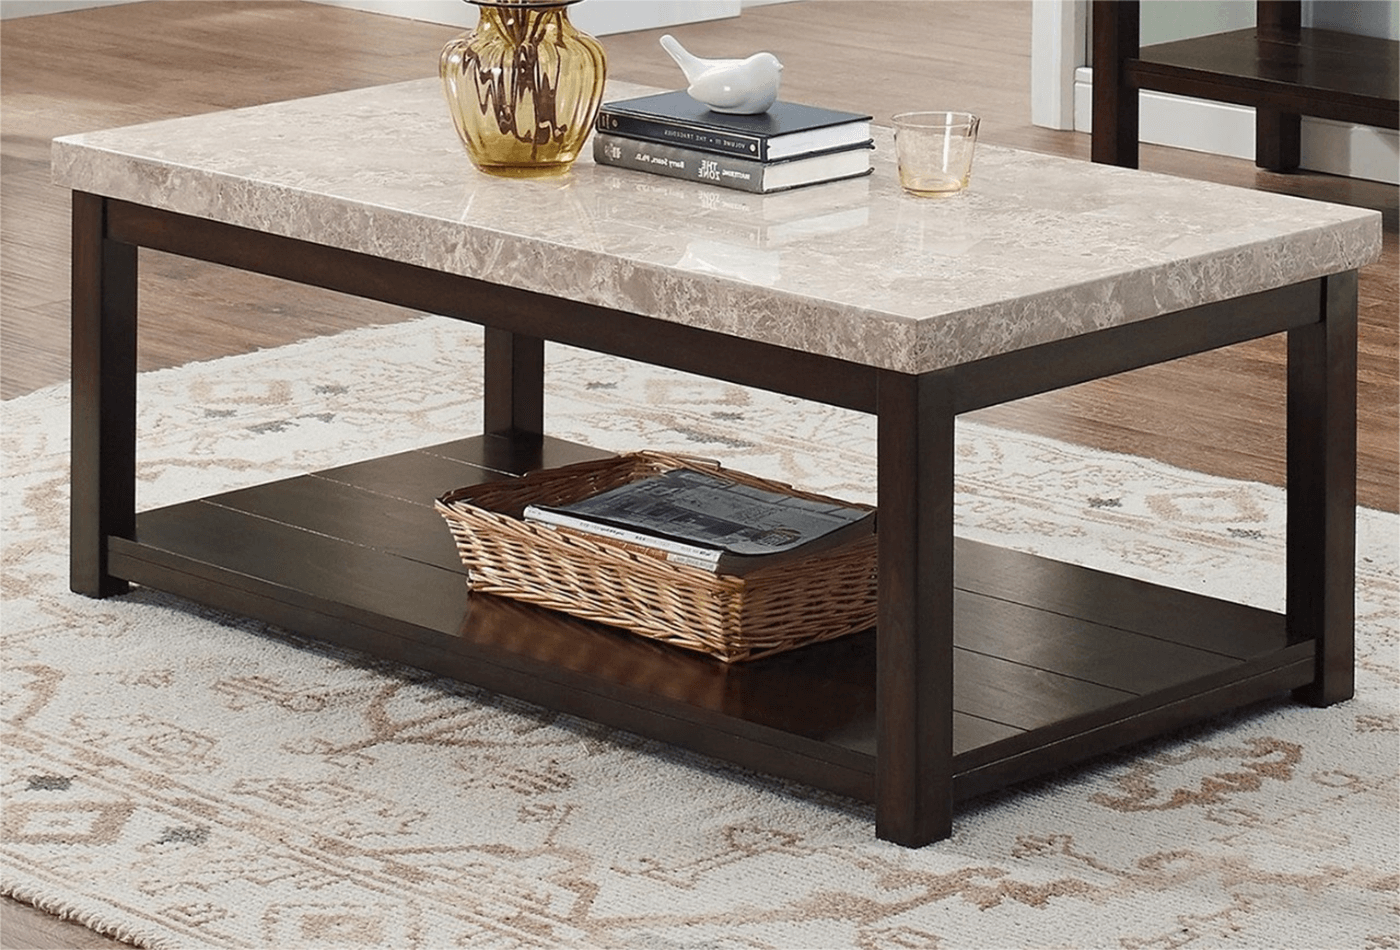
A Stone Table Top from Old Wooden One
Remember the old days when all tables were made from plywood? A table top can now be constructed of solid wood, granite, glass, quartz composite, ceramics, or even marble. The options are truly unlimited. Given the function of the furniture, most materials used to manufacture tables are durable; nevertheless, some materials are marginally more sturdy than others. The most resilient materials to utilise for tabletops are hardwood and quartz.
Oak and Maple, when properly cared for, are very hard-wearing solid wood tables that are recognised for their durability. An excellent substitute for your choice of real stone slabs is a quartz surface. Quartz endures the challenge of time because it is incredibly strong and scratch-resistant. Picking a tabletop that best fits your way of life is the best course of action.
Check out stone materials for your Breakfast table or Dining table.
Table Tops Aren’t Always Basic

A square table, rectangle-shaped table, or circular is what you must have immediately pictured when imagining a tabletop, just like many others. But in reality, there are wide range of shape choices besides the basic geometric shapes. You can have elliptical shapes, semi-circles, and also unconventional, irregular figures if you want a unique piece.
Symmetrical Table Tops – Rectangle

When choosing a table, we usually go for symmetrical table tops. And a rectangular shape may be among the most common options. A rectangular table’s straightforward, the linear shape makes it simple to place in most areas and makes it simple to navigate around the table.
Symmetrical Table Tops – Square

Square furniture is another preferred alternative when it concerns buying tables. Square tables are a fantastic way to maintain connection and proportionality in symmetrical areas, making them ideal for individuals who have small areas in houses and apartments.
Round Tables

For tiny rooms, round or circular dining tables are ideal. You can move about the area without running into any pointy angles thanks to them.
Elliptical Tables

Elliptical table tops are a more contemporary rendition of the traditional circular table top.
Semi Round Table Tops
It’s possible to decorate rooms of many styles and sizes with semi-circle or D-shaped tables. D-shaped tables offer a variety of advantages that can be used as kitchen tables, even though they are more typically affiliated with pedestal tables or corporate desks.
Asymmetrical Table Tops

The best method to obtain a one-of-a-kind look is to choose an odd-shaped tabletop for people who wish to stand out and have a kitchen table that will be remembered. By selecting a bespoke tabletop, homeowners can add your own distinctive style to your house and obtain a table that is designed specifically for your space.
Stone Materials For Valuable Table Top Ideas

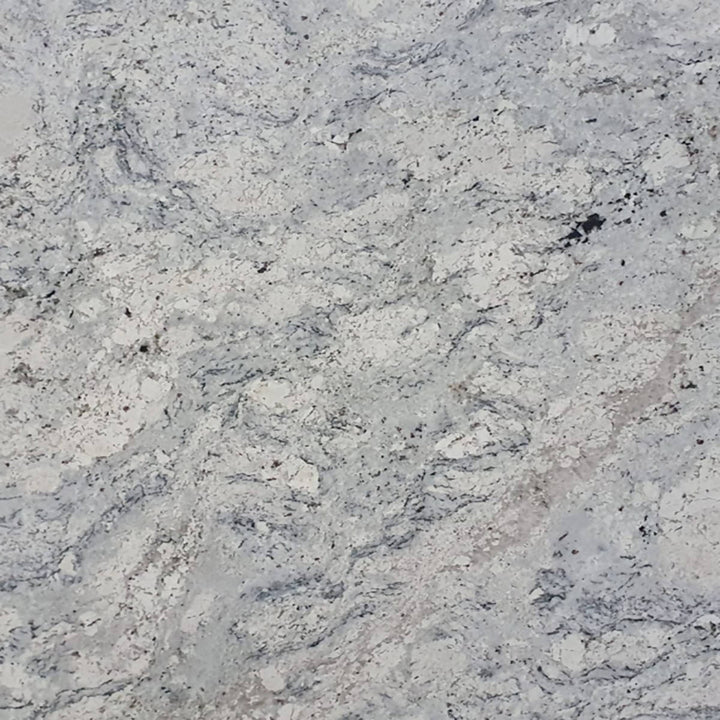
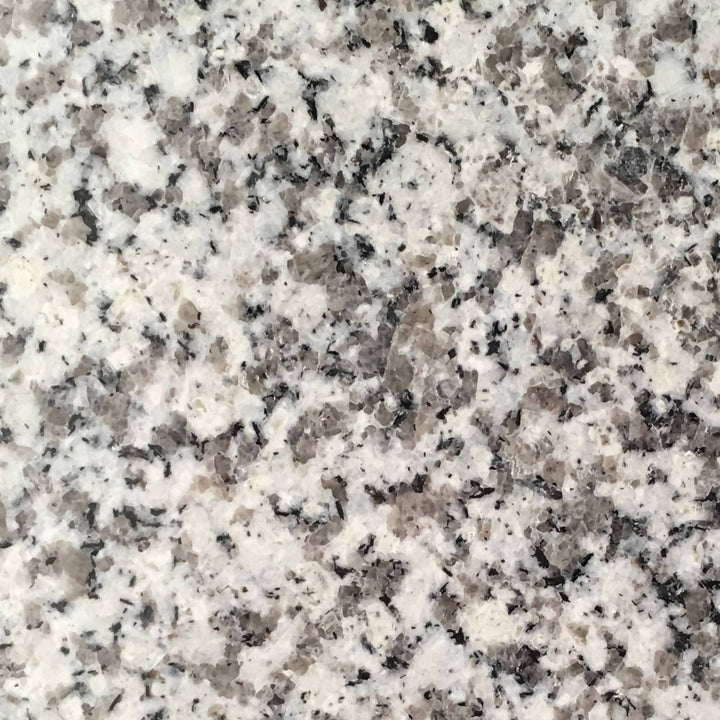
Granite Table Top

Granite is incredibly tough and long-lasting because it was created over billions of years from crushed molten rock beneath the Earth’s surface. Granite has outstanding heat resistance as well as being extremely durable and so very uncommon to crack or fracture. The two most prevalent mineral crystals that makeup granite are feldspar and quartz. But a variety of other minerals might be present, and these are what give every slab of granite its individual character. Since granite is entirely natural, each slab’s colour and pattern variances are unique.
Check out Granite Stones for your Breakfast table or Dining table.
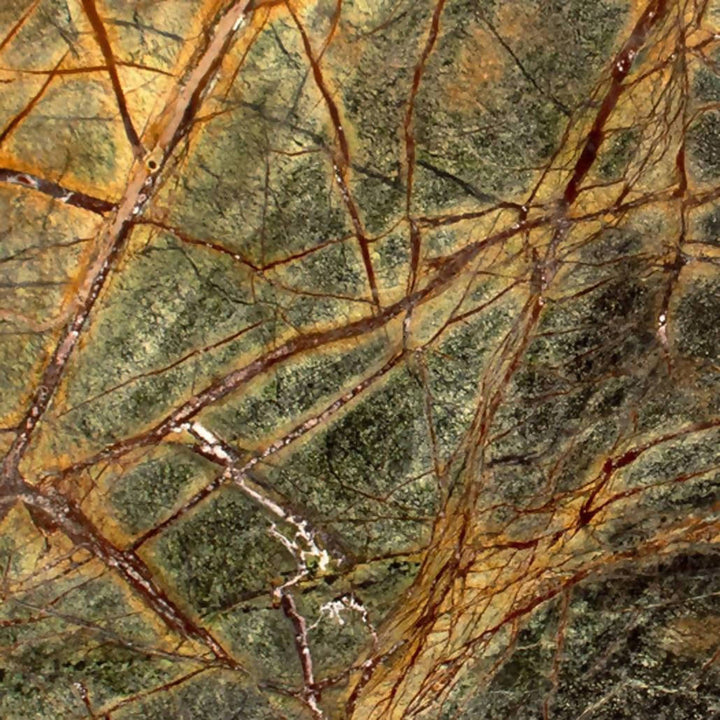
Marble Table Top

Marble is a naturally occurring substance that is quarried throughout the world, with various regions generating varying types. Not only is marble beautiful, but it is also a very durable and robust stone. However, because of its inherent characteristics, it is quite porous, necessitating additional upkeep. Marble must be routinely swept and cleaned, and common spills like coffee or citrus juice may leave permanently stained surfaces. Given that marble is a heavy surface, the furniture will be very heavy and challenging to shift, so take this into consideration if you intend to move the table constantly.
Check out Marble Stones for your Breakfast table or Dining table.
Quartz Table Top with Dark Grey Contract Quartz
Quartz countertops are extremely long-lasting and low-maintenance, making them resistant to stains, scratches, chipping, and other problems when installed in a busy household. The same is true when making a dining table out of quartz slabs. Quartz is a great option if you want a tabletop that is exquisite in design and won’t fracture, scrape, or chip easily. In addition, it is non-porous, which means that spills like those from orange juice, oil, vinegar, and beverages won’t leave stains on it.
Check out Dark Grey Contract Quartz for your Breakfast table or Dining table.
San Sebastian Limestone Tables
Limestone is an intriguing material for table tops because of its subtle tones and sporadic shell fossils. Due to its wonderful glitter and brilliance, limestone works well in both traditional and modern settings. For the strongest and most distinctive tabletop, check out our San Sebastian Limestone.
Process to Attach a Stone to a Wooden Table Top
-
Examine and Evaluate the Existing Table

The table should be sturdy enough to support a stone slab. If you’re unsure, ask a granite/any stone supplier or a licensed stonemason for advice. Take precise measurements of the size of the table and the desired amount of overhang for the replacement top. You may even glue some plywood to the existing table to help determine the appropriate amount of overhang. You can determine the size of the new table top before attaching a stone top by attaching cardboard strips to the surface. Walk around the table to determine whether you would collide it with a 2-inch overhang or if you had a good distance.
-
Sand the Top’s Outer Edge
Start by taking the furniture somewhere else, most probably outside the house for sanding. When sanding, always use a face mask or a respirator. Remove the polyurethane finish and roughen up the top with a block and sandpaper or a random orbital sander. The area around the edge where the adhesive will be put simply has to be completed. Scrubbing the area and scraping the poly will greatly improve the glue’s ability to adhere to the tabletop and produce a stronger joint. Surface abrasion will result in a considerably stronger adhesive bond.
-
Lay out the Table Top
Once the top has been properly scratched, it’s time to determine your final placement. To achieve this, seek out the assistance of a strong friend, and you two should be able to take up and set the top on the table. The overhang should be correct all the way around the perimeter by adjusting the position.
A combination square, which allows you to set the spacing on the square, is found to be quite helpful in accomplishing this. Use this to determine if the table requires to be rotated, pushed forward or backwards, etc. To verify the final placement is accurate, you essentially use it as a spacing indicator.
You will need your friend’s assistance in the following phase, so don’t let them leave just yet.
-
Glue the Sides of the Table Top

Caulk guns should be prepared with silicone before use. The next step is for one of you to pick up the top’s end. The risk of the table falling will be reduced if you simply elevate it vertically. The other person should apply the silicon while you have the table’s half lifted off the floor. Make sure to apply a significant bead with a minimum size of 6 mm. Gently bring down the table backward once they have circled half of it. Remind yourself that you should only lift and lower the table vertically; never lean on it!
This particular step must be repeated on the opposite end of the table.
-
Press Firmly and Leave To Set
Press down on the surface’s total perimeter and complete surface to enhance the solid adhesive bond. Clean off any silicone residue left on the joint. To ensure the stone top is attached with the strongest possible bond, add weight. Allow it to sit for at least a day.

-
Final Comparison
Check the stone top’s position and compare it with the old wood table using your tape measure. Prior to the Silicone starting to harden, you have a limited amount of time to make any necessary modifications.


