


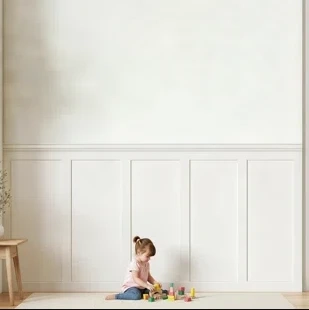
Transforming a plain room into something elegant doesn't have to involve hours of measuring, cutting, and nailing. Self-adhesive wall molding kits offer a game-changing solution for homeowners and renters alike, promising a polished look with minimal hassle. These kits come pre-packaged with strips of decorative trim that stick right onto your walls using powerful adhesive backing, eliminating the need for messy glues, ladders, or power tools. Whether you're refreshing a dated living room or adding subtle flair to a bedroom, the appeal lies in their simplicity—peel, stick, and enjoy an instant upgrade that rivals professional crown molding but without the expertise or expense. It's the perfect hack for DIY novices who crave sophistication on a budget.
Why Choose Self-Adhesive Over Traditional Molding?
Traditional molding often demands precision skills and a workshop full of tools, turning a weekend project into a stressful ordeal. Self-adhesive kits sidestep all that by using high-quality, double-sided tape engineered for strong, long-lasting bonds on painted drywall or smooth surfaces. You avoid the dust, splinters, and imperfections from sawing wood or polystyrene by hand, and there's no risk of uneven cuts or gaps that scream amateur. Plus, these kits are forgiving—if something's off, you can gently peel it away and reposition without damaging your wall, a luxury traditional methods rarely allow. For busy folks juggling work and family, this means style without the sacrifice.
Unboxing and Preparing Your Kit
Opening a self-adhesive wall molding kit feels like unwrapping a thoughtful gift for your home. Inside, you'll typically find pre-cut strips in classic profiles like dentil, egg-and-dart, or sleek modern lines, along with corner pieces, end caps, and sometimes adhesive promoter wipes for extra grip. Preparation is straightforward: dust your walls thoroughly, ensure they're clean and dry, and let any fresh paint cure for at least two weeks to prevent bubbling. Measure your space once to confirm lengths, but the flexible material hugs contours easily. With everything laid out on a table, you're ready to dive in—no sorting through hardware store chaos required.
Step-by-Step Installation Magic
Installation unfolds like a satisfying puzzle, starting at one wall corner where you align the first strip precisely at ceiling height. Peel off the backing in small sections to maintain control, press firmly with a soft cloth or plastic smoother for bubble-free adhesion, and overlap corners seamlessly using the kit's mitered ends. Work around doors, windows, and outlets by trimming with sharp scissors or a utility knife—tasks that take minutes instead of hours. The tool-free nature shines here; a level app on your phone suffices for straight lines, and within 30-60 minutes for a standard room, your molding is set. Caulk isn't even necessary, as the strips are designed to look flawless from the start.
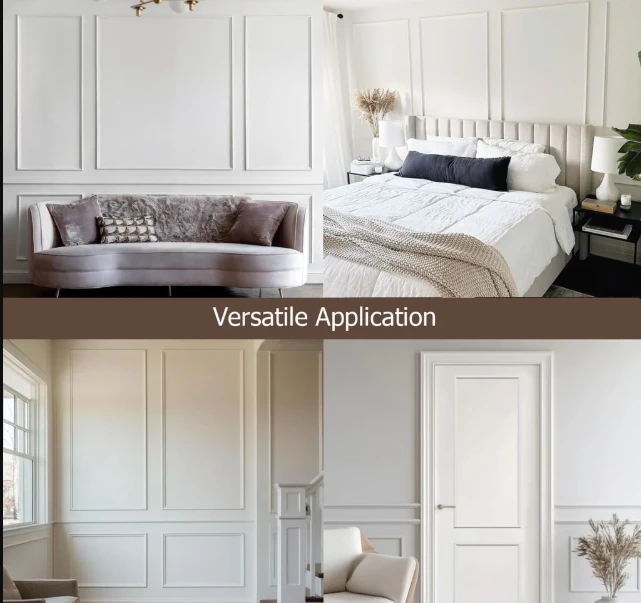
Design Versatility for Every Room
These kits aren't one-note wonders—they adapt to any aesthetic, from ornate Victorian swirls in a dining area to minimalist ledges accenting a home office. Available in finishes mimicking wood grain, matte white, gold leaf, or even metallic sheens, they pair beautifully with shiplap walls, gallery setups, or bold wallpapers. In kitchens, moisture-resistant versions edge countertops; in nurseries, softer profiles add whimsy without overwhelming tiny spaces. The beauty is in scaling: use full kits for drama or mix short segments for subtle borders, letting your creativity dictate without custom ordering headaches.
Maintenance Made Effortless
One of the unsung perks of self-adhesive molding is how little upkeep it demands post-install. A quick wipe with a damp microfiber cloth and mild soap keeps dust at bay, while the sealed self adhesive wall molding kit resists peeling even in humid climates. Unlike painted wood that yellows or chips, these strips maintain their crisp look for years, and minor scuffs blend away with a matching marker. If life's curveballs like moving day arrive, removal is gentle—apply heat from a hairdryer to loosen the bond, then pull slowly at a low angle, leaving walls pristine for security deposits. It's low-drama decor that ages gracefully.
Cost Savings and Smart Budgeting
Diving into self adhesive wall molding kit kits delivers wallet-friendly results that punch above their price. A full room set might run $50-150, covering 20-40 linear feet, compared to $300+ for pro installation of comparable trim. Factor in zero tool purchases, no wasted materials from botched cuts, and saved rental fees for lifts or saws, and the math stacks up impressively. They're especially savvy for renters avoiding landlord disputes or flippers staging homes quickly. Over time, this approach stretches your decor dollars further, freeing cash for furniture or paint that ties the refreshed molding into your vision.
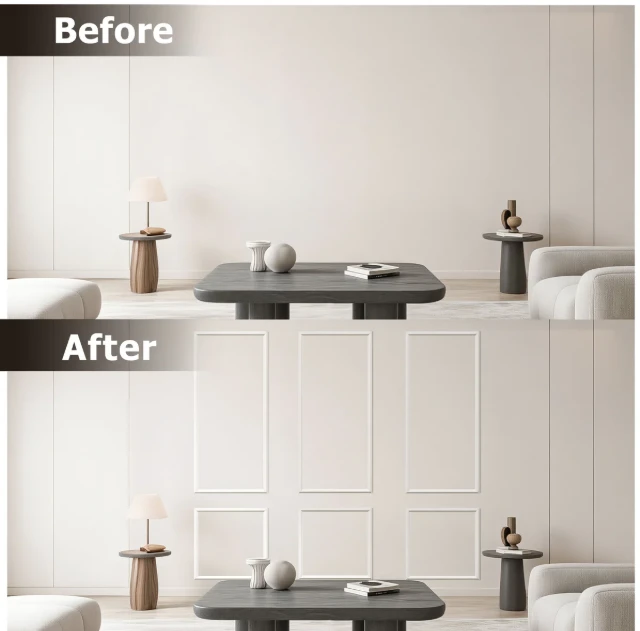
Real-Life Transformations and Tips
Homeowners rave about jaw-dropping before-and-afters, like a bland apartment hallway blooming into a boutique hotel vibe overnight. One tip from enthusiasts: prime tricky surfaces like semi-gloss paint with the included promoter for unbeatable stick. Test a small piece first in inconspicuous spots, and for textured walls, opt for kits with thicker backing to bridge imperfections. Seasonal refreshers, like swapping neutral for holiday-themed strips, keep spaces dynamic. These kits democratize high-end design, proving that anyone can wield architectural charm without a contractor's bill or a single hammer swing.