When it comes to building or renovating a home, the plumbing layout is one of the most critical elements that ensures comfort, functionality, and water efficiency. A well-designed plumbing system not only provides a smooth flow of water to every faucet but also prevents leaks, pressure drops, and unnecessary maintenance costs. In this guide, we’ll explore the essentials of creating a plumbing layout for a house, from planning to installation.
What Is a Plumbing Layout?
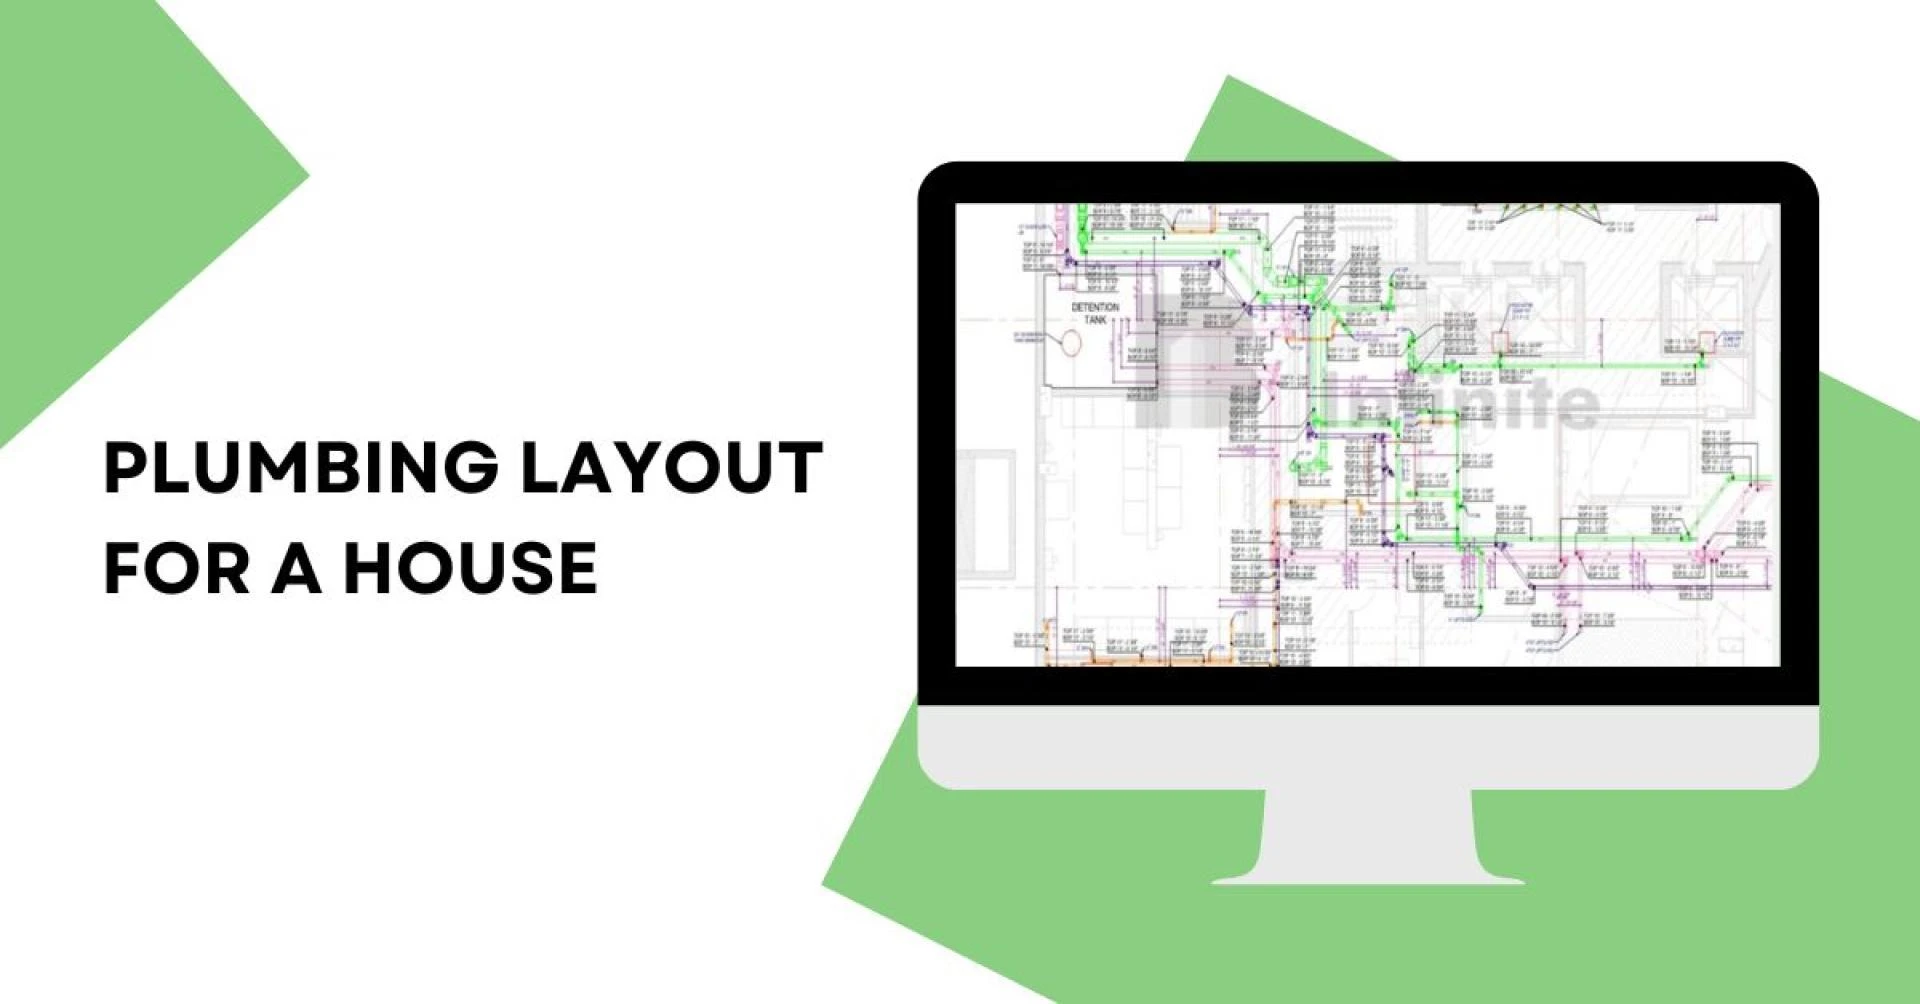
A plumbing layout is a detailed plan that shows the network of pipes, fittings, and fixtures responsible for water supply and drainage throughout your home. It includes the arrangement of water lines, drainage pipes, and vent systems connecting to sinks, toilets, showers, and appliances.
A proper layout ensures that clean water enters efficiently and wastewater exits without obstruction. It also helps professionals visualize the entire system before construction begins, minimizing costly changes later.
Key Components of a Plumbing Layout
- Water Supply System:
- This system delivers fresh water from the main line to your home’s fixtures. It includes pipes, valves, and pressure regulators to ensure a steady water flow at all points.
- Drainage System:
- The drainage pipes carry used water and waste from fixtures to the sewer line or septic tank. A proper slope is essential to allow gravity to move wastewater efficiently.
- Vent Pipes:
- These are crucial for maintaining air pressure and preventing foul odors. Vent pipes release sewer gases outside and allow water to drain freely.
- Fixtures and Fittings:
- The placement of sinks, toilets, bathtubs, and faucets directly affects your plumbing layout. Grouping fixtures close to each other reduces pipe length and costs.
- Hot Water System:
- The design should include a water heater connection, ensuring hot water reaches all necessary points without delay.
Steps to Design a Plumbing Layout
- Analyze the Floor Plan:
- Start by reviewing your house blueprint to determine where bathrooms, kitchen, and utility areas will be located. Try to position wet areas close together to minimize piping distance.
- Plan the Water Supply Routes:
- Decide the main entry point of water and map out the distribution to various fixtures. Use color codes—blue for cold water and red for hot water—for easy identification.
- Design the Drainage and Vent System:
- Place drain lines beneath floors or within walls. Ensure proper slope (1/4 inch per foot) for gravity-based flow and connect vents to release gases.
- Choose the Right Pipe Material:
- Common materials include PVC, CPVC, PEX, and copper. Select materials based on water quality, pressure requirements, and local building codes.
- Test and Inspect:
- After installation, conduct a pressure test and leak inspection to ensure all connections are secure and the system functions properly.
Tips for an Efficient Plumbing Layout
- Keep the main plumbing line as straight as possible.
- Avoid sharp bends to maintain water pressure.
- Install shut-off valves for easy maintenance.
- Plan for future additions like outdoor taps or extra bathrooms.
- Consult a licensed plumber to comply with building regulations.
Conclusion
A well-planned plumbing layout for a house guarantees convenience, efficiency, and durability. Whether you’re designing a new home or remodeling, proper plumbing planning prevents future headaches and ensures a steady, reliable water system for years to come.
For more blogs visit theomnibuzz