

Setting up a new printer can feel overwhelming, especially if you’re not tech-savvy. From unboxing and installing ink cartridges to connecting Wi-Fi and installing drivers, each step matters. If you’ve been searching for reliable printer experts, this complete beginner-friendly Tutorial will walk you through everything you need to know—clearly and confidently.
Whether you bought an inkjet or laser printer for your home office, schoolwork, or small business, proper setup ensures smooth performance, fewer errors, and long-term reliability. Let’s break down the entire process step by step.
Printer Customer Service: Complete Setup Tutorial for First-Time Users
If you’re looking for printer customer service, this easy-to-follow Tutorial is designed to Help beginners set up their new printer without confusion. From hardware installation to wireless configuration, we’ll cover each essential step so you can start printing in minutes.
Before you begin, make sure you have:
- Your new printer
- Power cable
- Ink or toner cartridges
- A stable Wi-Fi connection
- A computer, laptop, or smartphone
- Printer driver CD (if included) or internet access
Now let’s get started.
Step 1: Unbox and Prepare Your Printer
Carefully remove the printer from its packaging. Take out all protective tapes, plastic covers, and foam inserts from both the exterior and interior compartments.
Important tips:
- Open the front and back panels to check for hidden packaging materials.
- Remove protective tape from the ink carriage area.
- Keep the box and packaging for warranty or return purposes.
Place the printer on a flat, stable surface near a power outlet and within range of your Wi-Fi router.
Step 2: Connect the Power Cable and Turn It On
Plug the power cable into the printer and connect it to a wall outlet. Press the power button to turn the printer on.
Most modern printers will:
- Light up a display panel
- Begin initializing internal components
- Move the cartridge carriage into position
Wait until the printer completes its startup cycle before proceeding.
Step 3: Install Ink or Toner Cartridges
Open the cartridge access door. The cartridge holder will usually slide to the center automatically.
Follow these steps:
- Remove cartridges from their packaging.
- Peel off protective tape (avoid touching copper contacts or nozzles).
- Insert cartridges into their correct color slots.
- Push firmly until they click into place.
Close the access door once installed. The printer may run a short alignment or calibration process.
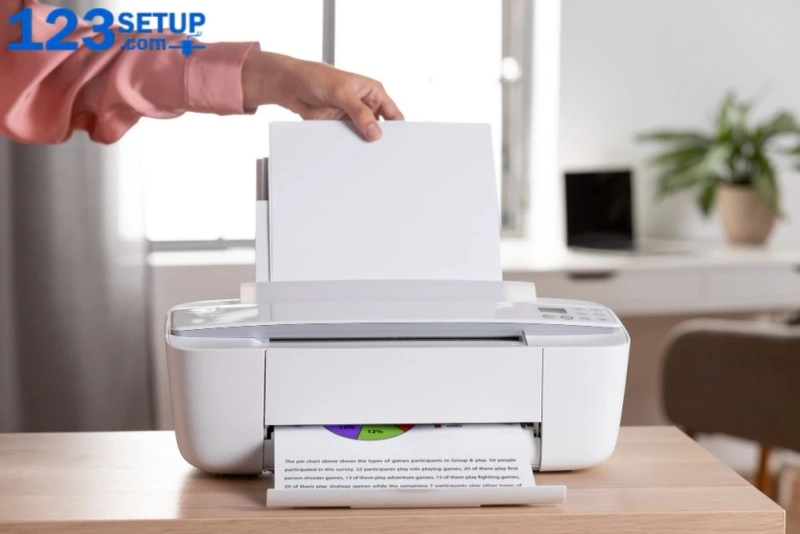
Step 4: Load Paper Correctly
Pull out the paper input tray and adjust the guides according to your paper size (usually A4 or Letter size).
Tips for proper loading:
- Use clean, dry paper.
- Align edges neatly.
- Avoid overfilling the tray.
- Adjust side guides to hold paper snugly without bending it.
Incorrect paper loading is one of the most common reasons for paper jams.
Step 5: Connect Printer to Wi-Fi Network
Most beginners struggle at this stage, but it’s simpler than it sounds.
Method 1: Using Printer Display Panel
- Go to Settings or Network on the printer screen.
- Select Wireless Setup Wizard.
- Choose your Wi-Fi network name (SSID).
- Enter your Wi-Fi password.
- Confirm connection.
Once connected, you should see a confirmation message.
Method 2: Using WPS Button
If your router supports WPS:
- Press the WPS button on your router.
- Press the WPS button on your printer within 2 minutes.
- Wait for automatic connection.
Step 6: Install Printer Drivers on Your Device
Drivers allow your computer or smartphone to communicate with the printer.
For Windows or Mac:
- Visit the printer manufacturer’s official website.
- Search for your printer model.
- Download the latest driver.
- Run the installation file.
- Follow on-screen instructions.
For Mobile Devices:
- Download the manufacturer’s printing app from Google Play Store or Apple App Store.
- Connect your phone to the same Wi-Fi network.
- Add the printer through the app.
Avoid downloading drivers from unknown websites to prevent malware risks.
Step 7: Print a Test Page
After installation, print a test page to confirm everything works properly.
On Windows:
- Go to Control Panel
- Select Devices and Printers
- Right-click your printer
- Click Print Test Page
On Mac:
- Go to System Settings
- Select Printers & Scanners
- Choose your printer
- Click Print Test Page
Check for:
- Clear text
- Proper color alignment
- No streaks or smudges
If issues appear, run the built-in cleaning or alignment feature.
Common Setup Problems and Quick Fix Methods
Even after careful setup, beginners may face small issues. Here are quick Fix steps for common problems:
Printer Not Connecting to Wi-Fi
- Restart router and printer.
- Ensure correct Wi-Fi password.
- Move printer closer to router.
- Re-run wireless setup.
Printer Not Detected by Computer
- Reinstall drivers.
- Check USB cable connection (if wired).
- Restart your device.
- Update operating system.
Poor Print Quality
- Run print head cleaning.
- Check ink levels.
- Align cartridges.
- Use recommended paper type.
Paper Jam Error
- Turn off the printer.
- Gently remove stuck paper.
- Check rear panel and rollers.
- Restart printer.
Wired vs Wireless Setup: Which Is Better?
For beginners, wireless setup is usually more convenient because:
- Multiple devices can connect.
- No need for USB cables.
- Easy mobile printing.
However, wired setup can be more stable in environments with weak Wi-Fi signals.
Choose based on your needs and network stability.
Essential Maintenance Tips for Beginners
Once your printer is successfully installed, follow these simple maintenance habits:
- Print at least once a week to prevent ink drying.
- Keep printer covered when not in use.
- Clean exterior with a soft dry cloth.
- Update drivers regularly.
- Use genuine ink or toner cartridges.
Regular care reduces the need for troubleshooting later.
Safety and Warranty Reminders
- Register your printer on the manufacturer’s website.
- Keep purchase receipt safe.
- Avoid opening internal hardware parts.
- Do not use third-party repair kits during warranty.
Improper handling can void your warranty coverage.
When Should You Contact Professional Assistance?
If you experience:
- Persistent error codes
- Hardware malfunction
- Loud mechanical noises
- Cartridge recognition failure
- Repeated connectivity problems
It may be time to seek expert Help from official service channels.
Always contact the manufacturer’s authorized center to avoid scams.
Final Checklist Before You Start Printing Regularly
Before you begin daily printing tasks, confirm:
- Printer is connected to Wi-Fi
- Drivers are installed
- Ink or toner levels are adequate
- Paper is loaded properly
- Test page printed successfully
If all boxes are checked, your printer is ready for use.
Conclusion
Setting up a new printer doesn’t have to be stressful. By carefully following this beginner-friendly Tutorial, you can avoid unnecessary confusion and reduce dependence on external assistance. If you were searching for printer customer service, this complete setup walkthrough should give you the confidence to install, connect, and start printing smoothly.
With proper setup, regular maintenance, and basic troubleshooting knowledge, your printer will deliver reliable performance for years to come.