


A shower head holder is one of those small but essential bathroom fittings that you barely notice—until you need to replace or adjust it. Whether you’re upgrading your shower setup, changing décor, or simply fixing a loose bracket, removing the shower head holder is often the first step. Though it may sound tricky, the process is actually simple when done correctly. Here’s a complete, easy-to-follow guide to help you remove a shower head holder safely, without damaging your wall or fittings.
Understanding What a Shower Head Holder Does
Before getting started, it helps to understand what this component does. A shower head holder secures the handheld shower head in place when it’s not in use. It can be mounted directly to the wall or attached to a riser rail that allows the shower height to be adjusted. Over time, constant water exposure and movement can cause the holder to loosen, discolour, or stop functioning smoothly—making replacement or removal necessary.
Step 1: Prepare Your Tools and Space
Good preparation makes any DIY task easier. You’ll need a few basic tools—usually a screwdriver, adjustable wrench or spanner, Allen key, and a small utility knife. Keep a soft cloth handy to protect tiles or chrome surfaces while you work.
Before starting, clear the shower area. Remove any bottles, mats, or accessories that might get in the way. Having a clear workspace not only keeps things safe but also prevents damage to other fixtures.
Step 2: Turn Off the Water Supply
Although you won’t be disconnecting plumbing, turning off the shower’s water supply is a sensible precaution. It prevents accidental drips or leaks while you’re handling fixtures. This small step adds peace of mind and keeps your workspace dry.
Step 3: Examine How the Holder Is Fixed
Not all shower head holders attach the same way, so spend a few moments checking the mounting style. Some are secured with visible screws, while others have hidden fasteners beneath small plastic caps or covers. If yours is attached to a vertical shower rail, you might see a small grub screw at the base that locks the bracket in place.
Understanding the attachment method helps you choose the right approach and tools. For instance, a screw-mounted holder will need to be loosened carefully, whereas an adhesive-mounted one requires gentle separation from the wall.
Step 4: Loosen Screws or Release Adhesive
Once you’ve identified how the holder is attached, begin loosening it. For screw-on models, use the appropriate screwdriver or Allen key. Always turn the tool slowly and maintain steady pressure to avoid stripping the screw head.
If your holder is glued or sealed with adhesive, take your utility knife and carefully slice around the edges. This breaks the bond between the wall and the bracket without chipping tiles. You may need to apply slight pressure with a flat tool to ease it off, but avoid forcing it—patience prevents damage.
For holders on riser rails, loosen the small locking screw at the base and slide the bracket off. Support it with your free hand so it doesn’t drop once released.
Step 5: Remove Any Leftover Sealant or Residue
After removing the holder, you may notice leftover adhesive, silicone, or small marks where it was fixed. Cleaning this area properly is important before installing a new holder. Use a scraper or an old plastic card to lift off stubborn residue, then wipe the surface with mild soap and water.
If you’ve cut through sealant, take care not to scratch the tile glaze or paint. Once the area is clean and dry, inspect it for cracks or damage—this is the perfect time to make any small repairs before reinstalling a new fitting.
Step 6: Check the Shower Rail or Wall Mount
If your holder was attached to a rail, inspect the rail itself. Over time, the sliding mechanism can become worn or corroded. Ensure the rail is still sturdy and that no internal screws are loose. For wall-mounted brackets, check that the wall plug remains secure and that the surface around the hole hasn’t weakened.
This quick inspection ensures your new holder will fit properly and stay firm once installed.
Step 7: Get Ready for Reinstallation
With the old holder gone and the area cleaned, you can now plan the next step. Whether you’re fitting a new holder in the same place or choosing a different design, having a clean and even surface will make installation easier. Before you proceed, double-check the alignment of your plumbing fixtures and ensure there’s enough clearance for the new holder’s shape and size.
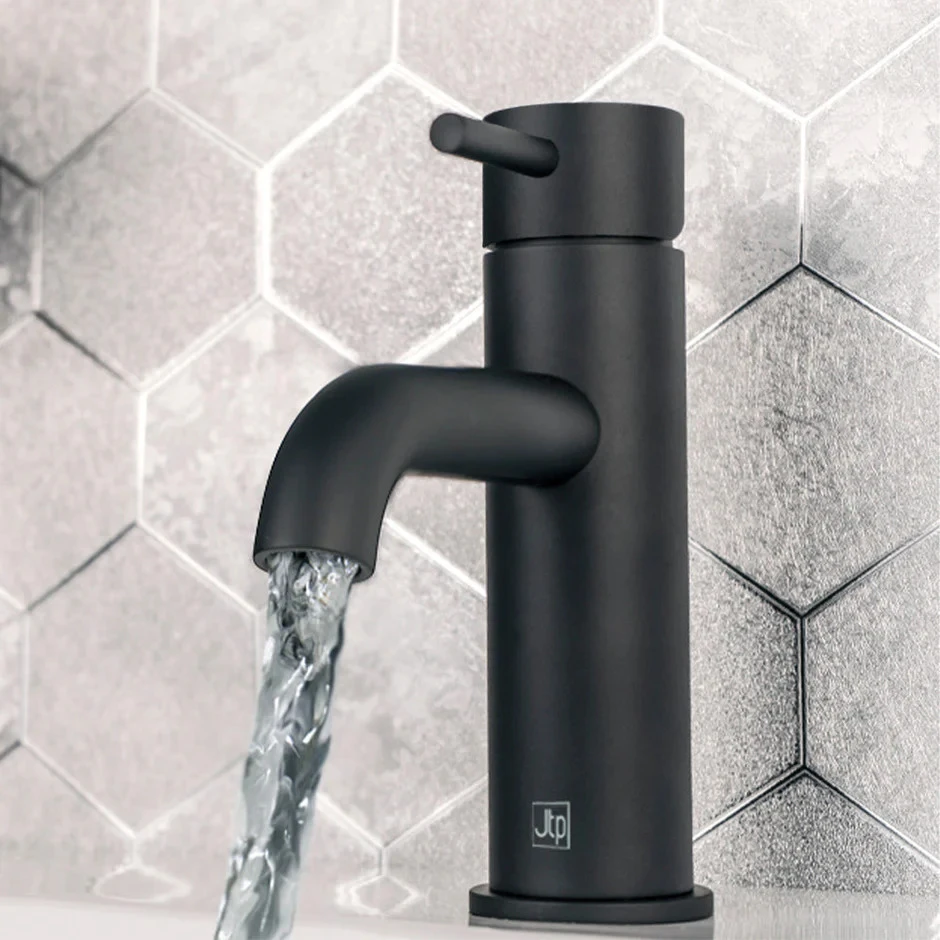
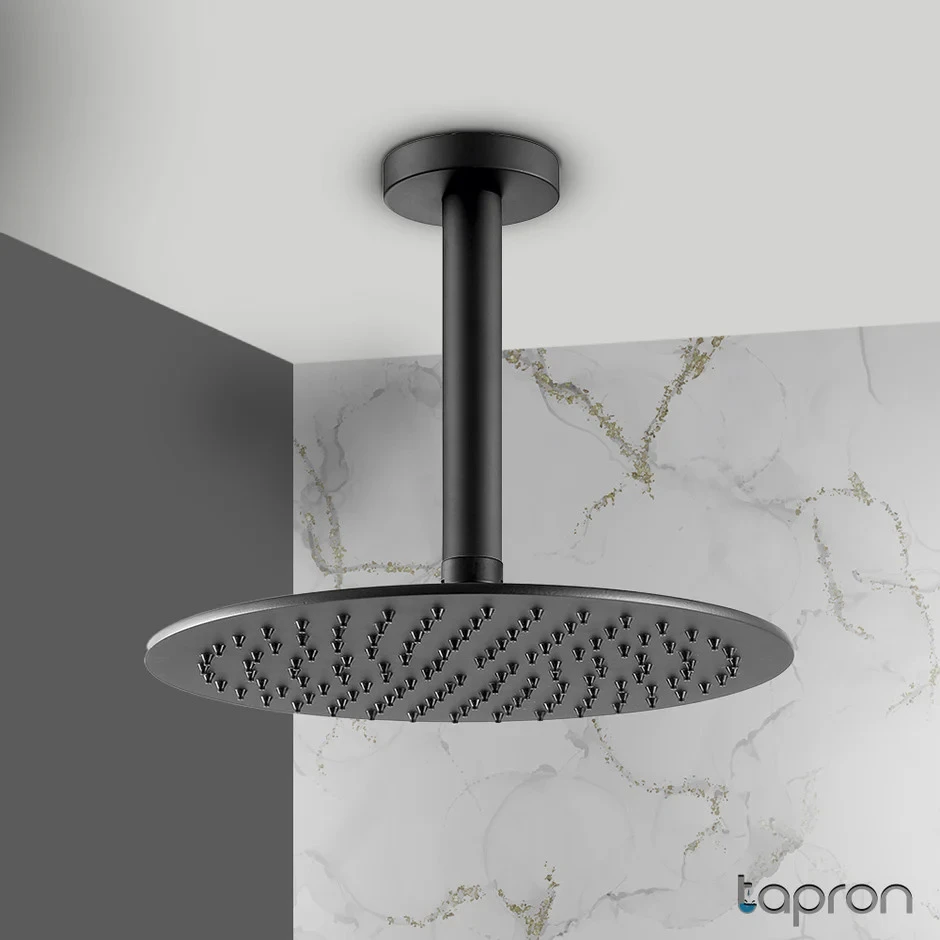
If you’re upgrading to a more modern adjustable bracket or an alternative finish—such as brushed brass, matt black, or chrome—this is also a good opportunity to coordinate it with other shower components.
Useful Tips for a Smooth Process
Avoid overtightening: When removing or reinstalling screws, keep your hand light. Too much pressure can strip threads or crack tile surfaces.
Protect your finishes: Wrap tools in a soft cloth when working close to chrome or polished fittings.
Work slowly: Rushing the process increases the risk of slipping or damaging the wall.
Keep sealant to a minimum: When you reinstall, apply only a thin, even layer of silicone to prevent moisture from seeping behind the mount.
Why Careful Removal Matters
Taking the time to remove your shower head holder properly prevents unnecessary repair costs later. Hasty prying or excessive force can damage tiles or plumbing, leading to leaks or expensive replacements. A methodical approach ensures the wall remains intact, the finish stays pristine, and your next installation looks seamless.
Final Thoughts
Removing a shower head holder may seem minor, but it’s one of those small maintenance jobs that can greatly improve your bathroom’s look and function. With just a few tools and careful handling, you can remove the old holder cleanly, tidy the surface, and prepare for a fresh new fitting that complements your space.
Whether you’re upgrading for style, comfort, or practicality, the key is patience and precision. Once complete, you’ll enjoy a renewed shower setup that works smoothly and looks beautifully finished—proof that even simple bathroom updates can make a lasting difference.