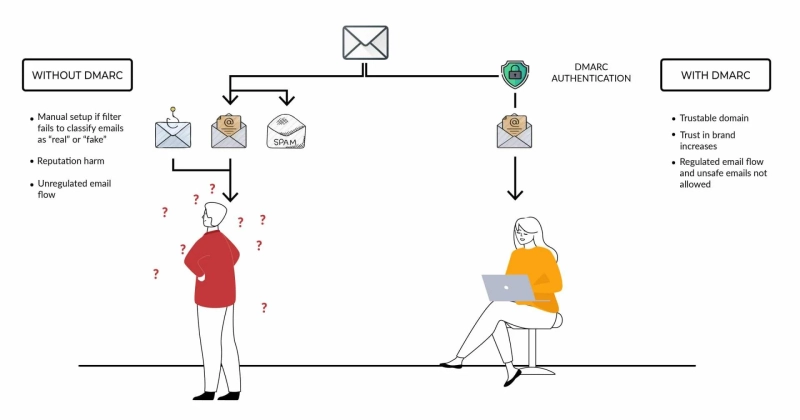
DMARC in Brief
DMARC (Domain-based Message Authentication, Reporting, and Conformance) is an email authentication standard or protocol that determines whether an email is authentic or not. Its process involves combining SPF and DKIM records to decide the authentication status of an email. It provides transparency of the sending sources of all emails sent from your domain and also ensures better email deliverability. Most importantly, however, it safeguards your domain against malicious cyberattacks like spoofing, phishing, and impersonation.
For detailed information on Domain-based Message Authentication, Reporting and Conformance, read more on What is DMARC?
If you’re wondering what SPF and DKIM protocols are, head to What is SPF? and What is DKIM? to read more.
What Is a DMARC Report?
While DMARC safeguards against several email-based cyberattacks, it also acts as a feedback mechanism that helps the domain owner track security and deliverability issues by generating regular reports. DMARC reports are authentication results containing data on a domain’s usage. They intimate the domain owner of malicious sources and protocol errors. They are a goldmine of data that can be used to strengthen a domain’s security and take action against malicious sources while minimizing errors and deliverability issues.
DMARC reports are periodically sent in XML format to the domain owner’s email address. However, they are highly technical and can be confusing for the average user to interpret. Essentially, DMARC reports are of two types:
DMARC Aggregate Reports
DMARC Forensic Reports
To get a more detailed idea about each of these reports, head to RUA and DMARC Aggregate Reports and RUF and DMARC Forensic Reports.
This is what a raw DMARC report looks like:
<?xml version=”1.0″ encoding=”UTF-8″ ?>
<feedback>
<report_metadata>
<org_name>google.com</org_name>
<email>noreply-dmarc-support@google.com</email>
<extra_contact_info>http://google.com/dmarc/support</extra_contact_info>
<report_id>8293631894893125362</report_id>
<date_range>
<begin>1234573120</begin>
<end>1234453590</end>
</date_range>
</report_metadata>
<policy_published>
<domain>yourdomain.com</domain>
<adkim>r</adkim>
<aspf>r</aspf>
<p>none</p>
<sp>none</sp>
<pct>100</pct>
</policy_published>
<record>
<row>
<source_ip>302.0.214.308</source_ip>
<count>2</count>
<policy_evaluated>
<disposition>none</disposition>
<dkim>fail</dkim>
<spf>pass</spf>
</policy_evaluated>
</row>
<identifiers>
<header_from>yourdomain.com</header_from>
</identifiers>
<auth_results>
<dkim>
<domain>yourdomain.com</domain>
<result>fail</result>
<human_result></human_result>
</dkim>
<spf>
<domain>yourdomain.com</domain>
<result>pass</result>
</spf>
</auth_results>
</record>
</feedback>
Did that make any sense? No, right?
Allow us to break it down for you a little!
ISP/Email Service Provider
<?xml version=”1.0″ encoding=”UTF-8″ ?>
<feedback>
<report_metadata>
<org_name>google.com</org_name>
<email>noreply-dmarc-support@google.com</email>
<extra_contact_info>http://google.com/dmarc/supp
Report ID
<report_id>8293631894893125362</report_id>
Date range
<date_range>
<begin>1234573120</begin>
<end>1234453590</end>
</date_range>
DMARC record
<policy_published>
<domain>yourdomain.com</domain>
<adkim>r</adkim>
<aspf>r</aspf>
<p>none</p>
<sp>none</sp>
<pct>100</pct>
</policy_published>
IP address
<source_ip>302.0.214.308</source_ip>
Authentication overview
<policy_evaluated>
<disposition>none</disposition>
<dkim>fail</dkim>
<spf>pass</spf>
</policy_evaluated>
From:Domain
<header_from>yourdomain.com</header_from>
DKIM authentication report
<dkim>
<domain>yourdomain.com</domain>
<result>fail</result>
<human_result></human_result>
</dkim>
SPF authentication report
<spf>
<domain>yourdomain.com</domain>
<result>pass</result>
</spf>
The DMARC report can now be easily interpreted even by the average user!


