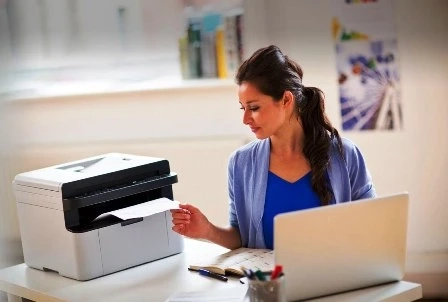
How To Get My Computer To Recognize My Printer?
The first step to make your computer recognize your printer will be to connect them both. Now, every printer comes with a USB port. The USB port of your printer will allow you to plug a USB printer cable into the USB port on your computer.
If you are struggling with a question on how to get my computer to recognize my printer, then this has been written for you. Let’s see how you can make your computer recognize a local printer.
The Local Printer-
- First, connect the printer to your computer using the USB cable, and turn it on.
- From the Start Menu of your computer, open the Settings App.
- Click Devices in the Settings App.
- Click on Printers & Scanners in the Devices section.
- Choose to Add a Printer or Scanner in the Printers & Scanners option.
- If your computer recognizes the printer, click on the name of your printer and follow the further steps to finish the installation. And you are done with the process.
- If your computer does not recognize your printer, do click on the “The printer that I want isn’t listed” link given there.
There are some instances where we find a printer not communicating with the computer. In that case, do make sure that your printer has the required amount of paper and ink or toner. The paper tray must be closed, and then your printer can proceed to print. Sometimes, a printer does not communicate with a computer when there is a paper jam in the printer that keeps the printer from responding. In that case, you just have to remove the jammed sheets manually, and you are good to go!


