
In the world of IoT (Internet of Things) and wireless communication, the ESP8266 microcontroller has become one of the most popular and cost-effective choices for developers, engineers, and hobbyists.
This guide explains everything you need to know about ESP8266 Programming — including how to program ESP8266 boards, the programming languages used, different board types, and their applications and benefits.
What is the ESP8266?
The ESP8266 is a low-cost Wi-Fi microchip developed by Espressif Systems. It has a built-in TCP/IP stack and microcontroller unit (MCU), which makes it capable of both connecting to Wi-Fi networks and controlling connected devices directly.
This means you can build standalone IoT projects such as smart home automation, wireless sensors, and remote monitoring systems — all with a single compact board.
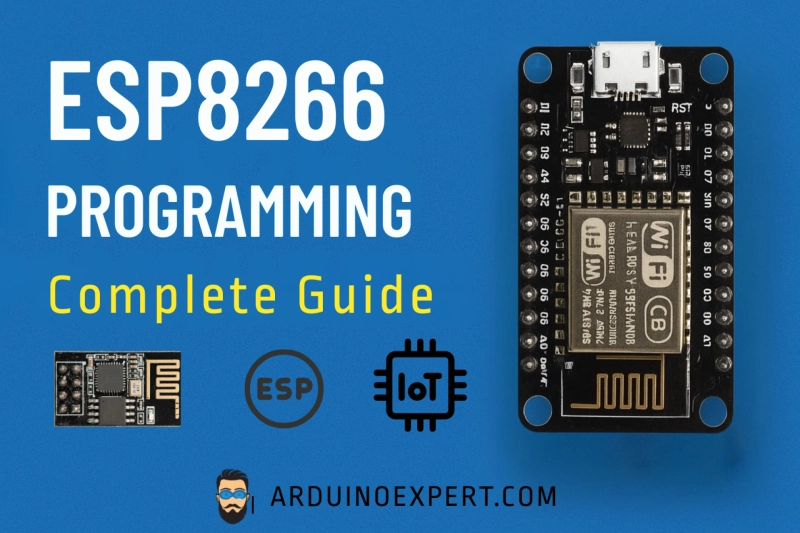
Types and Categories of ESP8266 Boards
There are multiple development boards and modules based on the ESP8266 chip. Here are the most common ones:
ESP-01
· Basic module with 8 pins and limited GPIOs.
· Often used as a Wi-Fi module for Arduino boards.
2. NodeMCU (ESP-12E)
· The most popular and user-friendly board.
· Includes a built-in USB interface, voltage regulator, and plenty of GPIOs.
· Fully compatible with the Arduino IDE.
Why Choose ESP8266 for IoT Projects?
The ESP8266 strikes the perfect balance between performance, price, and ease of use. Whether you’re creating a smart irrigation system, a remote monitoring sensor, or a custom Wi-Fi gadget, this tiny module makes IoT development accessible to everyone.
Its integration with the Arduino ecosystem makes programming simple and fun — even for beginners.
ESP8266 Programming – How It Works
Step 1: Choose Your ESP8266 Board
The most common development boards are NodeMCU and Wemos D1 Mini, both based on the ESP8266 chip. These boards come with built-in USB ports, voltage regulators, and pin headers for easy prototyping.
Step 2: Install Arduino IDE
You can program ESP8266 boards using the Arduino IDE, which makes it beginner-friendly and flexible.
· Download and install the Arduino IDE.
· Go to Tools → Board → Boards Manager and install ESP8266 by Espressif Systems.
Now you can select your specific board model, such as NodeMCU 1.0 (ESP-12E Module)