

Color grading is one of the most powerful storytelling tools in filmmaking. It shapes mood, enhances emotions, guides the viewer’s attention, and gives a film its unique visual identity. When it comes to professional color grading, DaVinci Resolve stands as the industry standard. Used in Hollywood films, OTT series, commercials, music videos, and YouTube content alike, DaVinci Resolve offers unmatched color science and advanced grading tools.
This article explores DaVinci Resolve color grading in depth—from basic concepts to professional workflows—helping beginners, intermediate editors, and aspiring colorists understand why Resolve dominates the post-production world.
What Is Color Grading?
Color grading is the process of enhancing and stylizing the colors of a video after basic corrections are made. It goes beyond fixing exposure or white balance and focuses on creating a specific “look” or visual tone.
Color grading helps to:
- Establish mood and atmosphere
- Maintain visual consistency across shots
- Highlight subjects and emotions
- Create cinematic or stylized looks
- Strengthen storytelling
Before grading, editors usually perform color correction, which involves balancing exposure, contrast, and white balance. Once footage is corrected, grading begins.
Why DaVinci Resolve Is the Industry Standard for Color Grading
DaVinci Resolve was originally developed purely as a professional color grading system. Even today, its color tools are far more advanced than most editing software.
Key reasons why professionals prefer DaVinci Resolve include:
- Industry-leading color science
- Node-based color workflow
- Advanced color wheels and curves
- Professional scopes for accuracy
- Powerful HDR grading tools
- Support for RAW formats
- Free version with high-end features
From indie creators to blockbuster studios, DaVinci Resolve is trusted for high-quality color grading.
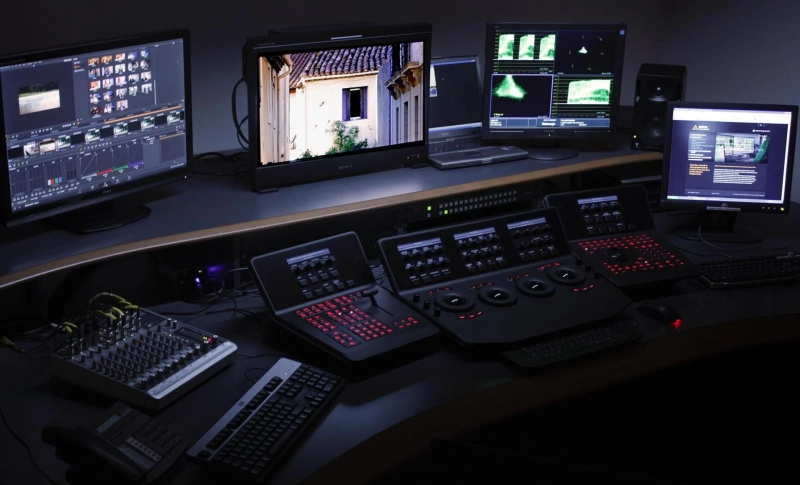
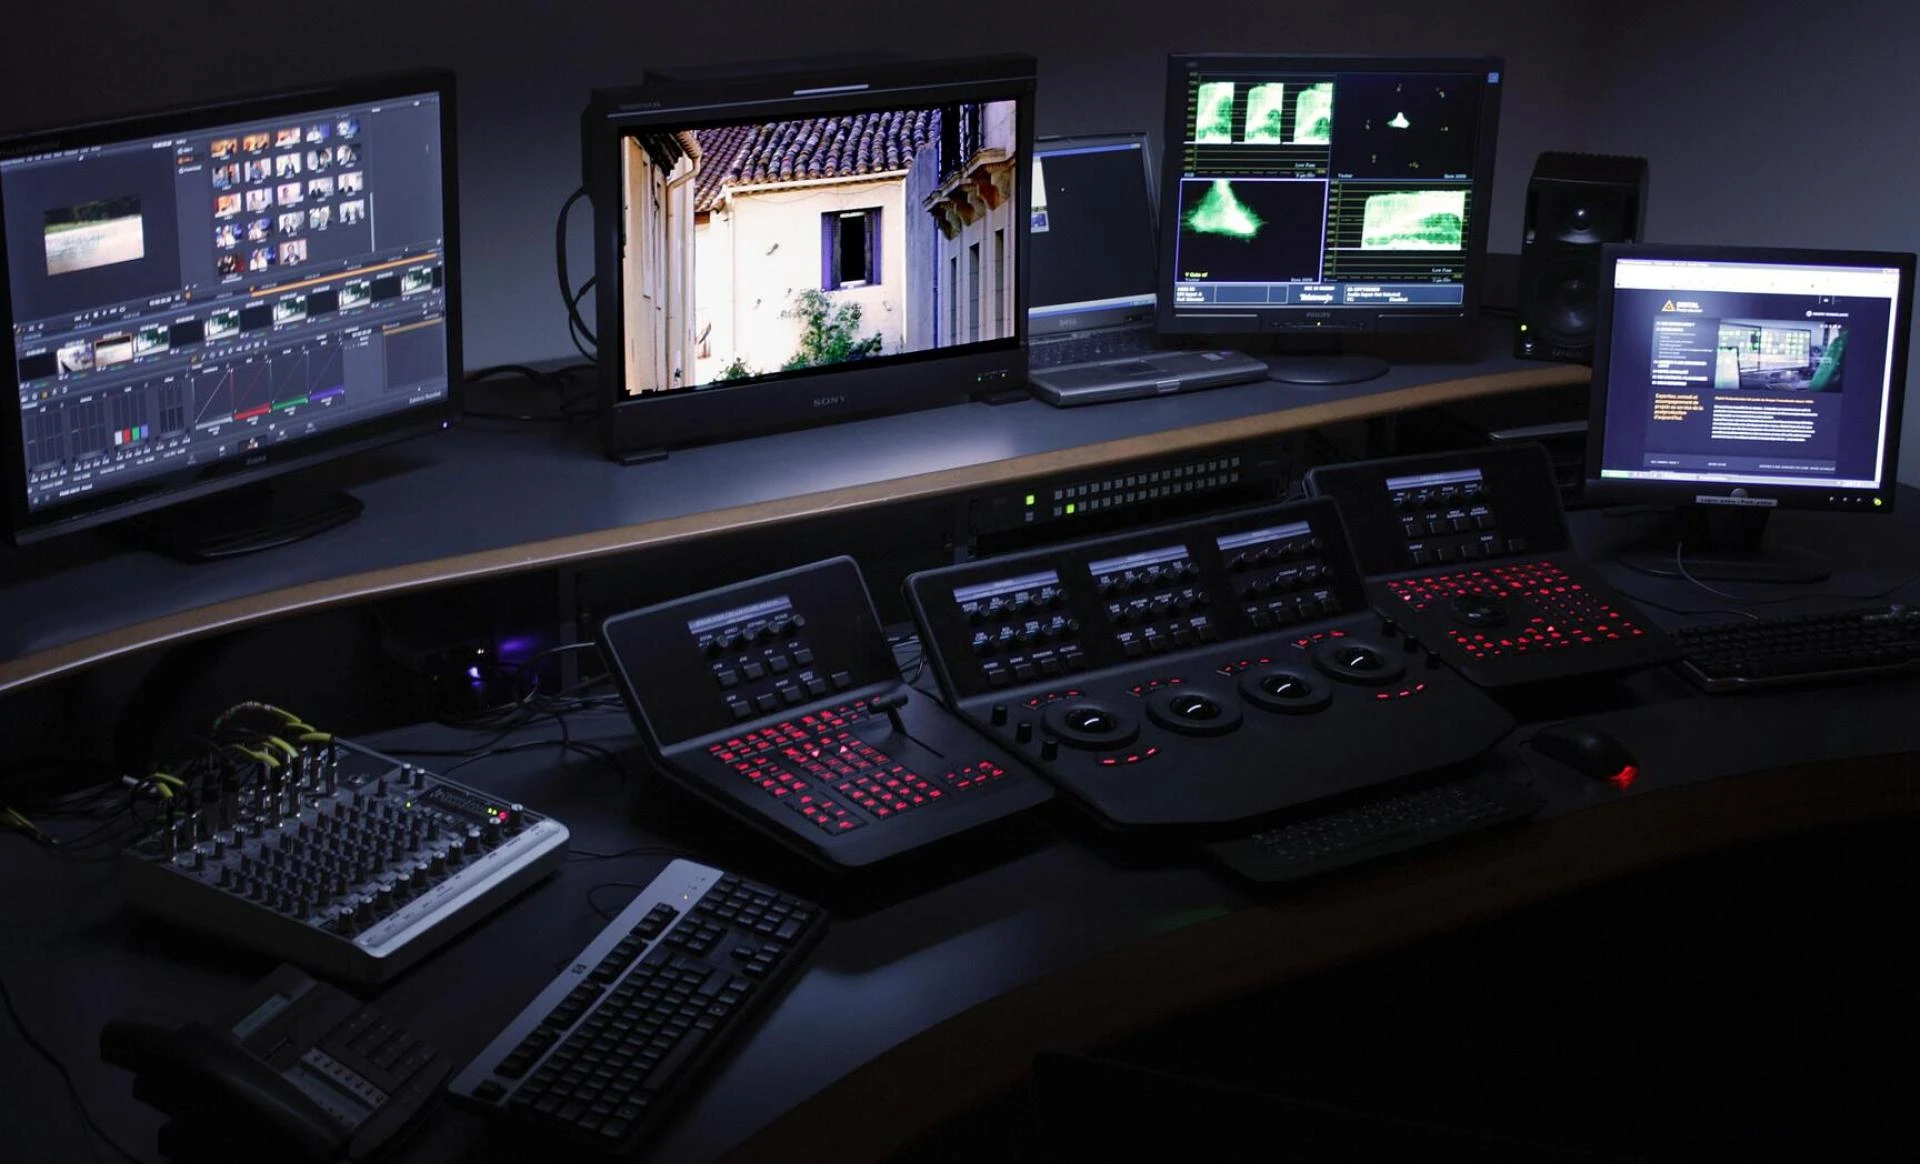
Understanding the DaVinci Resolve Color Page
The Color Page is the heart of DaVinci Resolve’s grading system. It is designed for speed, precision, and creative freedom.
Main sections of the Color Page include:
- Viewer
- Node Editor
- Primary Wheels
- Curves
- Qualifiers
- Power Windows
- Tracking
- Scopes
- Gallery and LUTs
Each of these tools plays a vital role in professional color grading workflows.
Node-Based Color Grading Workflow
One of the biggest differences between DaVinci Resolve and other editors is its node-based workflow.
What Are Nodes?
Nodes are individual color correction or grading steps that can be layered, adjusted, or rearranged. Each node performs a specific task, making grading cleaner and more organized.
Common Node Types:
- Serial Nodes
- Parallel Nodes
- Layer Nodes
- Outside Nodes
- Adjustment Clip Nodes
Benefits of Node-Based Grading:
- Non-destructive workflow
- Better organization
- Easier revisions
- Advanced creative control
Professional colorists often use structured node trees such as:
- Noise reduction
- Primary correction
- Contrast
- Skin tone correction
- Look creation
- Final output adjustments
Primary Color Correction in DaVinci Resolve
Primary correction is the foundation of every color grade.
Primary Color Wheels
DaVinci Resolve offers four primary wheels:
- Lift (Shadows)
- Gamma (Midtones)
- Gain (Highlights)
- Offset (Overall image)
These wheels help balance exposure and color temperature accurately.
White Balance and Exposure
Using the Offset wheel and temperature controls, editors can neutralize color casts and achieve correct white balance.
Contrast and Pivot
Contrast controls the difference between highlights and shadows, while pivot adjusts how contrast is distributed across midtones.
Using Scopes for Accurate Color Grading
Professional color grading relies on scopes rather than just visual judgment.
Types of Scopes in DaVinci Resolve:
- Waveform
- Parade (RGB)
- Vectorscope
- Histogram
Scopes help ensure:
- Proper exposure levels
- Accurate skin tones
- Broadcast-safe colors
- Consistent grading across shots
For example, skin tones typically fall along the skin tone line in the vectorscope.
Shot Matching and Color Consistency
Shot matching ensures visual continuity between clips, especially when footage comes from different cameras or lighting conditions.
Tools for Shot Matching:
- Split-screen comparison
- Reference stills in Gallery
- Color Match tool
- Scopes alignment
DaVinci Resolve allows editors to compare clips side-by-side and match exposure, contrast, and color balance efficiently.
Curves for Advanced Color Control
Curves provide precise control over brightness and color.
Common Curve Tools:
- Custom Curves
- Hue vs Hue
- Hue vs Saturation
- Hue vs Luminance
- Luma vs Saturation
These tools are especially useful for:
- Refining skin tones
- Adjusting specific colors
- Creating stylized looks
- Preventing color clipping
Curves are widely used in professional film grading workflows.
Qualifiers and Power Windows
Qualifiers
Qualifiers allow selective color grading by isolating specific colors such as skin tones, sky, or clothing.
They work based on:
- Hue
- Saturation
- Luminance
Power Windows
Power windows are masks used to isolate specific areas of the frame.
Common uses include:
- Brightening faces
- Darkening backgrounds
- Adding vignettes
- Drawing attention to subjects
Power windows can be tracked automatically to follow movement within a shot.
Tracking in DaVinci Resolve
DaVinci Resolve’s tracking system is fast and highly accurate.
Tracking is used with:
- Power windows
- Qualifiers
- Face refinement tools
This allows color corrections to follow moving subjects seamlessly, making it ideal for interviews, films, and commercials.
LUTs and Creative Looks
What Are LUTs?
LUTs (Look-Up Tables) apply predefined color transformations to footage.
Using LUTs in DaVinci Resolve:
- Technical LUTs (Log to Rec.709)
- Creative LUTs
- Custom LUTs
While LUTs are useful, professional colorists often fine-tune grades manually rather than relying entirely on LUTs.
HDR Color Grading in DaVinci Resolve
DaVinci Resolve offers advanced HDR grading tools designed for modern displays.
HDR grading allows:
- Better highlight control
- Improved shadow detail
- Natural contrast distribution
The HDR wheels provide zone-based control, making it easier to manage complex lighting scenarios.
Skin Tone Management and Face Refinement
Skin tones are one of the most critical elements in color grading.
DaVinci Resolve includes:
- Face refinement tools
- Skin tone qualifiers
- Softening and highlight control
These tools help achieve natural, pleasing skin tones without making footage look artificial.
Color Management in DaVinci Resolve
Color management ensures consistency across devices and delivery formats.
DaVinci Resolve Color Management (DRCM):
- Handles color space conversions
- Maintains dynamic range
- Simplifies grading workflows
Proper color management is essential for cinema, broadcast, and online platforms.
Exporting and Delivering Color-Graded Footage
Once grading is complete, exporting settings must preserve color accuracy.
Key considerations include:
- Color space and gamma
- Delivery format (YouTube, OTT, cinema)
- Broadcast safe levels
DaVinci Resolve ensures reliable output across platforms when set correctly.
Why Learn DaVinci Resolve Color Grading Today?
With the explosion of video content across digital platforms, skilled colorists are in high demand.
Learning DaVinci Resolve color grading helps you:
- Work on professional film projects
- Enhance storytelling visually
- Stand out as an editor or filmmaker
- Build a strong post-production career
From beginners to professionals, DaVinci Resolve offers tools that grow with your skills.
Conclusion
DaVinci Resolve color grading is more than just adjusting colors—it is an art and a science that transforms raw footage into compelling visual stories. With its powerful tools, node-based workflow, advanced scopes, and cinematic color science, DaVinci Resolve remains the gold standard for professional color grading.
Whether you are a beginner exploring filmmaking or a seasoned editor aiming for cinematic excellence, mastering color grading in DaVinci Resolve is a skill that will elevate your work and open doors to endless creative possibilities.
Auther: Nitin Nibu