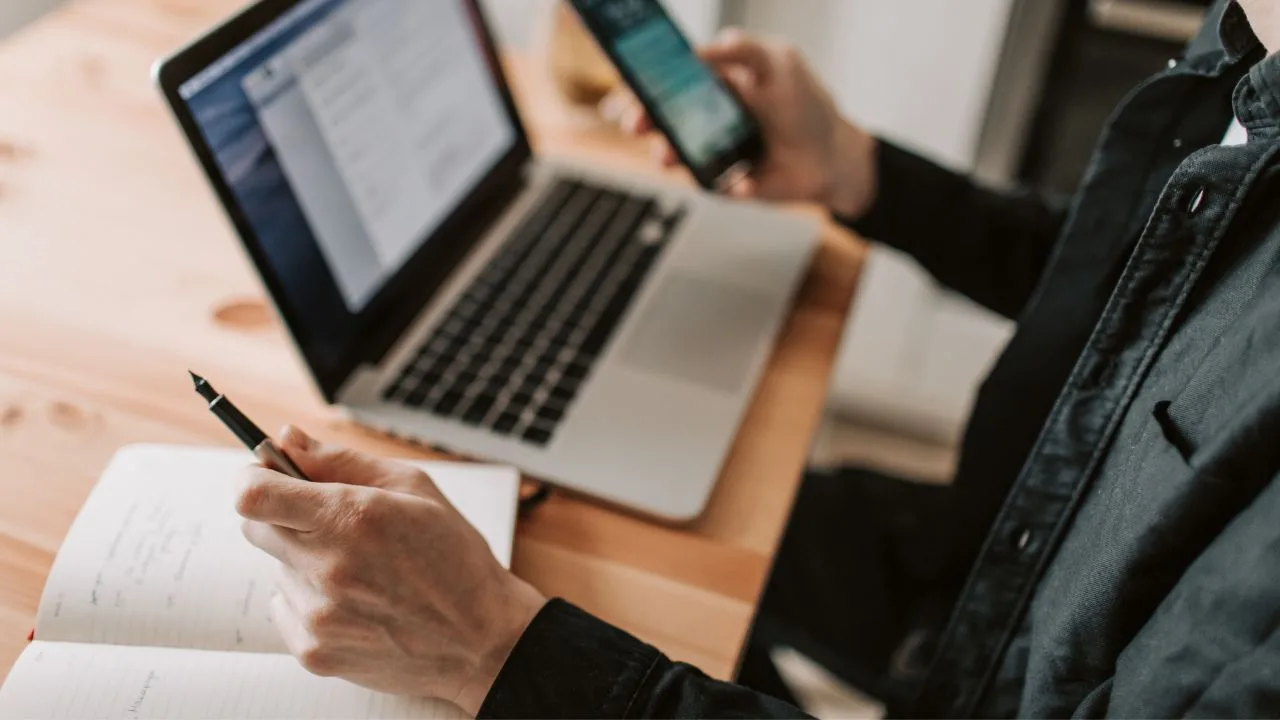
In today’s digital world, being a bike rider is not just about exploring roads — it’s about sharing your journey with the world. Whether you’re cruising through mountains, city lanes, or highways, a well-planned vlog setup helps you capture every moment perfectly.
But what makes a rider vlog stand out?
It’s not just your bike or route — it’s the camera quality, sound clarity, and stability that bring your story to life.
In this detailed guide, we’ll break down everything you need to create the perfect rider vlog setup — from action cameras to microphones, mounts, accessories, and pro tips to make your content look cinematic and professional.
🔹 1. Choosing the Right Camera for Rider Vlogs
Your camera is the heart of your vlog setup. It decides how your audience experiences your journey — clear visuals, vibrant colors, and smooth motion.
✅ Best Camera Types for Riders:
Action Cameras – Compact, waterproof, and perfect for helmet mounting.
Top Picks: GoPro Hero 12 Black, Insta360 Ace Pro, DJI Osmo Action 4.
Mirrorless / DSLR Cameras – Ideal for cinematic shots, interviews, or stationary scenes.
Top Picks: Sony ZV-E10, Canon R50, Fujifilm X-S20.
360-Degree Cameras – Capture every angle with one device.
Top Picks: Insta360 X4, GoPro Max 360.
💡 Pro Tip: For most bike vloggers, an action camera + secondary smartphone setup gives the best flexibility and quality.
🔹 2. Best Action Cameras for Bike Riders
Action cameras are built for riders. They’re lightweight, shockproof, and weather-resistant, perfect for long rides or extreme terrain.
🏁 Top Action Cameras for 2025:
GoPro Hero 12 Black – 5.3K video, amazing HyperSmooth stabilization, waterproof, and voice control.
DJI Osmo Action 4 – Excellent low-light performance and strong magnetic mounting system.
Insta360 Ace Pro – 1-inch sensor for cinematic quality and wide dynamic range.
GoPro Hero 11 Mini – Compact and perfect for helmet side mounting.
Each of these cameras can record stunning 4K+ footage with crisp detail — essential for an engaging riding experience.
🔹 3. Camera Mounts and Angles – Capturing Perfect Shots
Mounts decide what your audience sees — the view from your helmet, the road ahead, or your face while talking.
🎥 Popular Mounting Options:
Helmet Chin Mount: Perfect POV (Point of View) shot — shows what the rider sees.
Handlebar Mount: Captures road and dashboard — good for scenic visuals.
Chest Mount: Immersive and stable, ideal for adventure rides.
Tail Mount / Rear View: Gives cinematic shots of the road behind.
Suction Cup Mount: For cars or smooth bike surfaces (fuel tank, windshield).
💡 Try switching camera angles during editing to make your vlog dynamic.
🔹 4. The Importance of Audio in Rider Vlogs
Even the best video can fail if your audio is poor. Wind noise, engine sounds, or muffled voices can ruin a perfect ride recording.
That’s why investing in a good mic is just as important as your camera.
Clear, crisp sound helps viewers connect with your emotions, excitement, and stories.
🔹 5. Best Microphones for Rider Vlogging
There are two main mic types for bike vloggers — wired lavalier mics and wireless transmitters.
🎤 Top Microphone Recommendations:
Rode Wireless GO II – Industry favorite, compact, and offers dual-channel recording.
DJI Mic 2 – Crystal-clear audio, magnetic clip design, and long battery life.
BOYA BY-M1 Lavalier Mic – Budget-friendly wired mic with great sound.
Saramonic BlinkMe B2 – Stylish and perfect for helmet setups.
Purple Panda Lavalier Mic – Best low-cost mic for GoPro users.
💡 If you vlog at high speed, use a dead cat (wind muff) to reduce wind noise.
🔹 6. Helmet Mic Setup – Clean Audio Even at High Speed
For bikers, helmet mic setup is the trickiest but most rewarding part.
The goal is to capture your voice clearly while minimizing wind noise.
🪶 How to Set Up:
Mount your camera on the helmet chin area.
Route your mic wire (if wired) inside the helmet padding.
Place the mic near your mouth, but cover it with foam + dead cat.
Use a small adapter (like GoPro Mic Adapter) if your camera doesn’t have a mic input.
✅ Pro Tip: Keep the helmet visor closed while talking — it blocks wind and improves clarity.
🔹 7. Lighting and Power Accessories for Long Rides
Lighting may not seem essential for day rides, but for night vlogs or garage scenes, good lighting transforms your content.
💡 Recommended Lighting Accessories:
Ulanzi VL49 Mini LED Light – Compact and perfect for helmet or bike handlebar.
Lume Cube 2.0 – Waterproof, powerful, and versatile.
Rechargeable Headlamp – Great for night roadside fixes or intros.
And for long rides, don’t forget power accessories:
Extra batteries (at least 2–3).
Power bank (20,000 mAh+).
USB charger connected to the bike’s charging port.
💡 Always carry a small storage pouch for batteries and SD cards.
🔹 8. Camera Settings and Stabilization Tips
Even with a great camera, wrong settings can ruin your shots. For bike vlogging, you need smooth, stable, high-quality footage.
⚙️ Ideal Settings for Action Cameras:
Resolution: 4K 60fps (for slow-motion options)
FOV: Wide / SuperView
Stabilization: ON (HyperSmooth / RockSteady)
Bitrate: High
Audio: Wind Reduction ON
To reduce shaking further:
Use a helmet or chest mount (not handheld).
Avoid over-tightening mounts (it adds vibrations).
Check angles before every ride.
🔹 9. Editing Software and Workflow for Riders
Once you’ve recorded your footage, editing is where your story comes alive.
🖥️ Recommended Editing Software:
Beginner-Friendly: CapCut, Filmora, InShot.
Professional: Adobe Premiere Pro, Final Cut Pro, DaVinci Resolve.
✂️ Editing Tips:
Use multiple angles to make your video dynamic.
Add background music (copyright-free).
Insert captions for key moments or route details.
Sync audio properly with visuals.
Use motion blur or slow-motion clips for cinematic effect.
💡 Keep your vlog between 8–15 minutes — long enough to engage, short enough to hold attention.
🔹 10. Budget Guide – Build Your Rider Vlog Setup (For All Levels)
You don’t need to spend a fortune to start. Here’s a quick breakdown 👇
💰 Beginner Setup (Under $150 / ₹12,000):
Action Camera: AKASO Brave 7 / SJCAM SJ10
Mic: BOYA BY-M1
Mounts + SD Card + Powerbank
⚙️ Intermediate Setup (Under $400 / ₹35,000):
GoPro Hero 11 / DJI Osmo Action 4
Mic: Rode Wireless GO II
Helmet Chin Mount + Extra Battery + Light
🔥 Professional Setup (Under $900 / ₹75,000+):
GoPro Hero 12 / Insta360 Ace Pro
Mic: DJI Mic 2 + Windscreen
Chest & Rear Mounts + Ulanzi Lighting
External SSD + Quality Tripod
💡 Start small, upgrade as your vlog grows. Consistency matters more than gear.
🏁 Conclusion – Ride, Record, and Inspire
A perfect rider vlog setup is not just about expensive gear — it’s about clarity, creativity, and connection.
With the right camera, mic, and mounting strategy, you can capture not just roads but emotions — the roar of your engine, the wind on your visor, and the freedom of the open highway.
🎯 “Don’t wait for the perfect setup — start with what you have and ride your story into the world.”
Every great moto-vlogger started with a single ride and a single camera.
Now it’s your turn — gear up, hit record, and let your journey speak louder than words.
🏍️💨🎥
Read More: VipBios.Com