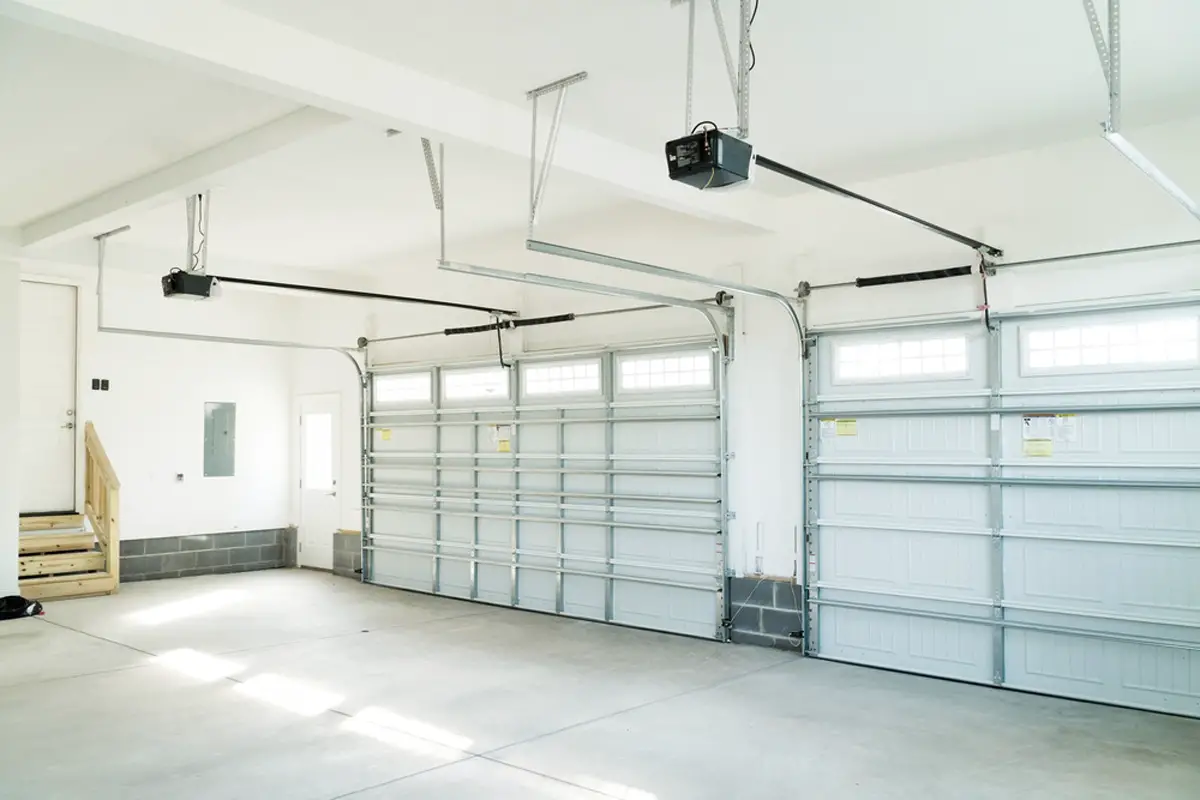
How To Install A Garage Door Opener?

Electronic garage door openers are now standard in most newly constructed houses. Access, safety, and security are all improved as a result. There are a variety of drive choices available, including chain, screw, belt, direct, and jackshaft.
The ceiling-mounted aperture that links to the interior of the door is the most frequent configuration. If you’re a DIYer, we’ve included a simple tutorial to assist you with this process.
Remember that while dealing with such complicated tasks, it’s best to enlist the help of professionals. Not only do you risk damaging the equipment, but you also risk injuring yourself. Arizona Garage Door Guru’s team of professionals is always ready for professional assistance.
Check to see if your garage door is working properly. It opens and shuts correctly, with no loose cabling or damaged components, and is well lubricated.
Remove all ropes and cords that are dangling.
Prepare the necessary tools, including clamps, measuring tape, a drill machine and bits, and several sizes of wrenches. Make sure you’re close to a power outlet.
Step 1: Assembling The Opener
-
Fit the rail sections together
-
Slide trolley onto the rail
-
Connect rail to the motor
-
Fix the pulley to the end of the rail
-
Slide a belt or a chain from one end of the rail; glide it around the pulley, then fix it around the motor
-
Now fix the belt or the chain end to the carriage
-
At the end of the chain is a screw that will hold the entire against the trolley and bear the door tension
Step 2: Attaching The Opener to the Ceiling
-
Start with installing a block on the ceiling, and the opener will be attached to this wood. The wood must be nailed or screwed to ensure it holds the weight of the opener.
-
Now screw the bracket to the door wall and connect the opener assembly to it. Then, attached the end of the motor to the blocking using screws.
-
Ensure you have left about 7-9 feet of space above the floor to allow room for people walking under it. Then fix the other piece of the bracket to the door as specified in the instructions.
Step 3: Installation of Other Components
-
The opener packaging must be having a safety disconnect cable. Attach this cable to the motor and slide it onto the bracket and the handle. It should be marked as an emergency release.
-
Remove the emergency release cable and test the door by opening and closing it to make sure it operated smoothly. Then add the stop bracket at the motor.
-
Fix a light bulb to take care of the vibration of the door without burning out. Then install the electric eye and reflector.
-
Then the control button is to be installed and make sure it’s out of reach of children.
Step 4: Testing The Newly Installed Opener
-
It is time to now power on the garage door and tests it using real electricity.
-
Test the door with the wall control and the remote.
Let Arizona Garage Door Guru Do The Job For You
The installation of a garage door opener might be difficult. As a result, don’t be concerned if you believe you won’t be able to install it yourself. The specialists at Arizona Garage Door Guru can handle it for you. We are your local garage door specialists in Anthem and Peoria, and we want to keep you safe while we perform the heavy lifting. Call us at (602) 540-9893 right now.
