Essential Tips for Efficient Cold Storage Panel Installation
Installing cold storage panels is like building a giant refrigerator to keep things like food and medicine cool and fresh. You need to follow some important steps to ensure it works properly. This blog will explain easy tips for installing these panels efficiently. We’ll talk about planning, using the right tools, cleaning surfaces, sealing gaps, and checking the temperature. By following these simple steps, you can ensure your cold storage panel installation works perfectly and keeps everything inside nice and cold.
1. Plan Before You Start
It is required to have a good plan before the panels are installed. This translates to having adequate knowledge of the location of every panel, the type of tools and materials you require as well as all other requirements. Yes, very similar to playing with LEGO blocks; one has to understand where this piece will go and where that piece will go!
2. Ensure That the Surface is Flat.
To install FRP panels, their surface has to be clean and flat, as required in the case of traditional panel fixing. Think about putting a sticker on a substance that is grimy or rough—it is not going to adhere well, is it? The same can be said for cold storage panels. Fitting the panels is tighter to the smooth and clean surfaces of the walls, ceilings, or any other surface where the panels are to be installed.
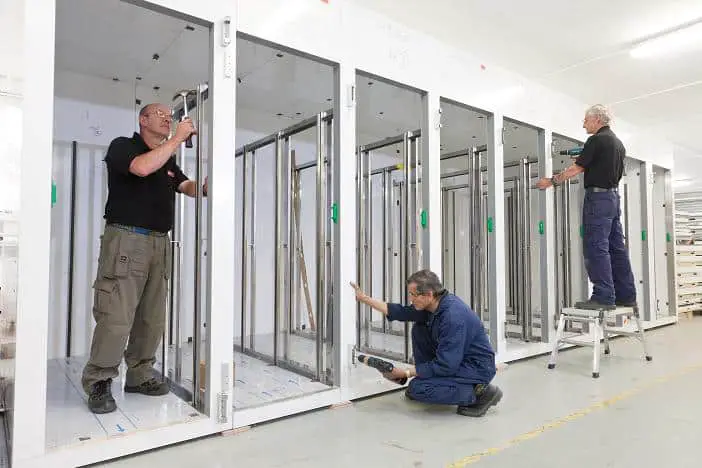
3. Use the Right Tools
Indeed it is true that the right tools make work easier and swift. These are the requirements of the tools such as screwdrivers, drills, and measuring tapes among others that will be needed in the process. The same as with painting one needs a precise brush, in the same manner, the proper tools guarantee the correct panel installation.
4. Follow the Instructions
One might find that each panel has a measure that has to be followed in the course of installing the panel. These are instructions to be followed in the letter. You can look at it like listening to a recipe that one has to follow when baking a cake-for instance if a certain step is not followed, then the cake will not come out well.
5. Seal the Gaps
The minuses people can notice after you join the panels together is that there are small gaps between them. These spaces can allow warm air to infiltrate, which could be better for one wanting to maintain low temperatures. It becomes important that you apply what is referred to as a sealant to these gaps as you would glue to a damaged toy. This assists in retaining the cold air in the compartment.
6. Check the Temperature
The only thing that remains for the owner of the cold storage to do after installation of the panels is to acknowledge whether the temperature inside the cold storage is appropriate. Check if it is cold enough by using a thermometer. It is like taking the mercury from an oven before baking the cookies.
7. Regular Maintenance
Once it is installed it requires regular maintenance to have proper functionality of the cold storage. This implies the need to invoke the panels, sealants, and temperature to check their status now and then. Well, it is like taking care of a pet where you have to exercise it to ensure that it stays healthy and active all the time.
Conclusion
Cold storage panels’ installation may sound tricky, but it is not a hard nut to crack with a proper setup and proper materials. It is also important to clean the chosen surface properly, select the right tools, adhere to the given instructions, seal all the joints, assess the temperature, and maintain them properly. It is easy to conclude that these simple tips that you can use to keep your cold storage in the right condition will help you to ensure it has the right functionality to keep everything inside fresh and cool. Know more at TSSC Group official website.
Read more about Top 10 Roof Sandwich Panel Manufacturers