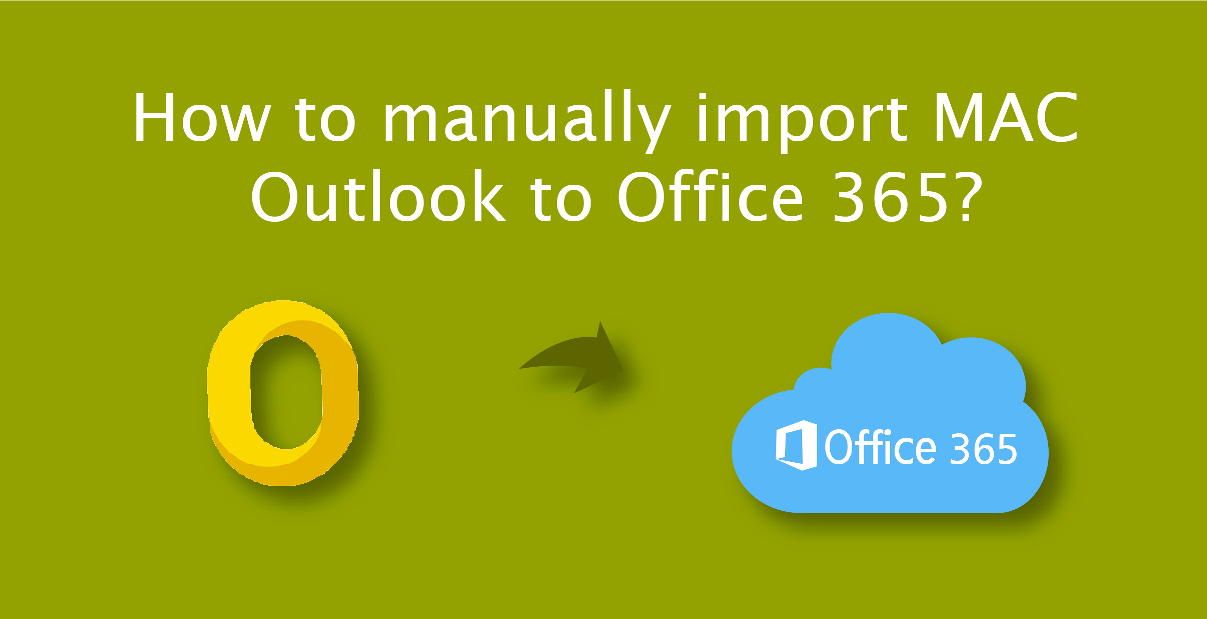
How to manually import MAC Outlook to Office 365?
OLM file is a format of Mac Outlook mailbox that users use different methods to upload to Office 365. This post will explain this guideline and make you aware of the complete method. If you want to move data from OLM to Outlook or Office 365 manually, then this post is going to be important for you.
Need of OLM conversion
Office 365 is a cloud platform whose features are familiar to all and it makes it easy to access data whether the OS used is Mac or Windows. In contrast, users cannot open the Mac Outlook application in Windows OS or Android phones, etc.
One of the main features of Office 365 is that it provides many updated applications in one place which is useful both for personal and business purposes.
How to manually handle OLM files into Office 365?
To migrate OLM data to Office 365, we have to follow along route because there is no shortcut also you need enough skill to face any possible error.
Phase 1: Convert OLM file into PST file format
Part (A)
- Our first step is to create a PST file from MAC OLM data. We know that PST and OLM both handle similar data elements like email, contact, calendar, task, etc.
- Click on Forwarding and POP/IMAP tab >> IMAP Access status and enable it (if disable).
- First, open Outlook for Mac, then click on Menu ->Tools -> Accounts.
- Click on Email and fill in the detail like email address, password, etc as asked and press Add Account button.
- After that, create a Gmail label to synchronize data between MAC and IMAP account
- Click on Gear icon >> Settings >> Labels and click on “Create New Label” and ensure the IMAP box is checked.
- Now go to Mac Outlook and click on Send/Receive button.
- Run Windows Outlook and Add a new account.
Part (B)
- Open MS Outlook >> File tab >> Add Settings option >> Account Settings >> E-mail tab and click on “New”.
- Add Account Setup >> “Manual Setup” Option >> Next.
- Select POP/IMAP option >> Enter the same Gmail account details that you have synchronized with Mac Outlook and click on Advanced Settings.
- Match the following details:
- POP Server: pop.gmail.com, Port: 995
- SMTP Server: smtp.gmail.om, Port: 587 or 25
- Click on the test setting and if it runs successfully then click on the finish button otherwise modify the process if you have done a mistake in any of them.
After that use the Import Export tool of Windows Outlook and export PST file from it.
Phase 2 Once the user gets the PST file from MAC Outlook, follow the Network upload method. Click here for step by step process:
An alternative method to move data from OLM to Office 365
OLM to Office 365 Migration Manually is quite difficult as it leads to many problems which are not easy for a non-technical person. In such a situation, different types of new OLM converters are searched on Google, which will benefit the user.
Here I would like to suggest the MailsDaddy OLM converter tool to migrate MAC OLM data to Office 365 account with email, contact, calendar, task & various other mail items.
Now let’s also know how to import data from Mac OLM to Office 365 using it.
- Download OLM file converter and install it on Windows OS.
- Click on Add file button and choose any one option to load the OLM file.
- After adding the OLM data, click on the Export button to perform batch migration from OLM to Office 365.
- Select O365 mailbox format and select one mailbox: Primary or In-place archive and Next.
- Fill in the login credential of O365 and click on the sign-in button to initiate the conversion from OLM to Office 365 account.
As you can see there is a very easy and quick way to import data from Mac Outlook to Office 365. Though the post covers both methods and any user can follow them to migrate the mailbox.
Closing Word
Manual method has some drawback, therefore, we also share a third-party tool which provides a user 100% secure result. You can also test the free demo version of MailsDaddy OLM converter software and convert 20 items from each mailbox.